Sign Up vs. Signup

Post pobrano z: Sign Up vs. Signup

Anybody building a site in that requires users to create accounts is going to face this language challenge. You’ll probably have this language strewed across your entire site, from prominent calls-to-action in your homepage hero, to persistent header buttons, to your documentation.

So which is correct? „Sign Up” or „Signup”? Let’s try to figure it out.

With some light internet grammar research, the term „sign up” is a verbal phrase. As in, „sign” is a verb (describes an action) and „sign up” is a verb plus a complement — participial phrase, best I can tell. That sounds about right to me.

My best guess before looking into this was that „signup” isn’t even a word at all, and more of a lazy internet mistake. Just like „frontend” isn’t a word. It’s either „front-end” (a compound adjective as in a front-end developer), or „front end” (as in, „Your job is to work on the front end.”).

I was wrong, though. „Signup” is a noun. Like a thing. As in, „Go up the hallway past the water fountain and you’ll see the signup on the wall.” Which could certainly be a digital thing as well. Seems to me it wouldn’t be wrong to call a form that collects a user’s name and email address a „signup form.”

„Sign-up” is almost definitely wrong, as it’s not a compound word or compound adjective.

The fact that both „sign up” and „signup” are both legit words/phrases makes this a little tricky. Having a verbal phrase as a button seems like a solid choice, but I wouldn’t call it wrong to have a button that said „Signup” since the button presumably links directly to a form in which you can sign up and that’s the correct noun for it.

Let’s see what some popular websites do.

Twitter goes with „Sign Up” and „Log in.” We haven’t talked about the difference between „Log in” and „Login” yet, but the difference is very much the same. Verbal phrase vs. noun. The only thing weird about Twitter’s approach here is the capitalization of „Up” and the lowercase „in.” Twitter seems giant enough that they must have thought of this and decided this intentionally, so I’d love to understand why because it looks like a mistake to my eyes.

Facebook, like Twitter, goes with „Sign Up” and „Log In.”

Google goes with „Sign in” and „Create account.” It’s not terribly rare to see companies use the „Create” verb. Visiting Microsoft’s Azure site, they used the copy „Create your account today” complemented with a „Start free” button. Slack uses „Sign in” and „Get Started.”

I can see the appeal of going with symmetry. Zoom uses „SIGN IN” and „SIGN UP” with the use of all-caps giving a pass on having to decide which words are capitalized.

Figma goes the „Sign In” and „Sign up” route, almost having symmetry — but what’s up with the mismatched capitalization? I thought, if anything, they’d go with a lowercase „i” because the uppercase „I” can look like a lowercase „L” and maybe that’s slightly weird.

At CodePen, we rock the „Sign Up” and „Log In” and try to be super consistent through the entire site using those two phrases.

If you’re looking for a conclusion here, I’d say that it probably doesn’t matter all that much. There are so many variations out there that people are probably used to it and you aren’t losing customers over it. It’s not like many will know the literal definition of „Signup.” I personally like active verb phrases — like „Sign Up,” „Log In,” or „Sign In” — with no particular preference for capitalization.

The post Sign Up vs. Signup appeared first on CSS-Tricks.
Sign Up vs. Signup

Post pobrano z: Sign Up vs. Signup

Anybody building a site in that requires users to create accounts is going to face this language challenge. You’ll probably have this language strewed across your entire site, from prominent calls-to-action in your homepage hero, to persistent header buttons, to your documentation.

So which is correct? „Sign Up” or „Signup”? Let’s try to figure it out.

With some light internet grammar research, the term „sign up” is a verbal phrase. As in, „sign” is a verb (describes an action) and „sign up” is a verb plus a complement — participial phrase, best I can tell. That sounds about right to me.

My best guess before looking into this was that „signup” isn’t even a word at all, and more of a lazy internet mistake. Just like „frontend” isn’t a word. It’s either „front-end” (a compound adjective as in a front-end developer), or „front end” (as in, „Your job is to work on the front end.”).

I was wrong, though. „Signup” is a noun. Like a thing. As in, „Go up the hallway past the water fountain and you’ll see the signup on the wall.” Which could certainly be a digital thing as well. Seems to me it wouldn’t be wrong to call a form that collects a user’s name and email address a „signup form.”

„Sign-up” is almost definitely wrong, as it’s not a compound word or compound adjective.

The fact that both „sign up” and „signup” are both legit words/phrases makes this a little tricky. Having a verbal phrase as a button seems like a solid choice, but I wouldn’t call it wrong to have a button that said „Signup” since the button presumably links directly to a form in which you can sign up and that’s the correct noun for it.

Let’s see what some popular websites do.

Twitter goes with „Sign Up” and „Log in.” We haven’t talked about the difference between „Log in” and „Login” yet, but the difference is very much the same. Verbal phrase vs. noun. The only thing weird about Twitter’s approach here is the capitalization of „Up” and the lowercase „in.” Twitter seems giant enough that they must have thought of this and decided this intentionally, so I’d love to understand why because it looks like a mistake to my eyes.

Facebook, like Twitter, goes with „Sign Up” and „Log In.”

Google goes with „Sign in” and „Create account.” It’s not terribly rare to see companies use the „Create” verb. Visiting Microsoft’s Azure site, they used the copy „Create your account today” complemented with a „Start free” button. Slack uses „Sign in” and „Get Started.”

I can see the appeal of going with symmetry. Zoom uses „SIGN IN” and „SIGN UP” with the use of all-caps giving a pass on having to decide which words are capitalized.

Figma goes the „Sign In” and „Sign up” route, almost having symmetry — but what’s up with the mismatched capitalization? I thought, if anything, they’d go with a lowercase „i” because the uppercase „I” can look like a lowercase „L” and maybe that’s slightly weird.

At CodePen, we rock the „Sign Up” and „Log In” and try to be super consistent through the entire site using those two phrases.

If you’re looking for a conclusion here, I’d say that it probably doesn’t matter all that much. There are so many variations out there that people are probably used to it and you aren’t losing customers over it. It’s not like many will know the literal definition of „Signup.” I personally like active verb phrases — like „Sign Up,” „Log In,” or „Sign In” — with no particular preference for capitalization.

The post Sign Up vs. Signup appeared first on CSS-Tricks.

Sign Up vs. Signup

Post pobrano z: Sign Up vs. Signup

Anybody building a site in that requires users to create accounts is going to face this language challenge. You’ll probably have this language strewed across your entire site, from prominent calls-to-action in your homepage hero, to persistent header buttons, to your documentation.

So which is correct? „Sign Up” or „Signup”? Let’s try to figure it out.

With some light internet grammar research, the term „sign up” is a verbal phrase. As in, „sign” is a verb (describes an action) and „sign up” is a verb plus a complement — participial phrase, best I can tell. That sounds about right to me.

My best guess before looking into this was that „signup” isn’t even a word at all, and more of a lazy internet mistake. Just like „frontend” isn’t a word. It’s either „front-end” (a compound adjective as in a front-end developer), or „front end” (as in, „Your job is to work on the front end.”).

I was wrong, though. „Signup” is a noun. Like a thing. As in, „Go up the hallway past the water fountain and you’ll see the signup on the wall.” Which could certainly be a digital thing as well. Seems to me it wouldn’t be wrong to call a form that collects a user’s name and email address a „signup form.”

„Sign-up” is almost definitely wrong, as it’s not a compound word or compound adjective.

The fact that both „sign up” and „signup” are both legit words/phrases makes this a little tricky. Having a verbal phrase as a button seems like a solid choice, but I wouldn’t call it wrong to have a button that said „Signup” since the button presumably links directly to a form in which you can sign up and that’s the correct noun for it.

Let’s see what some popular websites do.

Twitter goes with „Sign Up” and „Log in.” We haven’t talked about the difference between „Log in” and „Login” yet, but the difference is very much the same. Verbal phrase vs. noun. The only thing weird about Twitter’s approach here is the capitalization of „Up” and the lowercase „in.” Twitter seems giant enough that they must have thought of this and decided this intentionally, so I’d love to understand why because it looks like a mistake to my eyes.

Facebook, like Twitter, goes with „Sign Up” and „Log In.”

Google goes with „Sign in” and „Create account.” It’s not terribly rare to see companies use the „Create” verb. Visiting Microsoft’s Azure site, they used the copy „Create your account today” complemented with a „Start free” button. Slack uses „Sign in” and „Get Started.”

I can see the appeal of going with symmetry. Zoom uses „SIGN IN” and „SIGN UP” with the use of all-caps giving a pass on having to decide which words are capitalized.

Figma goes the „Sign In” and „Sign up” route, almost having symmetry — but what’s up with the mismatched capitalization? I thought, if anything, they’d go with a lowercase „i” because the uppercase „I” can look like a lowercase „L” and maybe that’s slightly weird.

At CodePen, we rock the „Sign Up” and „Log In” and try to be super consistent through the entire site using those two phrases.

If you’re looking for a conclusion here, I’d say that it probably doesn’t matter all that much. There are so many variations out there that people are probably used to it and you aren’t losing customers over it. It’s not like many will know the literal definition of „Signup.” I personally like active verb phrases — like „Sign Up,” „Log In,” or „Sign In” — with no particular preference for capitalization.

The post Sign Up vs. Signup appeared first on CSS-Tricks.
CSS-Tricks Chronicle XXXIV

Post pobrano z: CSS-Tricks Chronicle XXXIV

Hey gang, time for another broad update about various goings on as we tend to do occasionally. Some various happenings around here, appearances on other sites, upcoming conferences, and the like.

I’m speaking at a handful of conferences coming up!

At the end of this month, October 29th-30th, I’ll be speaking at JAMstack_conf. Ever since I went to a jQuery conference several million years ago (by my count), I’ve always had a special place in my heart for conferences with a tech-specific focus. Certainly this whole world of JAMstack and serverless can be pretty broad, but it’s more focused than a general web design conference.


In December, I’ll be at WordCamp US. I like getting to go to WordPress-specific events to help me stay current on that community. CSS-Tricks is, and always has been a WordPress site, as are many other sites I manage. I like to keep my WordPress development chops up the best I can. I imagine the Gutenburg talk will be hot and heavy! I’ll be speaking as well, generally about front-end development.


Next Spring, March 4th-6th, I’ll be in Seattle for An Event Apart !


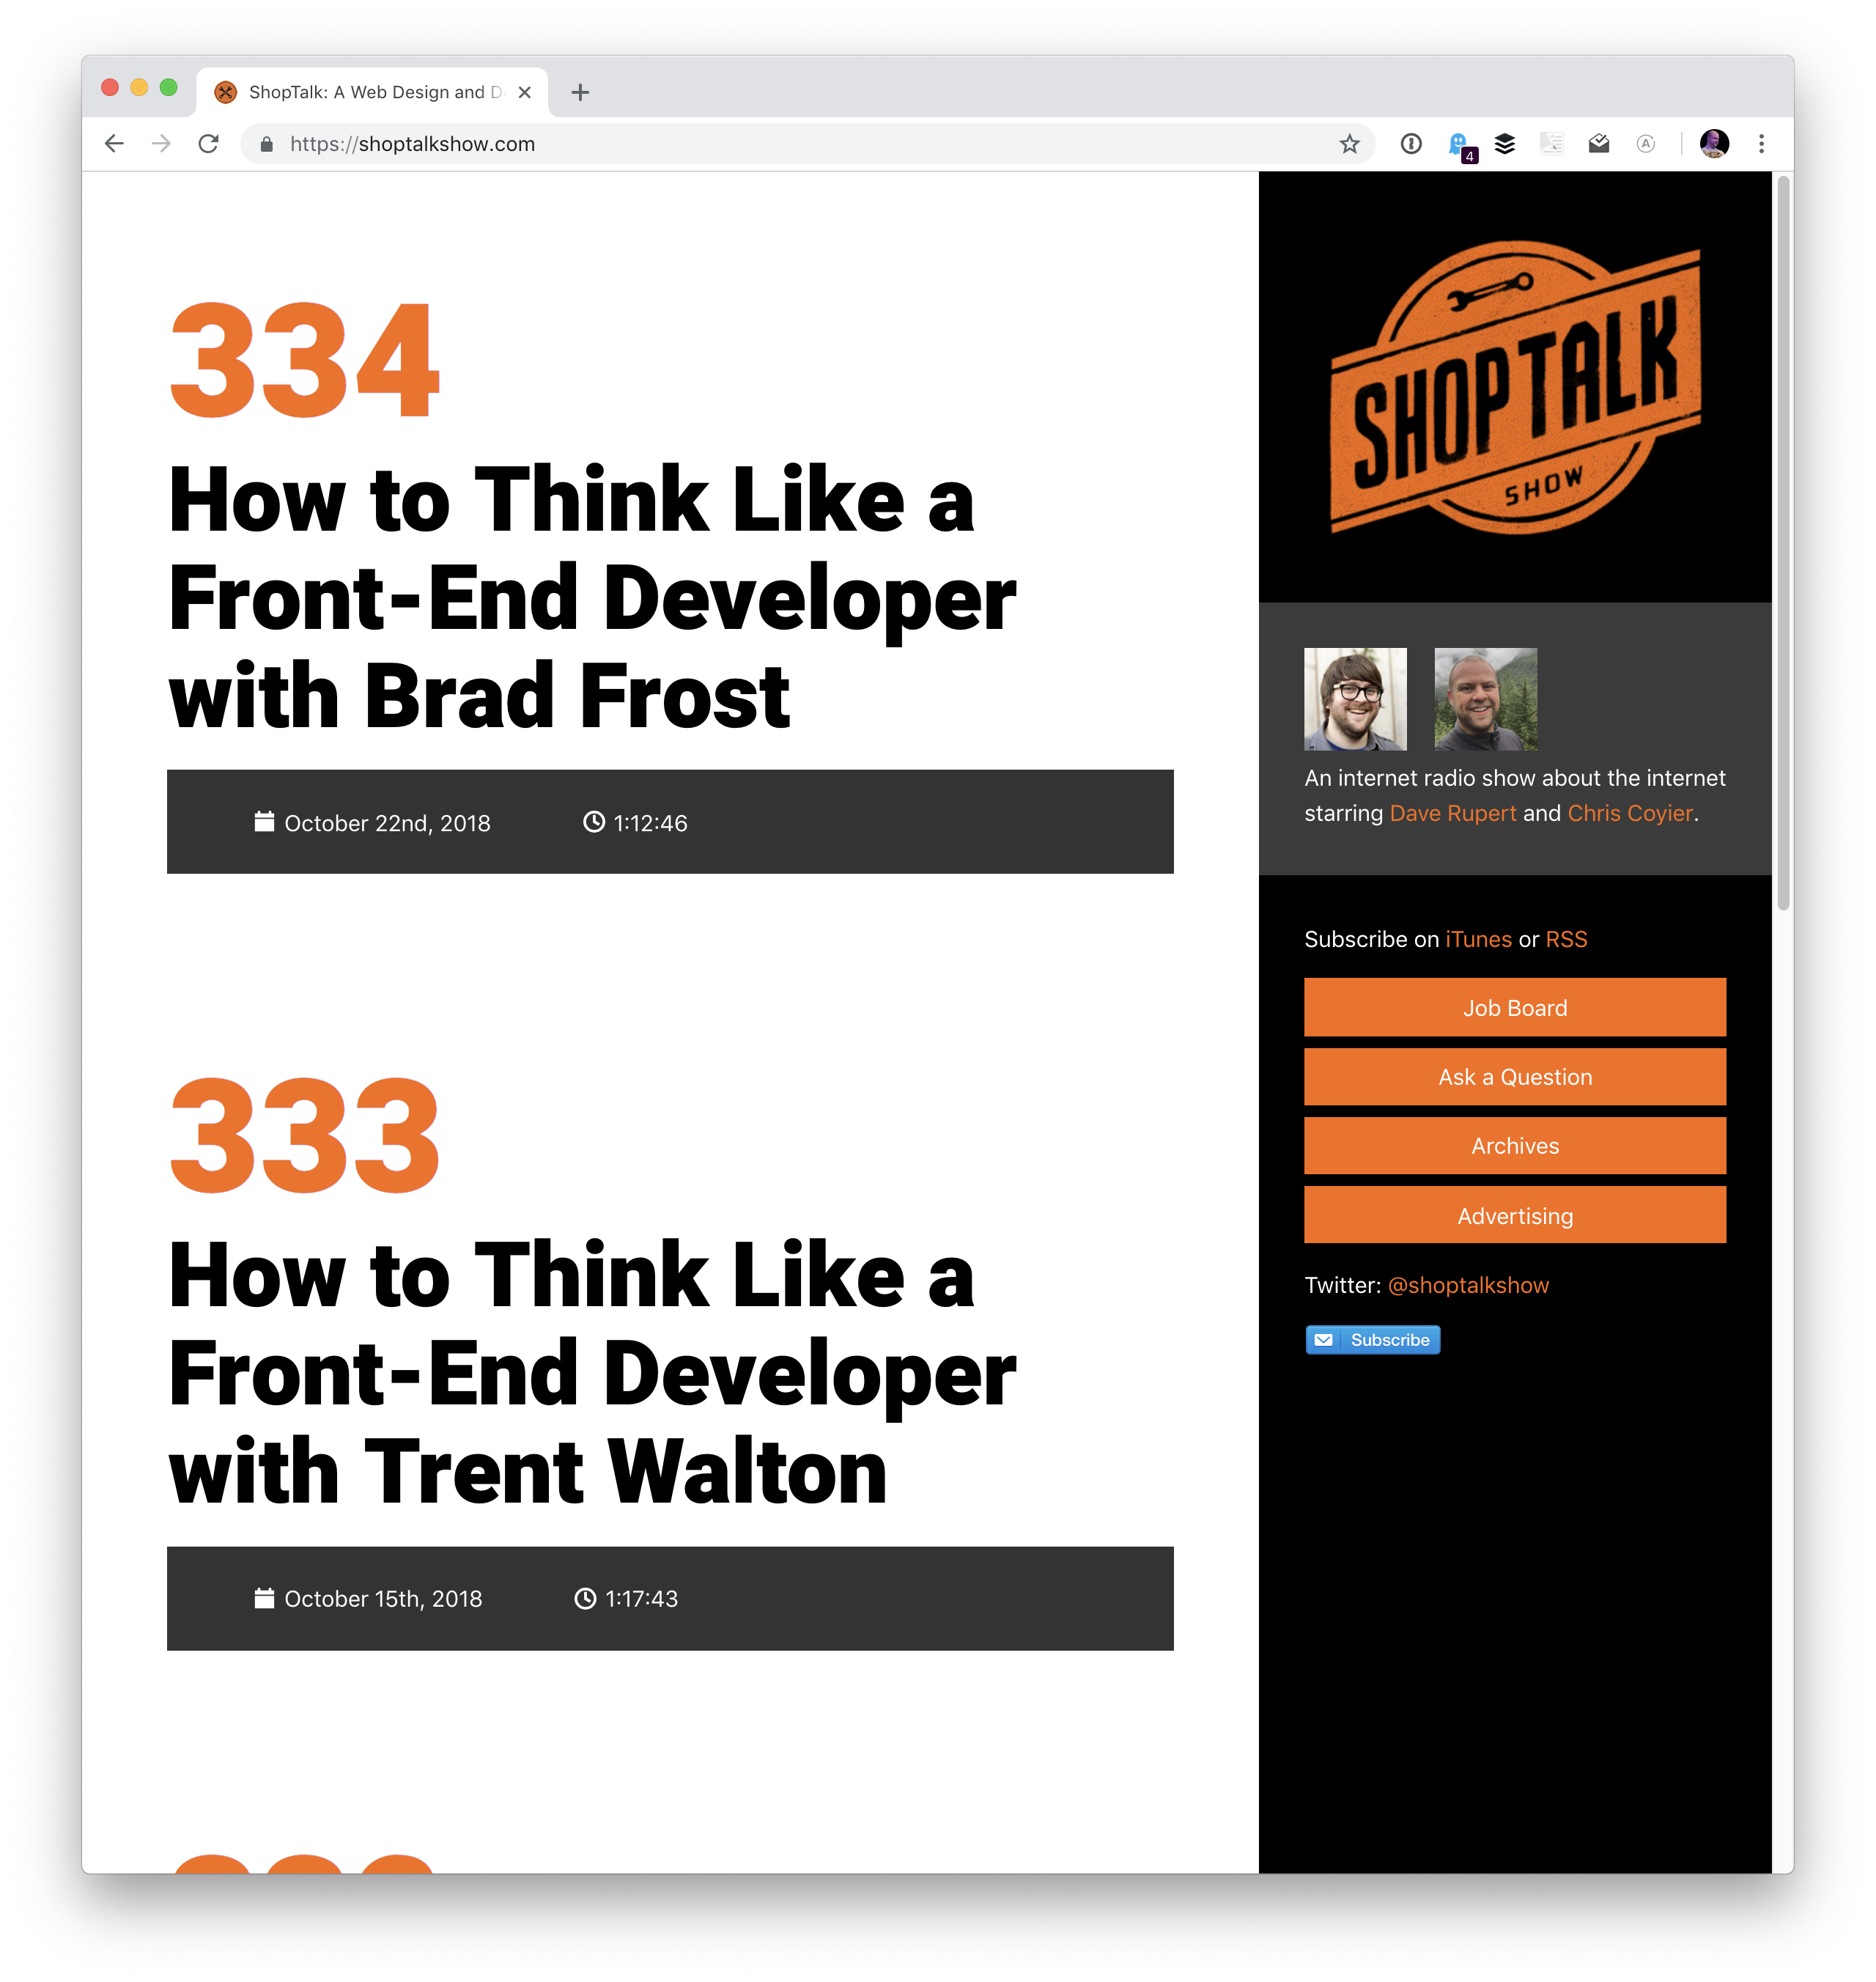
Over on ShopTalk, Dave and I have kicked off a series of shows we’re calling „How to Think Like a Front-End Developer.”

I’ve been fascinated by this idea for a while and have been collecting thoughts on it. I have my own ideas, but I want to contrast them with the ideas of other front-end developers much more accomplished than myself! My goal is to turn all this into a talk that I can give toward the end of this year and next year. This is partially inspired by some posts we’ve published here over the years:

…as well other people’s work, of course, like Brad Frost and Dan Mall’s Designer/Developer Workflow, and Lara Schenck and Mandy Michael’s thoughts on front-end development. Not to mention seismic shifts in the front-end development landscape through New JavaScript and Serverless.

I’ve been collecting these articles the best I can.

The ShopTalk series is happening now! A number of episodes are already published:


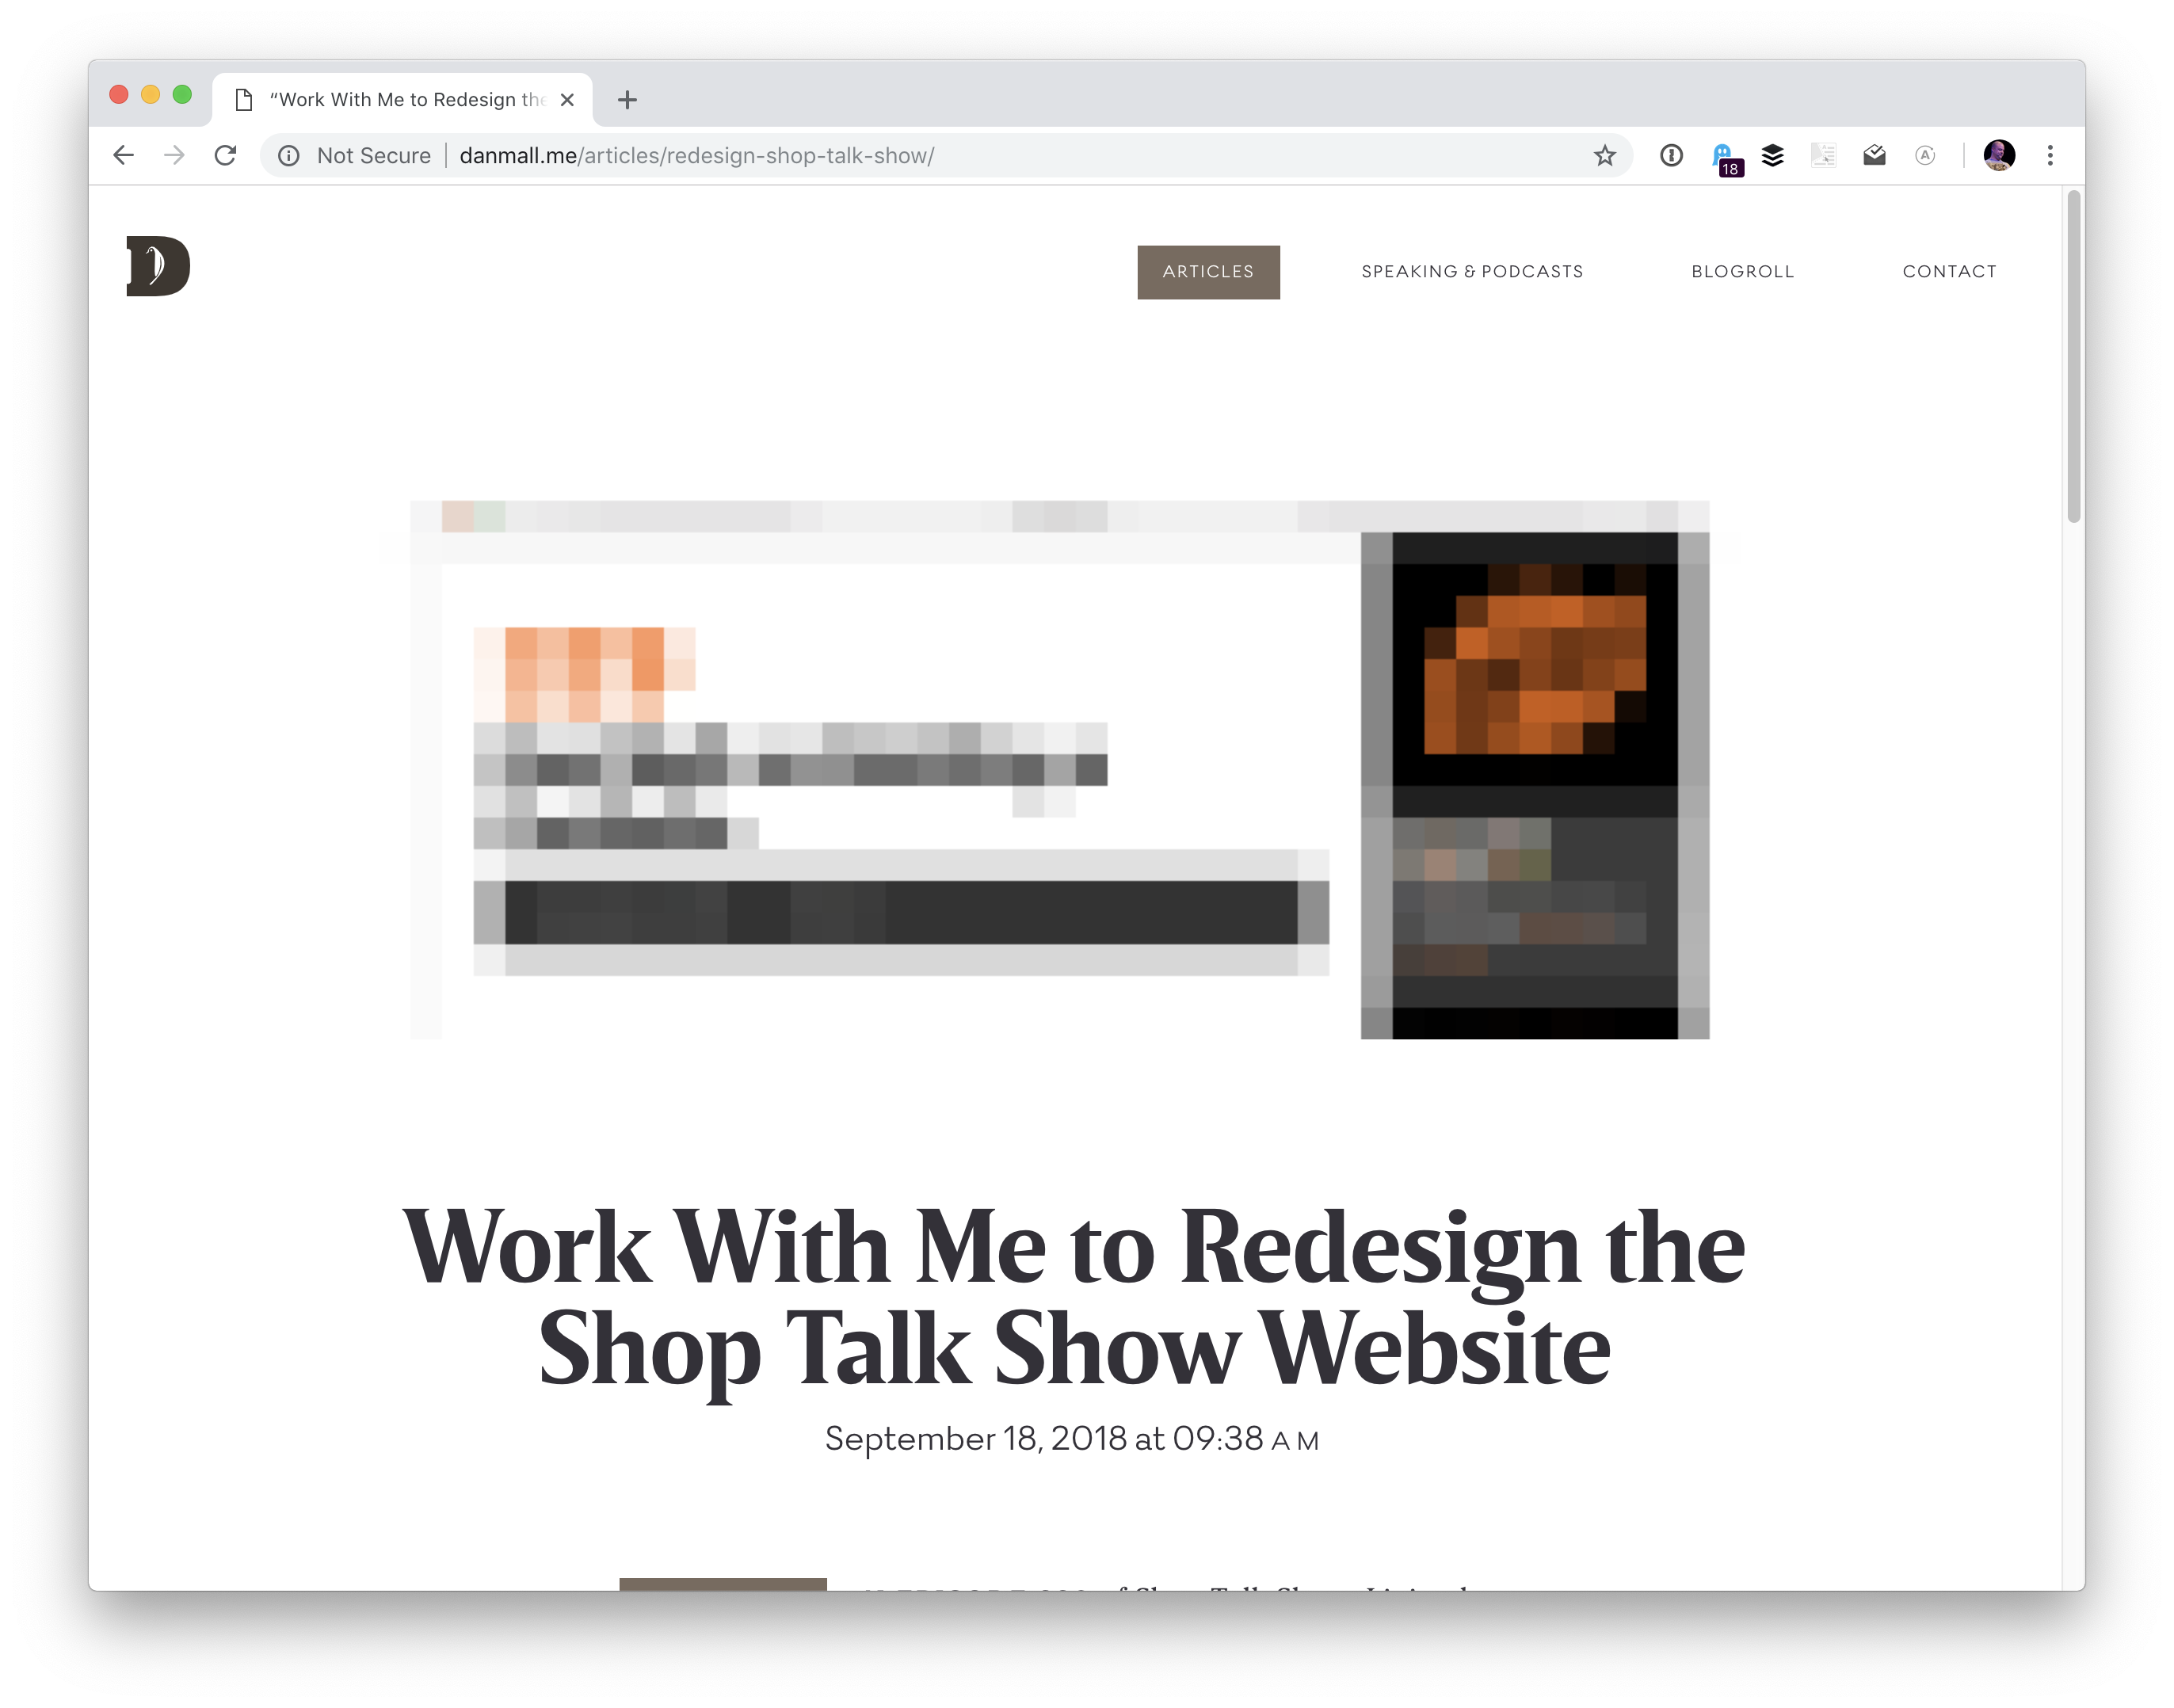
Speaking of ShopTalk, a while back Dave and I mused about wanting to redesign the ShopTalk Show website. We did all this work on the back end making sure all the data from our 350+ episodes is super clean and easy to work when, then I slapped a design on top of it that is honestly pretty bad.

Dan Mall heard us talk about it and reached out to us to see if he could help. Not to do the work himself… that would be amazing, but Dan had an even better idea. Instead, we would all work together to find a newcomer to design and have them work under Dan’s direction and guidence to design the site. Here’s Dan’s intro post (and note that applications are now closed).

We’re currently in the process of narrowing down the applicants and interviewing finalists. We’re planning on being very public about the process, so not only will we hopefully be helping someone who could use a bit of a break into this industry, but we’ll also help anyone else who cares to watch it happen.


I’ve recently had the pleasure of being a guest on other shows.

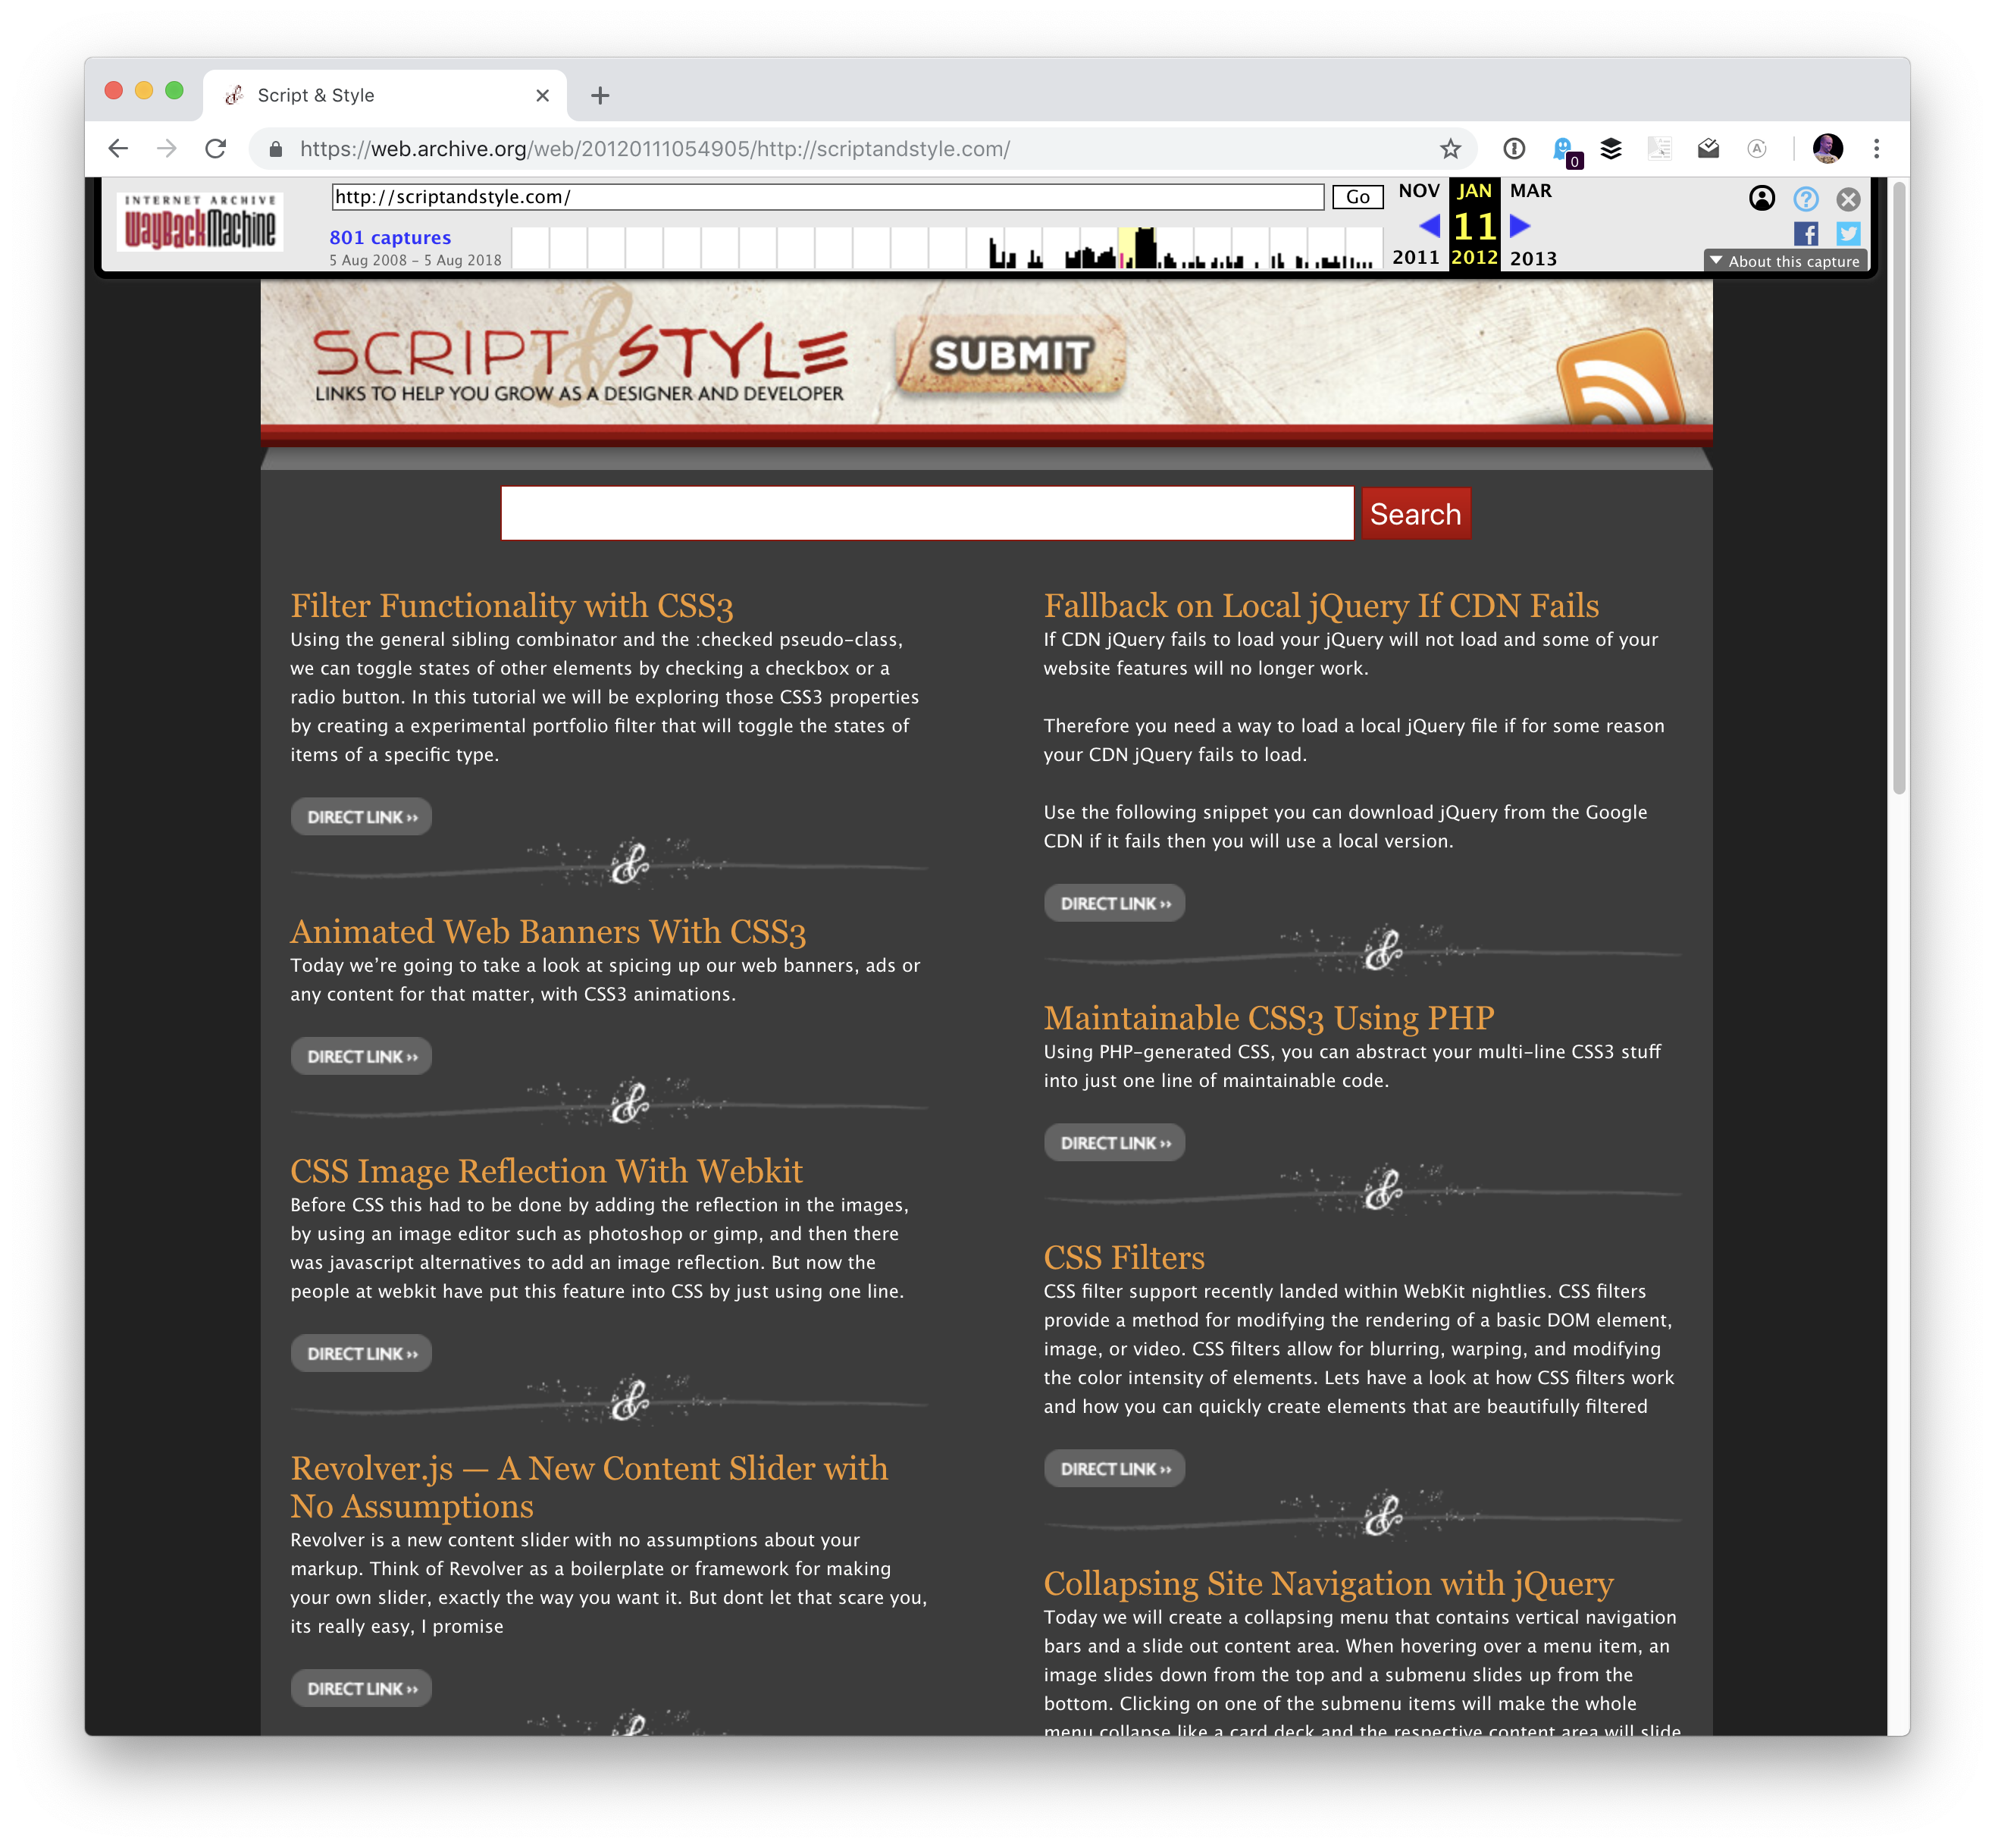
First up, I was on the Script & Style Show with David Walsh and Todd Gardner

I love that David has ressurected the name Script & Style. We did a site together quite a few years back with that same name!


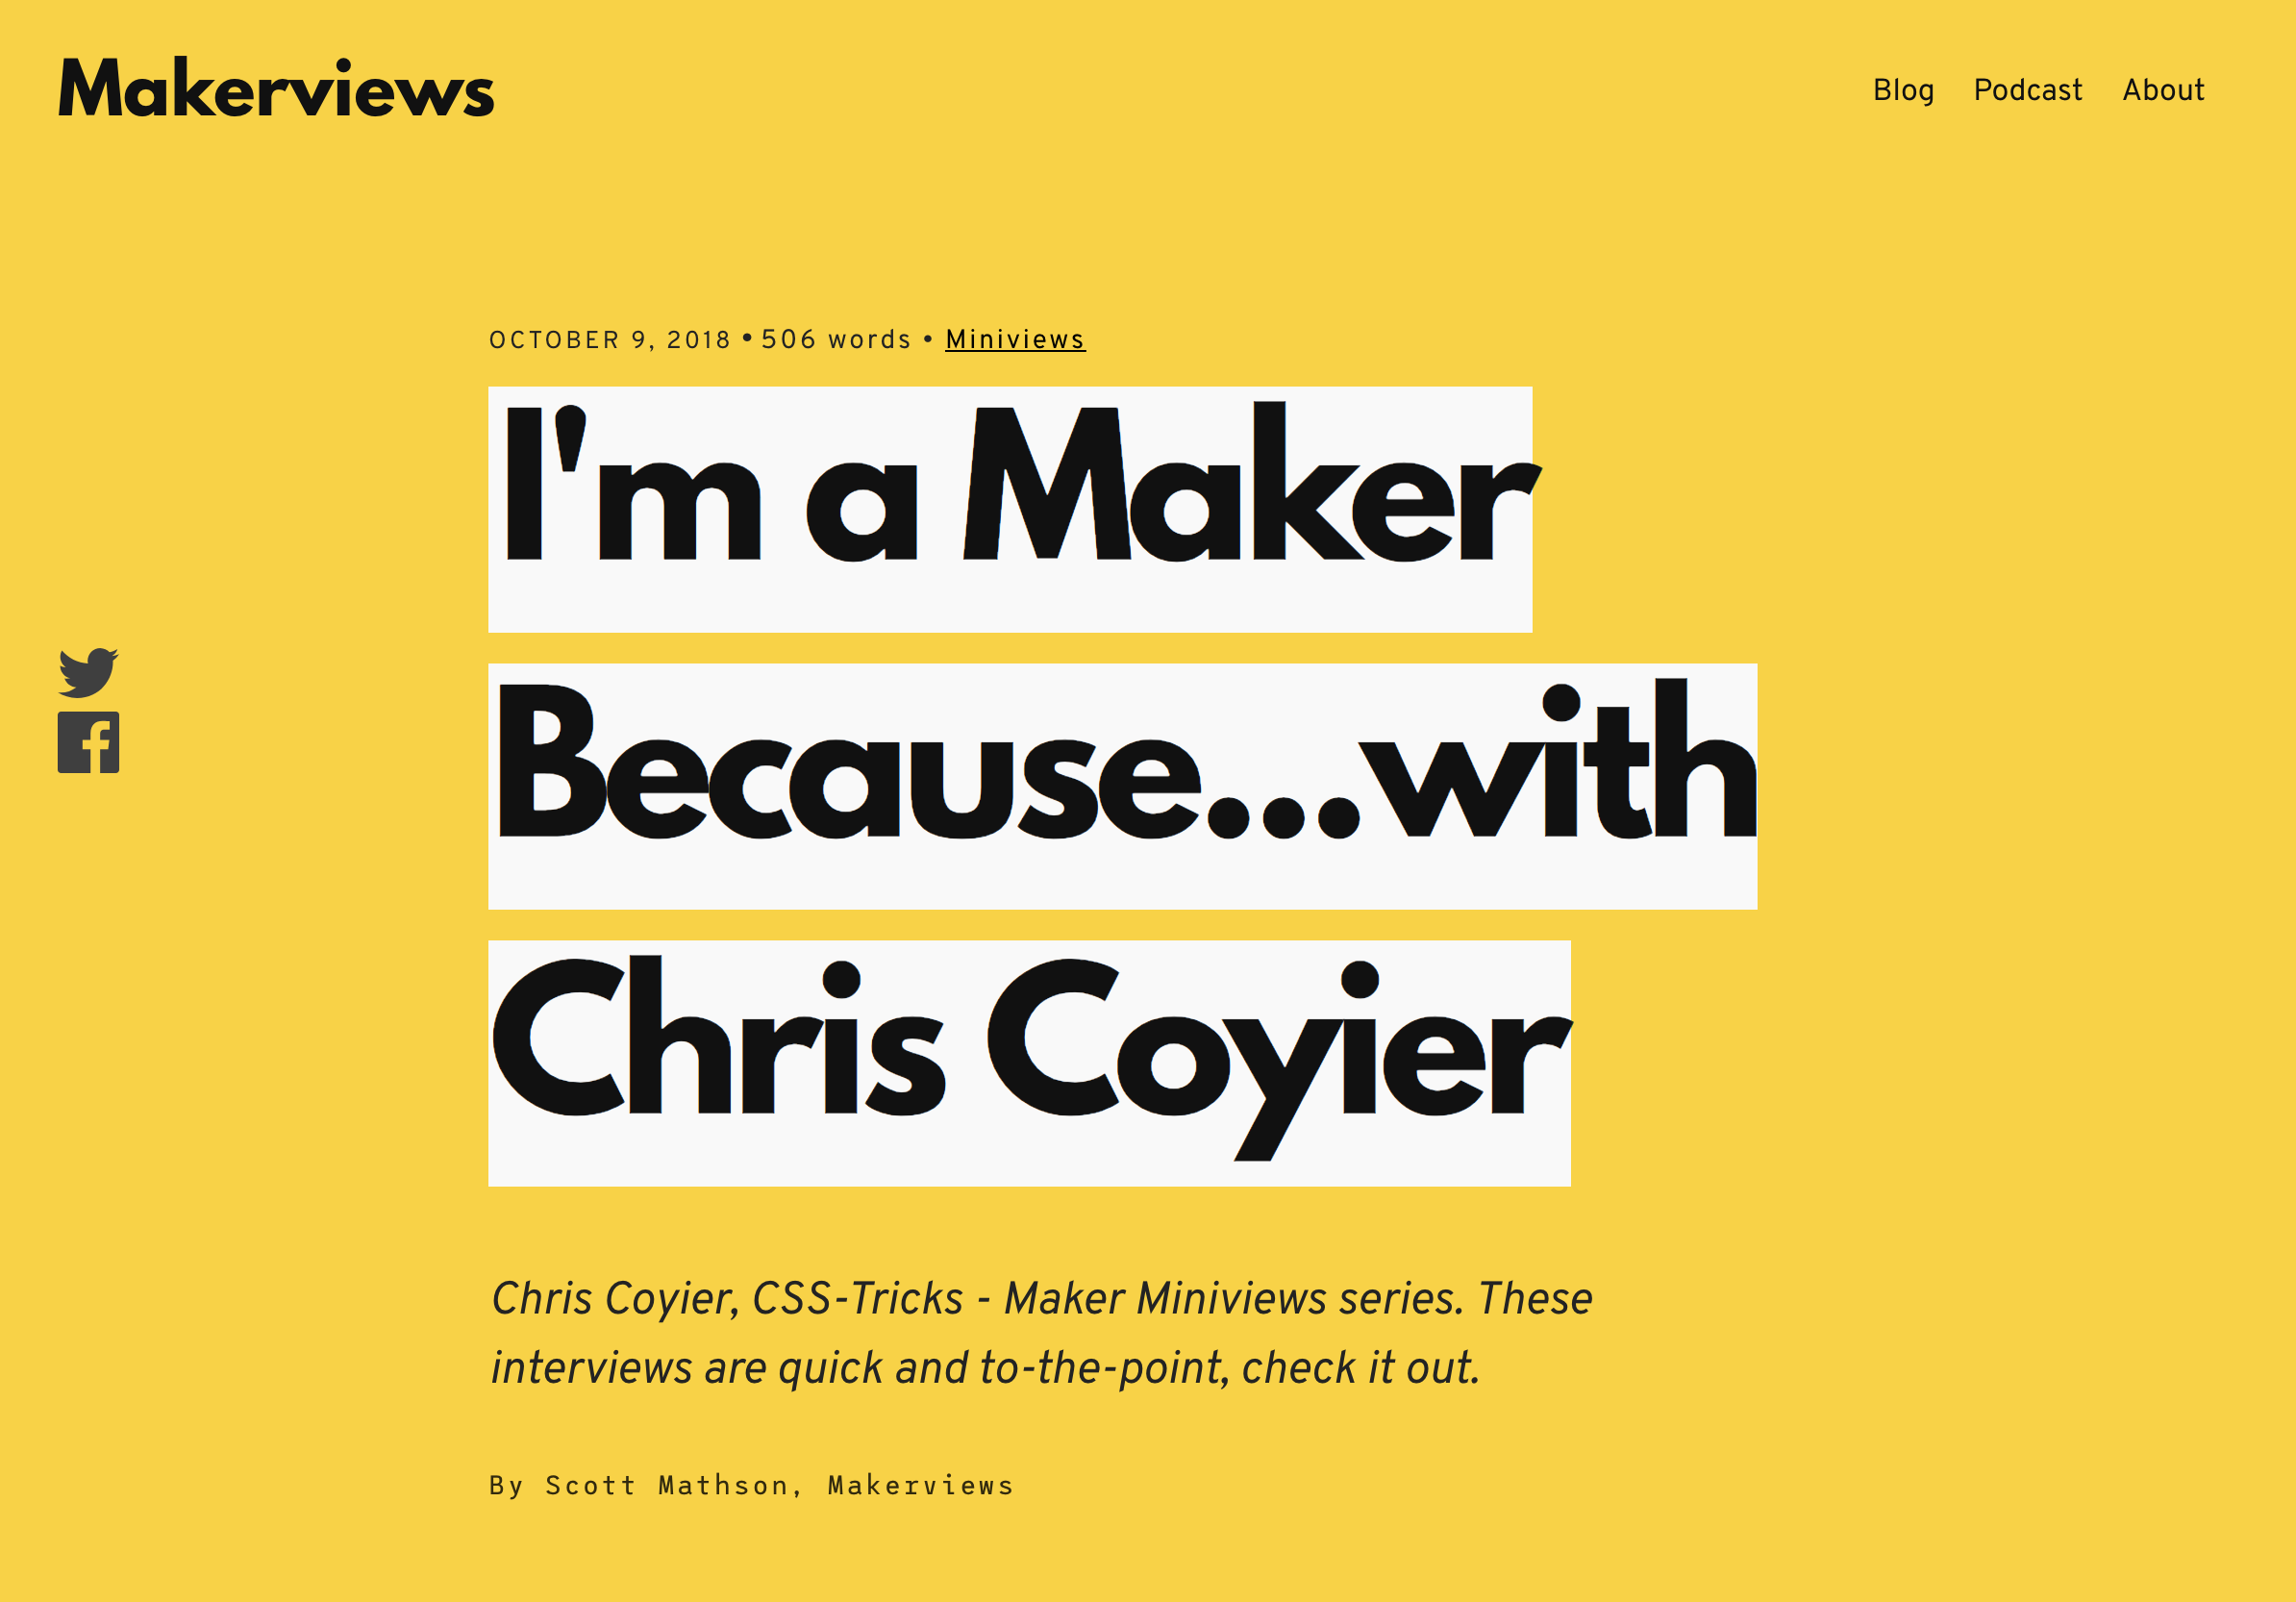
I have a very short interview on Makerviews:

What one piece of advice would you give to other makers?

I’d say that you’re lucky. The most interesting people I know that seem to lead the most fulfilling, long, and interesting lives are those people who do interesting things, make interesting things, and generally just engage with life at a level deeper than just skating by or watching.


And my (third?) appearance on Thundernerds:

Watch/Listen as we talk w @chriscoyier at @frontendconf 2018. We chat with Chris Coyier about his talk "The All-Powerful Front-End Developer" –> https://t.co/exGJ4sEsXE #CSS #developer #UX pic.twitter.com/C9ybTkK6Rb

— Thunder Nerds ⚡️ (@thundernerds) May 2, 2018


If you happen to live in Central Oregon, note that our BendJS meetups have kicked back up for the season. We’ve been having them right at our CodePen office and it’s been super fun.


I haven’t even gotten to CodePen stuff yet! Since my last chronicle, we’ve brought in a number of new employees, like Klare Frank, Cassidy Williams, and now Stephen Shaw. We’re always chugging away at polishing and maintaining CodePen, building new features, encouraging community, and everything else that running a social coding site requires.

Oh and hey! CodePen is now a registered trademark, so I can do this: CodePen®. One of our latest user-facing features is pinned items. Rest assured, we have loads of other features that are in development for y’all that are coming soon.

If you’re interested in the technology side of CodePen, we’ve dug into lots of topics lately on CodePen radio like:

The post CSS-Tricks Chronicle XXXIV appeared first on CSS-Tricks.

CSS-Tricks Chronicle XXXIV

Post pobrano z: CSS-Tricks Chronicle XXXIV

Hey gang, time for another broad update about various goings on as we tend to do occasionally. Some various happenings around here, appearances on other sites, upcoming conferences, and the like.

I’m speaking at a handful of conferences coming up!

At the end of this month, October 29th-30th, I’ll be speaking at JAMstack_conf. Ever since I went to a jQuery conference several million years ago (by my count), I’ve always had a special place in my heart for conferences with a tech-specific focus. Certainly this whole world of JAMstack and serverless can be pretty broad, but it’s more focused than a general web design conference.


In December, I’ll be at WordCamp US. I like getting to go to WordPress-specific events to help me stay current on that community. CSS-Tricks is, and always has been a WordPress site, as are many other sites I manage. I like to keep my WordPress development chops up the best I can. I imagine the Gutenburg talk will be hot and heavy! I’ll be speaking as well, generally about front-end development.


Next Spring, March 4th-6th, I’ll be in Seattle for An Event Apart !


Over on ShopTalk, Dave and I have kicked off a series of shows we’re calling „How to Think Like a Front-End Developer.”

I’ve been fascinated by this idea for a while and have been collecting thoughts on it. I have my own ideas, but I want to contrast them with the ideas of other front-end developers much more accomplished than myself! My goal is to turn all this into a talk that I can give toward the end of this year and next year. This is partially inspired by some posts we’ve published here over the years:

…as well other people’s work, of course, like Brad Frost and Dan Mall’s Designer/Developer Workflow, and Lara Schenck and Mandy Michael’s thoughts on front-end development. Not to mention seismic shifts in the front-end development landscape through New JavaScript and Serverless.

I’ve been collecting these articles the best I can.

The ShopTalk series is happening now! A number of episodes are already published:


Speaking of ShopTalk, a while back Dave and I mused about wanting to redesign the ShopTalk Show website. We did all this work on the back end making sure all the data from our 350+ episodes is super clean and easy to work when, then I slapped a design on top of it that is honestly pretty bad.

Dan Mall heard us talk about it and reached out to us to see if he could help. Not to do the work himself… that would be amazing, but Dan had an even better idea. Instead, we would all work together to find a newcomer to design and have them work under Dan’s direction and guidence to design the site. Here’s Dan’s intro post (and note that applications are now closed).

We’re currently in the process of narrowing down the applicants and interviewing finalists. We’re planning on being very public about the process, so not only will we hopefully be helping someone who could use a bit of a break into this industry, but we’ll also help anyone else who cares to watch it happen.


I’ve recently had the pleasure of being a guest on other shows.

First up, I was on the Script & Style Show with David Walsh and Todd Gardner

I love that David has ressurected the name Script & Style. We did a site together quite a few years back with that same name!


I have a very short interview on Makerviews:

What one piece of advice would you give to other makers?

I’d say that you’re lucky. The most interesting people I know that seem to lead the most fulfilling, long, and interesting lives are those people who do interesting things, make interesting things, and generally just engage with life at a level deeper than just skating by or watching.


And my (third?) appearance on Thundernerds:

Watch/Listen as we talk w @chriscoyier at @frontendconf 2018. We chat with Chris Coyier about his talk "The All-Powerful Front-End Developer" –> https://t.co/exGJ4sEsXE #CSS #developer #UX pic.twitter.com/C9ybTkK6Rb

— Thunder Nerds ⚡️ (@thundernerds) May 2, 2018


If you happen to live in Central Oregon, note that our BendJS meetups have kicked back up for the season. We’ve been having them right at our CodePen office and it’s been super fun.


I haven’t even gotten to CodePen stuff yet! Since my last chronicle, we’ve brought in a number of new employees, like Klare Frank, Cassidy Williams, and now Stephen Shaw. We’re always chugging away at polishing and maintaining CodePen, building new features, encouraging community, and everything else that running a social coding site requires.

Oh and hey! CodePen is now a registered trademark, so I can do this: CodePen®. One of our latest user-facing features is pinned items. Rest assured, we have loads of other features that are in development for y’all that are coming soon.

If you’re interested in the technology side of CodePen, we’ve dug into lots of topics lately on CodePen radio like:

The post CSS-Tricks Chronicle XXXIV appeared first on CSS-Tricks.

CSS-Tricks Chronicle XXXIV

Post pobrano z: CSS-Tricks Chronicle XXXIV

Hey gang, time for another broad update about various goings on as we tend to do occasionally. Some various happenings around here, appearances on other sites, upcoming conferences, and the like.

I’m speaking at a handful of conferences coming up!

At the end of this month, October 29th-30th, I’ll be speaking at JAMstack_conf. Ever since I went to a jQuery conference several million years ago (by my count), I’ve always had a special place in my heart for conferences with a tech-specific focus. Certainly this whole world of JAMstack and serverless can be pretty broad, but it’s more focused than a general web design conference.


In December, I’ll be at WordCamp US. I like getting to go to WordPress-specific events to help me stay current on that community. CSS-Tricks is, and always has been a WordPress site, as are many other sites I manage. I like to keep my WordPress development chops up the best I can. I imagine the Gutenburg talk will be hot and heavy! I’ll be speaking as well, generally about front-end development.


Next Spring, March 4th-6th, I’ll be in Seattle for An Event Apart !


Over on ShopTalk, Dave and I have kicked off a series of shows we’re calling „How to Think Like a Front-End Developer.”

I’ve been fascinated by this idea for a while and have been collecting thoughts on it. I have my own ideas, but I want to contrast them with the ideas of other front-end developers much more accomplished than myself! My goal is to turn all this into a talk that I can give toward the end of this year and next year. This is partially inspired by some posts we’ve published here over the years:

…as well other people’s work, of course, like Brad Frost and Dan Mall’s Designer/Developer Workflow, and Lara Schenck and Mandy Michael’s thoughts on front-end development. Not to mention seismic shifts in the front-end development landscape through New JavaScript and Serverless.

I’ve been collecting these articles the best I can.

The ShopTalk series is happening now! A number of episodes are already published:


Speaking of ShopTalk, a while back Dave and I mused about wanting to redesign the ShopTalk Show website. We did all this work on the back end making sure all the data from our 350+ episodes is super clean and easy to work when, then I slapped a design on top of it that is honestly pretty bad.

Dan Mall heard us talk about it and reached out to us to see if he could help. Not to do the work himself… that would be amazing, but Dan had an even better idea. Instead, we would all work together to find a newcomer to design and have them work under Dan’s direction and guidence to design the site. Here’s Dan’s intro post (and note that applications are now closed).

We’re currently in the process of narrowing down the applicants and interviewing finalists. We’re planning on being very public about the process, so not only will we hopefully be helping someone who could use a bit of a break into this industry, but we’ll also help anyone else who cares to watch it happen.


I’ve recently had the pleasure of being a guest on other shows.

First up, I was on the Script & Style Show with David Walsh and Todd Gardner

I love that David has ressurected the name Script & Style. We did a site together quite a few years back with that same name!


I have a very short interview on Makerviews:

What one piece of advice would you give to other makers?

I’d say that you’re lucky. The most interesting people I know that seem to lead the most fulfilling, long, and interesting lives are those people who do interesting things, make interesting things, and generally just engage with life at a level deeper than just skating by or watching.


And my (third?) appearance on Thundernerds:

Watch/Listen as we talk w @chriscoyier at @frontendconf 2018. We chat with Chris Coyier about his talk "The All-Powerful Front-End Developer" –> https://t.co/exGJ4sEsXE #CSS #developer #UX pic.twitter.com/C9ybTkK6Rb

— Thunder Nerds ⚡️ (@thundernerds) May 2, 2018


If you happen to live in Central Oregon, note that our BendJS meetups have kicked back up for the season. We’ve been having them right at our CodePen office and it’s been super fun.


I haven’t even gotten to CodePen stuff yet! Since my last chronicle, we’ve brought in a number of new employees, like Klare Frank, Cassidy Williams, and now Stephen Shaw. We’re always chugging away at polishing and maintaining CodePen, building new features, encouraging community, and everything else that running a social coding site requires.

Oh and hey! CodePen is now a registered trademark, so I can do this: CodePen®. One of our latest user-facing features is pinned items. Rest assured, we have loads of other features that are in development for y’all that are coming soon.

If you’re interested in the technology side of CodePen, we’ve dug into lots of topics lately on CodePen radio like:

The post CSS-Tricks Chronicle XXXIV appeared first on CSS-Tricks.

How to Create a Spanish 3D Text Effect in Adobe Illustrator

Post pobrano z: How to Create a Spanish 3D Text Effect in Adobe Illustrator

Final product image
What You’ll Be Creating

In the following steps, you will learn how to create a Spanish 3D text effect in Adobe Illustrator.

For starters, you will learn how to create a simple background for your text and how to add basic text. Using only your piece of text and the Appearance panel, you will learn how to create the final text effect. You’ll only need four fills, a stroke, several Transform and 3D Rotate effects, a Gaussian Blur, and some basic blending techniques.

For more inspiration on how to adjust or improve your final text effect, you can find plenty of resources at GraphicRiver.

What You Will Need

You will need the following resource in order to complete this project:

1. How to Create a New Document and the Background

Step 1

Hit Control-N to create a new document. Select Pixels from the Units drop-down menu, enter 850 in the width box and 600 in the height box, and then click that More Settings button. Select RGB for the Color Mode, set the Raster Effects to Screen (72 ppi), and then click Create Document.

Open the Info panel (Window > Info) for a live preview with the size and position of your shapes. Don’t forget to set the unit of measurement to pixels from Edit > Preferences > Units.

new document

Step 2

Pick the Rectangle Tool (M) and focus on your Toolbar. Remove the color from the stroke and then select the fill and set its color to R=137 G=147 B=150.

Simply click on your artboard to open the Rectangle window. Set the Width to 870 px and the Height to 620 px, and then click OK. Make sure that your new shape covers the entire artboard as shown in the following image.

background rectangle

2. How to Create the Text

Step 1

Pick the Type Tool (T) and open the Character panel (Window > Type > Character). Select the Etna font, and set the size to 100 px and the tracking to 100.

Click on the artboard and add your piece of text about as shown below. The text I’m using means „Always look on the bright side of life” in Spanish. Make it black, for now.

type tool

Step 2

Select your text, focus on the Swatches panel (Window > Swatches), and click that [None] swatch to remove the black text color.

Move to the Appearance panel (Window > Appearance) and add a new fill using the Add New Fill button. Select that new fill and set the color to R=249 G=62 B=73.

add new fill

3. How to Create the Spanish 3D Text Effect

Step 1

Make sure that your text stays selected and focus on the Appearance panel. Select the fill and go to Effect > 3D > Rotate. Enter the attributes shown below and click OK.

3D rotate

Step 2

Make sure that your text stays selected and keep focusing on the Appearance panel.

Add a second fill and select it. Drag it below that other fill, set its color to R=206 G=17 B=38, and go to Effect > 3D > Rotate. Enter the attributes shown below, click OK, and go to Effect > Distort & Transform > Transform. Drag the Move-Vertical slider to 0.25 px, enter 20 in the Copies box, and then click OK.

add new fill

Step 3

Make sure that your text stays selected and keep focusing on the Appearance panel.

Add a third fill and select it. Drag it below the other fills and set its color to black (R=0 G=0 B=0). Lower its Opacity to 50% and change the Blending Mode to Soft Light, and then go to Effect > 3D > Rotate. Enter the attributes shown below, click OK, and go to Effect > Distort & Transform > Transform. Enter the settings shown in the following image, click OK, and go to Effect > Blur > Gaussian Blur. Set the Radius to 8 px and click OK.

gaussian blur

Step 4

Make sure that your text stays selected and keep focusing on the Appearance panel.

Select the black fill and duplicate it using the Duplicate Selected Item button. Select the newly added fill, lower its Opacity to 5%, and remove that Gaussian Blur effect.

second black fill

Step 5

Make sure that your text stays selected and keep focusing on the Appearance panel.

Select the stroke and set its color to white (R=255 G=255 B=255). Increase the stroke Weight to 4 px and then go to Effect > Path > Offset Path. Enter a -2 px Offset, click OK, and go to Effect > 3D > Rotate. Enter the attributes shown below, click OK, and go to Effect > Distort & Transform > Transform. Drag the Move-Vertical slider to -20 px and click OK.

stroke

Congratulations! You’re Done!

Here is how your Spanish 3D text effect should look. I hope you’ve enjoyed this tutorial and can apply these techniques in your future projects. Don’t hesitate to share your final result in the comments section.

Feel free to adjust the final design and make it your own. You can find some great sources of inspiration at GraphicRiver, with interesting solutions to improve your design.

Spanish 3D Text Effect

Looking for more tutorials? I recommend the following:

How to Create a Spanish 3D Text Effect in Adobe Illustrator

Post pobrano z: How to Create a Spanish 3D Text Effect in Adobe Illustrator

Final product image
What You’ll Be Creating

In the following steps, you will learn how to create a Spanish 3D text effect in Adobe Illustrator.

For starters, you will learn how to create a simple background for your text and how to add basic text. Using only your piece of text and the Appearance panel, you will learn how to create the final text effect. You’ll only need four fills, a stroke, several Transform and 3D Rotate effects, a Gaussian Blur, and some basic blending techniques.

For more inspiration on how to adjust or improve your final text effect, you can find plenty of resources at GraphicRiver.

What You Will Need

You will need the following resource in order to complete this project:

1. How to Create a New Document and the Background

Step 1

Hit Control-N to create a new document. Select Pixels from the Units drop-down menu, enter 850 in the width box and 600 in the height box, and then click that More Settings button. Select RGB for the Color Mode, set the Raster Effects to Screen (72 ppi), and then click Create Document.

Open the Info panel (Window > Info) for a live preview with the size and position of your shapes. Don’t forget to set the unit of measurement to pixels from Edit > Preferences > Units.

new document

Step 2

Pick the Rectangle Tool (M) and focus on your Toolbar. Remove the color from the stroke and then select the fill and set its color to R=137 G=147 B=150.

Simply click on your artboard to open the Rectangle window. Set the Width to 870 px and the Height to 620 px, and then click OK. Make sure that your new shape covers the entire artboard as shown in the following image.

background rectangle

2. How to Create the Text

Step 1

Pick the Type Tool (T) and open the Character panel (Window > Type > Character). Select the Etna font, and set the size to 100 px and the tracking to 100.

Click on the artboard and add your piece of text about as shown below. The text I’m using means „Always look on the bright side of life” in Spanish. Make it black, for now.

type tool

Step 2

Select your text, focus on the Swatches panel (Window > Swatches), and click that [None] swatch to remove the black text color.

Move to the Appearance panel (Window > Appearance) and add a new fill using the Add New Fill button. Select that new fill and set the color to R=249 G=62 B=73.

add new fill

3. How to Create the Spanish 3D Text Effect

Step 1

Make sure that your text stays selected and focus on the Appearance panel. Select the fill and go to Effect > 3D > Rotate. Enter the attributes shown below and click OK.

3D rotate

Step 2

Make sure that your text stays selected and keep focusing on the Appearance panel.

Add a second fill and select it. Drag it below that other fill, set its color to R=206 G=17 B=38, and go to Effect > 3D > Rotate. Enter the attributes shown below, click OK, and go to Effect > Distort & Transform > Transform. Drag the Move-Vertical slider to 0.25 px, enter 20 in the Copies box, and then click OK.

add new fill

Step 3

Make sure that your text stays selected and keep focusing on the Appearance panel.

Add a third fill and select it. Drag it below the other fills and set its color to black (R=0 G=0 B=0). Lower its Opacity to 50% and change the Blending Mode to Soft Light, and then go to Effect > 3D > Rotate. Enter the attributes shown below, click OK, and go to Effect > Distort & Transform > Transform. Enter the settings shown in the following image, click OK, and go to Effect > Blur > Gaussian Blur. Set the Radius to 8 px and click OK.

gaussian blur

Step 4

Make sure that your text stays selected and keep focusing on the Appearance panel.

Select the black fill and duplicate it using the Duplicate Selected Item button. Select the newly added fill, lower its Opacity to 5%, and remove that Gaussian Blur effect.

second black fill

Step 5

Make sure that your text stays selected and keep focusing on the Appearance panel.

Select the stroke and set its color to white (R=255 G=255 B=255). Increase the stroke Weight to 4 px and then go to Effect > Path > Offset Path. Enter a -2 px Offset, click OK, and go to Effect > 3D > Rotate. Enter the attributes shown below, click OK, and go to Effect > Distort & Transform > Transform. Drag the Move-Vertical slider to -20 px and click OK.

stroke

Congratulations! You’re Done!

Here is how your Spanish 3D text effect should look. I hope you’ve enjoyed this tutorial and can apply these techniques in your future projects. Don’t hesitate to share your final result in the comments section.

Feel free to adjust the final design and make it your own. You can find some great sources of inspiration at GraphicRiver, with interesting solutions to improve your design.

Spanish 3D Text Effect

Looking for more tutorials? I recommend the following:

How to Create a Spanish 3D Text Effect in Adobe Illustrator

Post pobrano z: How to Create a Spanish 3D Text Effect in Adobe Illustrator

Final product image
What You’ll Be Creating

In the following steps, you will learn how to create a Spanish 3D text effect in Adobe Illustrator.

For starters, you will learn how to create a simple background for your text and how to add basic text. Using only your piece of text and the Appearance panel, you will learn how to create the final text effect. You’ll only need four fills, a stroke, several Transform and 3D Rotate effects, a Gaussian Blur, and some basic blending techniques.

For more inspiration on how to adjust or improve your final text effect, you can find plenty of resources at GraphicRiver.

What You Will Need

You will need the following resource in order to complete this project:

1. How to Create a New Document and the Background

Step 1

Hit Control-N to create a new document. Select Pixels from the Units drop-down menu, enter 850 in the width box and 600 in the height box, and then click that More Settings button. Select RGB for the Color Mode, set the Raster Effects to Screen (72 ppi), and then click Create Document.

Open the Info panel (Window > Info) for a live preview with the size and position of your shapes. Don’t forget to set the unit of measurement to pixels from Edit > Preferences > Units.

new document

Step 2

Pick the Rectangle Tool (M) and focus on your Toolbar. Remove the color from the stroke and then select the fill and set its color to R=137 G=147 B=150.

Simply click on your artboard to open the Rectangle window. Set the Width to 870 px and the Height to 620 px, and then click OK. Make sure that your new shape covers the entire artboard as shown in the following image.

background rectangle

2. How to Create the Text

Step 1

Pick the Type Tool (T) and open the Character panel (Window > Type > Character). Select the Etna font, and set the size to 100 px and the tracking to 100.

Click on the artboard and add your piece of text about as shown below. The text I’m using means „Always look on the bright side of life” in Spanish. Make it black, for now.

type tool

Step 2

Select your text, focus on the Swatches panel (Window > Swatches), and click that [None] swatch to remove the black text color.

Move to the Appearance panel (Window > Appearance) and add a new fill using the Add New Fill button. Select that new fill and set the color to R=249 G=62 B=73.

add new fill

3. How to Create the Spanish 3D Text Effect

Step 1

Make sure that your text stays selected and focus on the Appearance panel. Select the fill and go to Effect > 3D > Rotate. Enter the attributes shown below and click OK.

3D rotate

Step 2

Make sure that your text stays selected and keep focusing on the Appearance panel.

Add a second fill and select it. Drag it below that other fill, set its color to R=206 G=17 B=38, and go to Effect > 3D > Rotate. Enter the attributes shown below, click OK, and go to Effect > Distort & Transform > Transform. Drag the Move-Vertical slider to 0.25 px, enter 20 in the Copies box, and then click OK.

add new fill

Step 3

Make sure that your text stays selected and keep focusing on the Appearance panel.

Add a third fill and select it. Drag it below the other fills and set its color to black (R=0 G=0 B=0). Lower its Opacity to 50% and change the Blending Mode to Soft Light, and then go to Effect > 3D > Rotate. Enter the attributes shown below, click OK, and go to Effect > Distort & Transform > Transform. Enter the settings shown in the following image, click OK, and go to Effect > Blur > Gaussian Blur. Set the Radius to 8 px and click OK.

gaussian blur

Step 4

Make sure that your text stays selected and keep focusing on the Appearance panel.

Select the black fill and duplicate it using the Duplicate Selected Item button. Select the newly added fill, lower its Opacity to 5%, and remove that Gaussian Blur effect.

second black fill

Step 5

Make sure that your text stays selected and keep focusing on the Appearance panel.

Select the stroke and set its color to white (R=255 G=255 B=255). Increase the stroke Weight to 4 px and then go to Effect > Path > Offset Path. Enter a -2 px Offset, click OK, and go to Effect > 3D > Rotate. Enter the attributes shown below, click OK, and go to Effect > Distort & Transform > Transform. Drag the Move-Vertical slider to -20 px and click OK.

stroke

Congratulations! You’re Done!

Here is how your Spanish 3D text effect should look. I hope you’ve enjoyed this tutorial and can apply these techniques in your future projects. Don’t hesitate to share your final result in the comments section.

Feel free to adjust the final design and make it your own. You can find some great sources of inspiration at GraphicRiver, with interesting solutions to improve your design.

Spanish 3D Text Effect

Looking for more tutorials? I recommend the following:

How to Create a Spanish 3D Text Effect in Adobe Illustrator

Post pobrano z: How to Create a Spanish 3D Text Effect in Adobe Illustrator

Final product image
What You’ll Be Creating

In the following steps, you will learn how to create a Spanish 3D text effect in Adobe Illustrator.

For starters, you will learn how to create a simple background for your text and how to add basic text. Using only your piece of text and the Appearance panel, you will learn how to create the final text effect. You’ll only need four fills, a stroke, several Transform and 3D Rotate effects, a Gaussian Blur, and some basic blending techniques.

For more inspiration on how to adjust or improve your final text effect, you can find plenty of resources at GraphicRiver.

What You Will Need

You will need the following resource in order to complete this project:

1. How to Create a New Document and the Background

Step 1

Hit Control-N to create a new document. Select Pixels from the Units drop-down menu, enter 850 in the width box and 600 in the height box, and then click that More Settings button. Select RGB for the Color Mode, set the Raster Effects to Screen (72 ppi), and then click Create Document.

Open the Info panel (Window > Info) for a live preview with the size and position of your shapes. Don’t forget to set the unit of measurement to pixels from Edit > Preferences > Units.

new document

Step 2

Pick the Rectangle Tool (M) and focus on your Toolbar. Remove the color from the stroke and then select the fill and set its color to R=137 G=147 B=150.

Simply click on your artboard to open the Rectangle window. Set the Width to 870 px and the Height to 620 px, and then click OK. Make sure that your new shape covers the entire artboard as shown in the following image.

background rectangle

2. How to Create the Text

Step 1

Pick the Type Tool (T) and open the Character panel (Window > Type > Character). Select the Etna font, and set the size to 100 px and the tracking to 100.

Click on the artboard and add your piece of text about as shown below. The text I’m using means „Always look on the bright side of life” in Spanish. Make it black, for now.

type tool

Step 2

Select your text, focus on the Swatches panel (Window > Swatches), and click that [None] swatch to remove the black text color.

Move to the Appearance panel (Window > Appearance) and add a new fill using the Add New Fill button. Select that new fill and set the color to R=249 G=62 B=73.

add new fill

3. How to Create the Spanish 3D Text Effect

Step 1

Make sure that your text stays selected and focus on the Appearance panel. Select the fill and go to Effect > 3D > Rotate. Enter the attributes shown below and click OK.

3D rotate

Step 2

Make sure that your text stays selected and keep focusing on the Appearance panel.

Add a second fill and select it. Drag it below that other fill, set its color to R=206 G=17 B=38, and go to Effect > 3D > Rotate. Enter the attributes shown below, click OK, and go to Effect > Distort & Transform > Transform. Drag the Move-Vertical slider to 0.25 px, enter 20 in the Copies box, and then click OK.

add new fill

Step 3

Make sure that your text stays selected and keep focusing on the Appearance panel.

Add a third fill and select it. Drag it below the other fills and set its color to black (R=0 G=0 B=0). Lower its Opacity to 50% and change the Blending Mode to Soft Light, and then go to Effect > 3D > Rotate. Enter the attributes shown below, click OK, and go to Effect > Distort & Transform > Transform. Enter the settings shown in the following image, click OK, and go to Effect > Blur > Gaussian Blur. Set the Radius to 8 px and click OK.

gaussian blur

Step 4

Make sure that your text stays selected and keep focusing on the Appearance panel.

Select the black fill and duplicate it using the Duplicate Selected Item button. Select the newly added fill, lower its Opacity to 5%, and remove that Gaussian Blur effect.

second black fill

Step 5

Make sure that your text stays selected and keep focusing on the Appearance panel.

Select the stroke and set its color to white (R=255 G=255 B=255). Increase the stroke Weight to 4 px and then go to Effect > Path > Offset Path. Enter a -2 px Offset, click OK, and go to Effect > 3D > Rotate. Enter the attributes shown below, click OK, and go to Effect > Distort & Transform > Transform. Drag the Move-Vertical slider to -20 px and click OK.

stroke

Congratulations! You’re Done!

Here is how your Spanish 3D text effect should look. I hope you’ve enjoyed this tutorial and can apply these techniques in your future projects. Don’t hesitate to share your final result in the comments section.

Feel free to adjust the final design and make it your own. You can find some great sources of inspiration at GraphicRiver, with interesting solutions to improve your design.

Spanish 3D Text Effect

Looking for more tutorials? I recommend the following: