If you want to make a flyer, you don’t need any super expensive software. You can easily make your own flyer online, using the Placeit flyer creator. It offers you many flyer templates that you can customize to your needs, so that you can design straight in your browser. Here I’ll show you how to create a flyer in Placeit in a few easy steps.
Go to Placeit.net. The site welcomes you with hundreds of templates for logos and mockups, but today we’re interested in making a flyer. So just go to Designs and find the Flyer Maker.
Step 2
If you have a specific theme in mind, you can type it here to narrow down your search. You can also just scroll through thousands of templates to see if something inspires you. I decided to give the Summer Party template a try—it looks very nice to me, and I can already see some potential for an interesting customization. Just click the template to open the editor.
Step 3
Each template has certain sections that you can edit and customize. This one allows you to change the text, add a colorful filter, add a frame to the main text, and add an image for the background. Let’s start our creation by changing the background image. This template offers a lot of beautiful images, but if you want a fully personalized effect, you can always add your own custom image.
Click Custom Image and pick your own image. Make sure it has a high enough resolution.
Give it a moment to load. After the image is processed, you can crop it to fit the format of the flyer.
Step 5
You can also move the image to create a more interesting frame. When you’re done, just click Crop and let the editor do the magic for you.
Step 6
As you can see, all the filters have been added to your image automatically. If you want, you can customize the effect by changing the available filters. Just click them to see which effect looks the best on your design. I decided to choose the last one, to add sunset colors to my flyer.
Step 7
The overall design looks good, so now it’s time to add the information. All the text areas can be found on the left. You can change the text and adjust its font and color here.
Changing the text and font can affect the layout of the elements, so feel free to adjust it manually as you see fit. This template allows you to grab and resize most of its elements in a very straightforward way.
Step 8
Use this method to add all the relevant information to your flyer and to give it the intended look. There are many fonts to choose from, so test some of them to see which one works best for each element.
Step 9
On this template, there’s a frame around the main text that you can adjust. I decided to remove it because the sun in the background already looks like a nice frame.
Step 10
Finally, you can change the colors of the text separately for each element. You can pick one of the sample colors, or click More to choose from all the shades you can imagine.
Step 11
Our flyer looks amazing now! If you’re happy with the results, go to the top of the page and click Download.
Here you can see the resolution and the price of your design. Click Purchase to finalize the process.
Step 12
Additionally, you can use one of the many flyer mockup templates that Placeit offers. It will help you see how your design works in practice, and your client will appreciate this form of presentation, too!
Good Job!
Now you know how to make your own flyer using a flyer creator! If you’re interested in flyer design, you may also like our other tutorials on this topic:
If you want to make a flyer, you don’t need any super expensive software. You can easily make your own flyer online, using the Placeit flyer creator. It offers you many flyer templates that you can customize to your needs, so that you can design straight in your browser. Here I’ll show you how to create a flyer in Placeit in a few easy steps.
Go to Placeit.net. The site welcomes you with hundreds of templates for logos and mockups, but today we’re interested in making a flyer. So just go to Designs and find the Flyer Maker.
Step 2
If you have a specific theme in mind, you can type it here to narrow down your search. You can also just scroll through thousands of templates to see if something inspires you. I decided to give the Summer Party template a try—it looks very nice to me, and I can already see some potential for an interesting customization. Just click the template to open the editor.
Step 3
Each template has certain sections that you can edit and customize. This one allows you to change the text, add a colorful filter, add a frame to the main text, and add an image for the background. Let’s start our creation by changing the background image. This template offers a lot of beautiful images, but if you want a fully personalized effect, you can always add your own custom image.
Click Custom Image and pick your own image. Make sure it has a high enough resolution.
Give it a moment to load. After the image is processed, you can crop it to fit the format of the flyer.
Step 5
You can also move the image to create a more interesting frame. When you’re done, just click Crop and let the editor do the magic for you.
Step 6
As you can see, all the filters have been added to your image automatically. If you want, you can customize the effect by changing the available filters. Just click them to see which effect looks the best on your design. I decided to choose the last one, to add sunset colors to my flyer.
Step 7
The overall design looks good, so now it’s time to add the information. All the text areas can be found on the left. You can change the text and adjust its font and color here.
Changing the text and font can affect the layout of the elements, so feel free to adjust it manually as you see fit. This template allows you to grab and resize most of its elements in a very straightforward way.
Step 8
Use this method to add all the relevant information to your flyer and to give it the intended look. There are many fonts to choose from, so test some of them to see which one works best for each element.
Step 9
On this template, there’s a frame around the main text that you can adjust. I decided to remove it because the sun in the background already looks like a nice frame.
Step 10
Finally, you can change the colors of the text separately for each element. You can pick one of the sample colors, or click More to choose from all the shades you can imagine.
Step 11
Our flyer looks amazing now! If you’re happy with the results, go to the top of the page and click Download.
Here you can see the resolution and the price of your design. Click Purchase to finalize the process.
Step 12
Additionally, you can use one of the many flyer mockup templates that Placeit offers. It will help you see how your design works in practice, and your client will appreciate this form of presentation, too!
Good Job!
Now you know how to make your own flyer using a flyer creator! If you’re interested in flyer design, you may also like our other tutorials on this topic:
The best period to buy lots of things is the Black Friday special event. In these days, most of the companies are offering huge discounts to start using their services or their products. If you carefully decide what you need in the next 6-12 months, you can easily save tons of money, literally.
We as web designers and developers need lots of web tools and services, WordPress themes and other things. Everything which is on your list, can be found below.
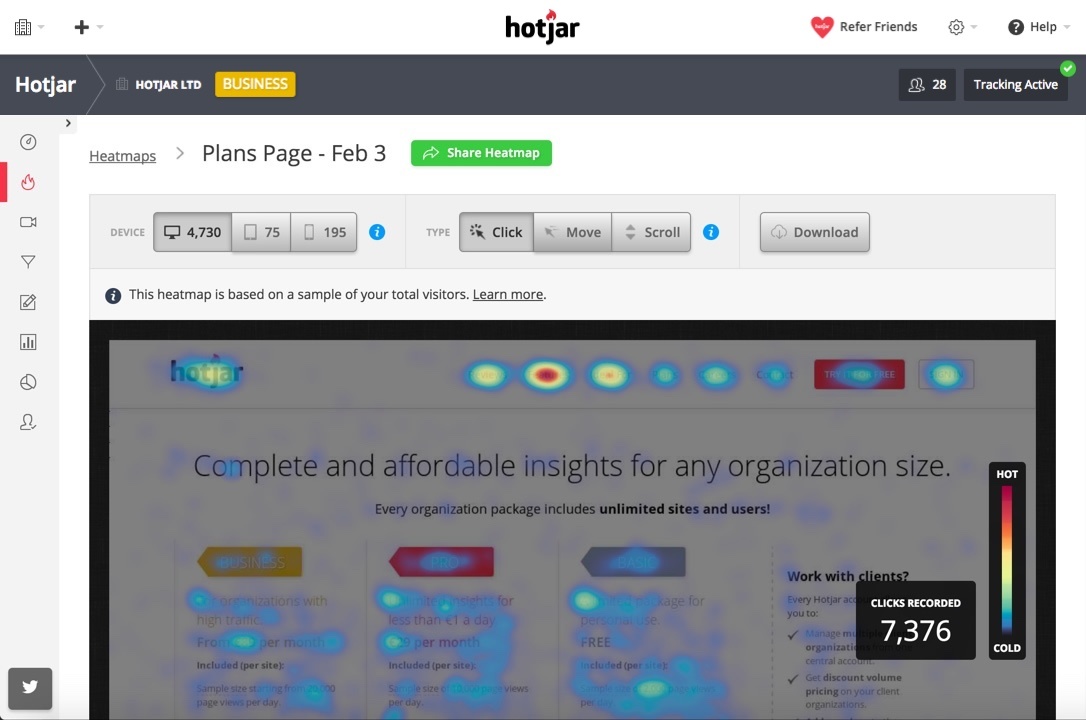
With over 200,000 companies using Hotjar, including the well-known Microsoft, this is by far the best way to find out how visitors are interacting with a website. It is packed with a friendly interface, powerful features, and options, and it works with all the known platforms: WordPress, Joomla, Shopify, Magento, and many others.
I have never seen so many features packed in the same solution. The heatmaps and recordings are brilliant and are offering complete insights. With conversions funnels, you can quickly identify where your visitors are dropping off, including the page and the step. These are only a small part of what Hotjar can do for you, check their homepage to get all the info.
The pricing is very well optimized to be a perfect fit for any organization size, including for personal projects with low traffic where there is a free forever plan.
Start a free trial in seconds, you don’t need to have a credit card.
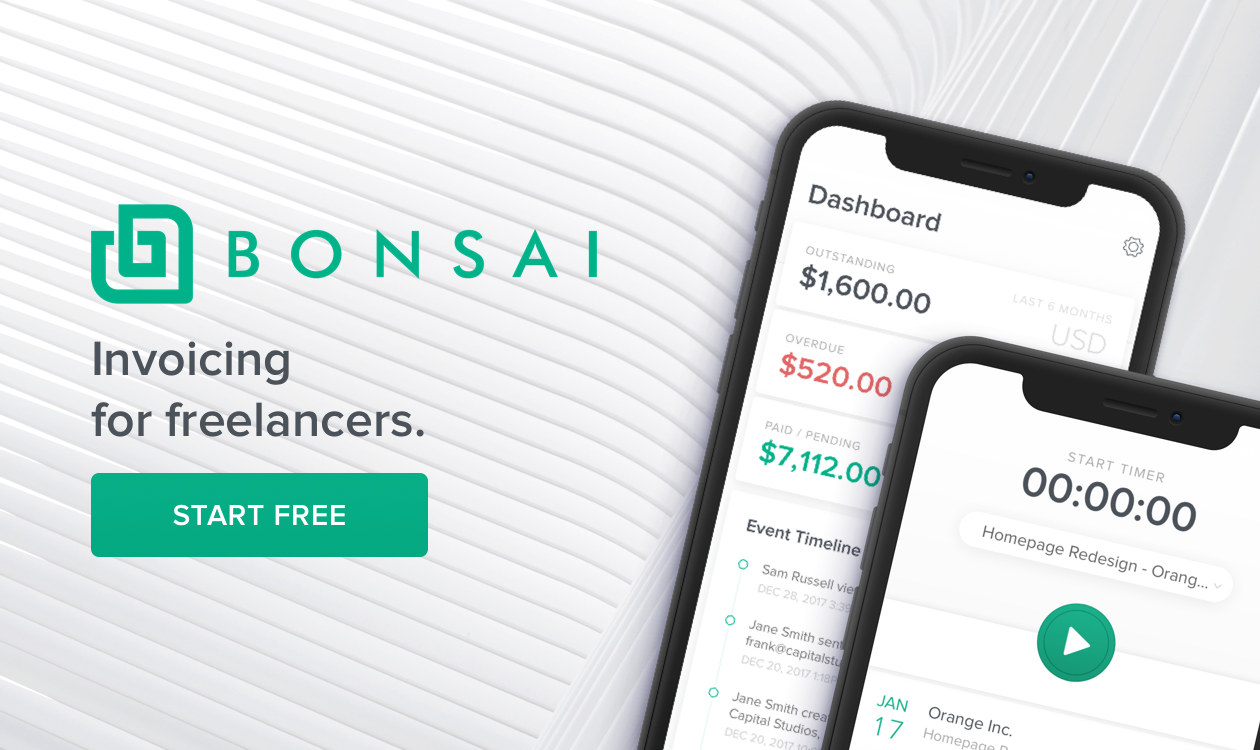
Bonsai is the most used and reputed freelancer invoicing platform on the market, being used with great success by more than 100,000 customers.
It was built for freelancers and you will feel this every moment while using it. Bonsai is lightning fast, reliable, secure, and it’s a solution to the freelancers’ headaches. It can be used to sent automatic payment reminders, it will let you know when customers interact with the invoices and let you know when customers are planning to pay the invoice. You can even automatically generate invoices from contracts or from proposals. Everything is there, including a super-friendly and beautifully designed interface.
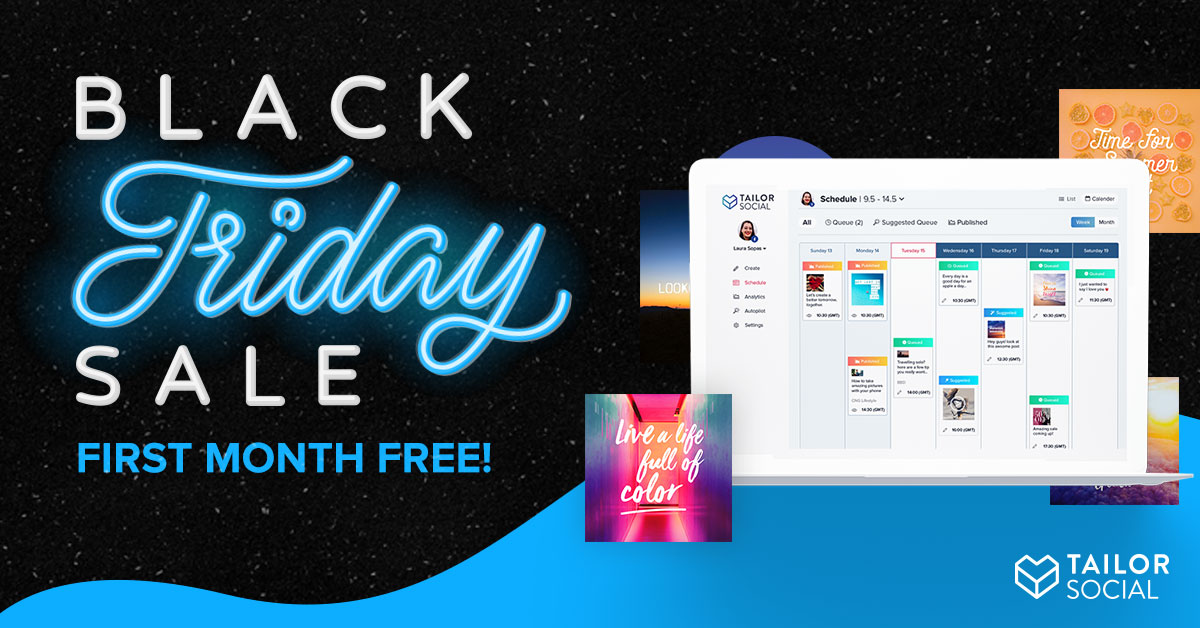
If you’re ready to implement a seamless social media marketing strategy, Tailor Social is the tool to use. With a content discovery feature that brings you content your audience will love, and an automated post scheduler that keeps your posting consistent, Tailor Social saves you the time of managing your social accounts on your own. Instead, simply create flawless social post images with their design feature, and use Tailor Analytics to watch your audience engagement grow.
Their most popular plan gives you 500 scheduled posts on 7 social media accounts for only $12 a month, but they also offer 50 scheduled posts on 2 accounts for $8, or 2,000 posts for up to 30 accounts, for $40.
Black Friday bonus – Designer Daily readers get their first month of Tailor Social free! Select your plan and enter promo code: First Month Free at checkout to redeem your Black Friday coupon.
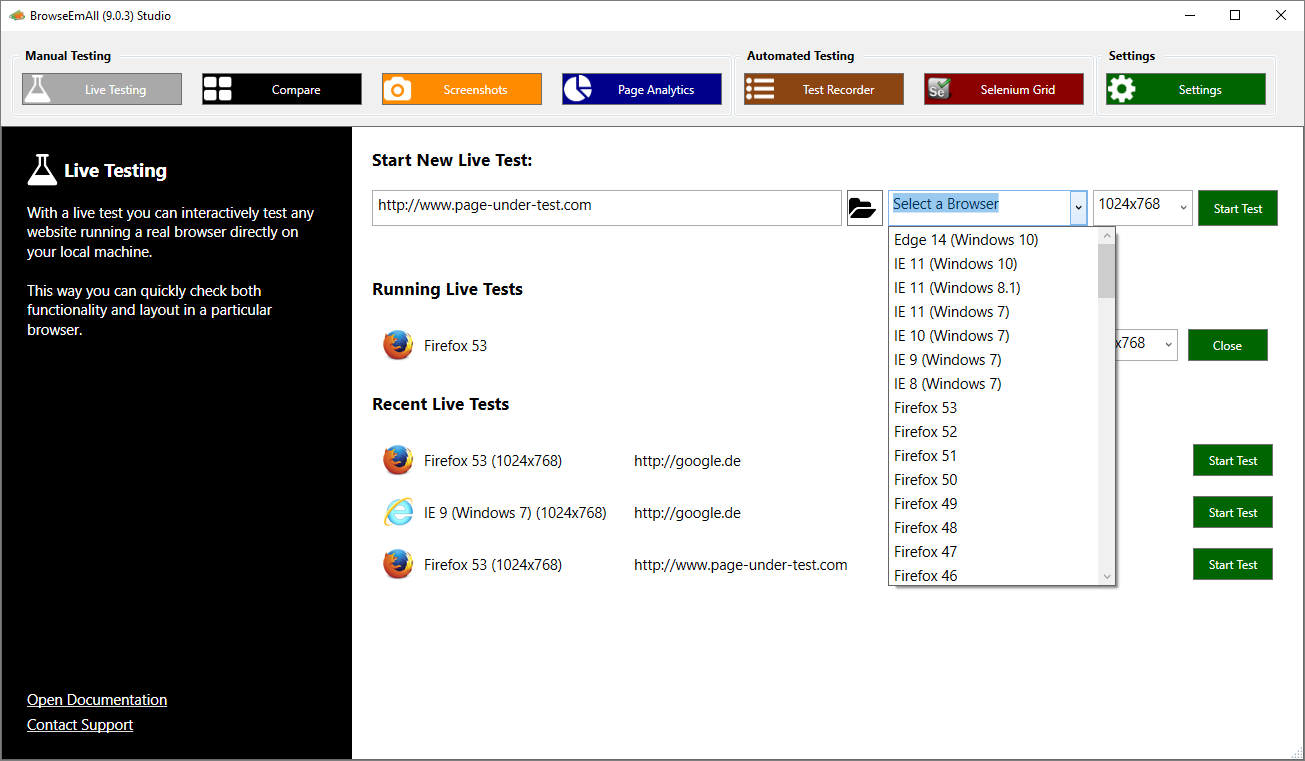
BrowseEmAll is a well-reputed cross-browser testing service among web designers and developers, being fully loaded with lots of features and options. It supports both manual and automated browser testing, it works with all the major browser, including mobile browsers, and the tests are being made directly on your computer, forget emulators.
The manual browser testing feature enables developers and testers to locate and fix browser specific problems right on their machine. Run the browsers your customers use for quick and painless testing. Do live, regression & visual testing without network delays or usage limits on any major operating system. All major browsers are supported out of the box.
Get the free trial today and save 30% with the coupon code ‘BLACKFRIDAY’ on every purchase until the end of the year!
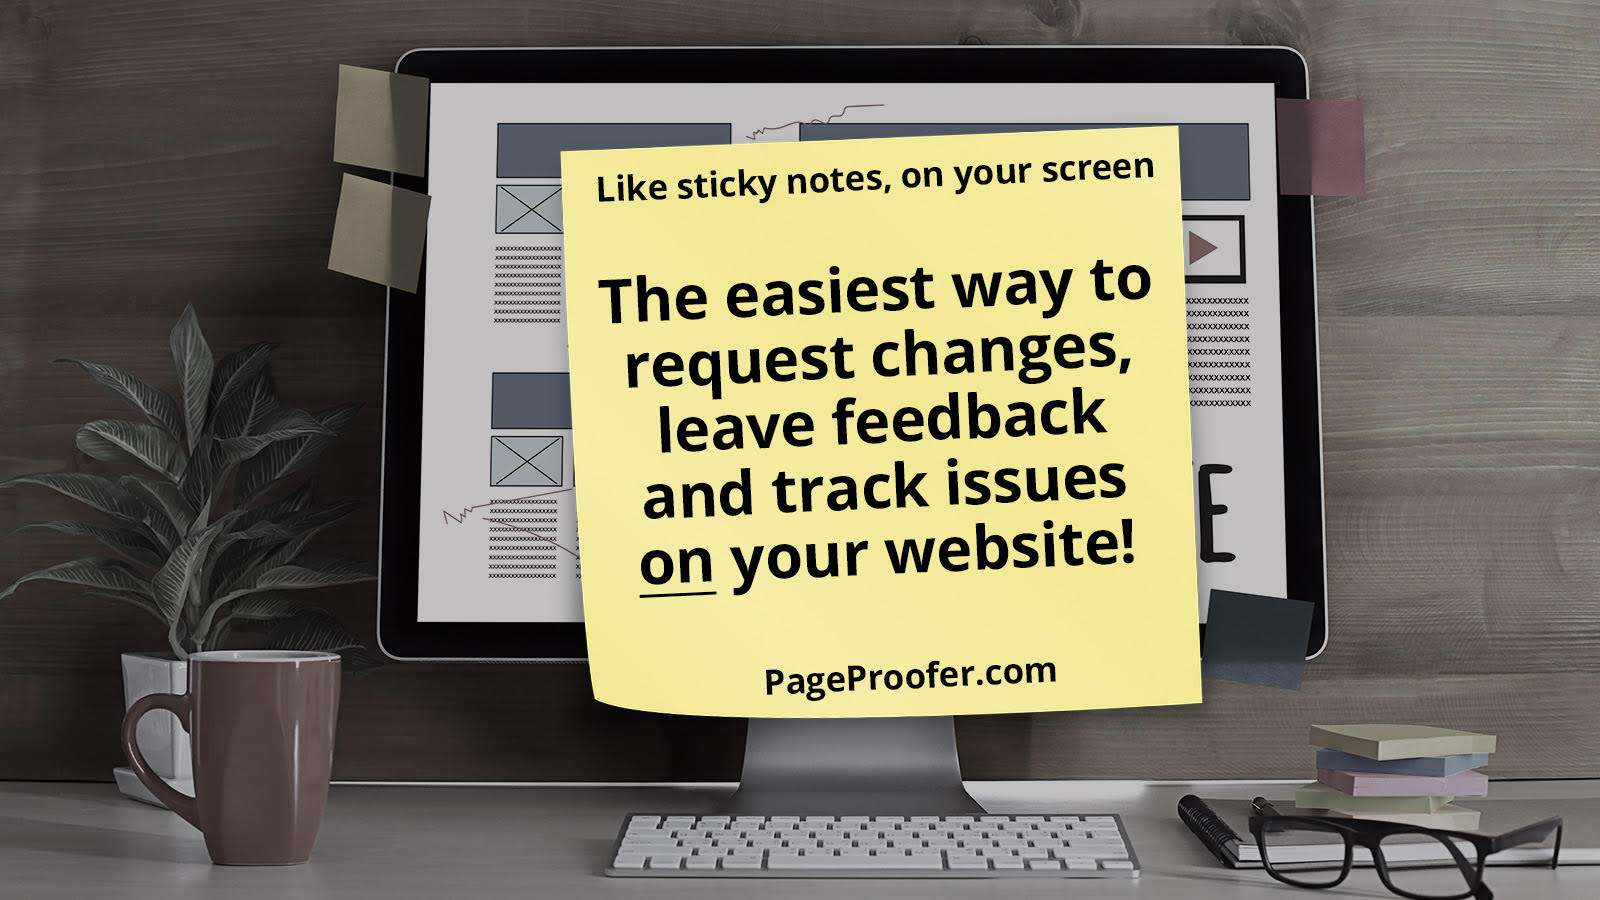
Page Proofer is a powerful visual bug tracker and visual feedback tool that you can use to request changes, leave feedback and track issues directly on your website. Forget the old methods – sending emails, having handwritten notes or recorded meetings – and save tons of time.
Pricing: plans start at $20/month. Use promo code BLACKFRI18 to save 25%.
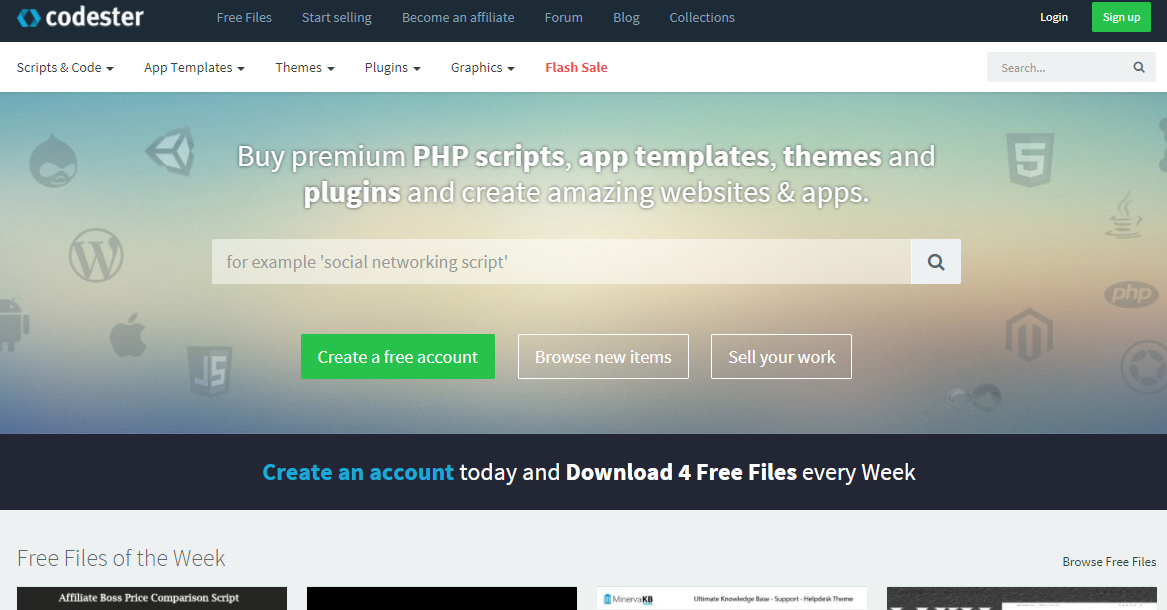
Codester is a fast growing marketplace where web designers and developers can buy thousands of PHP scripts, website templates, codes, scripts and much more. You can even sell your products via Codester, they are not requesting exclusivity over your items.
Always check the Flash sales section where hugely discounts items are being sold.
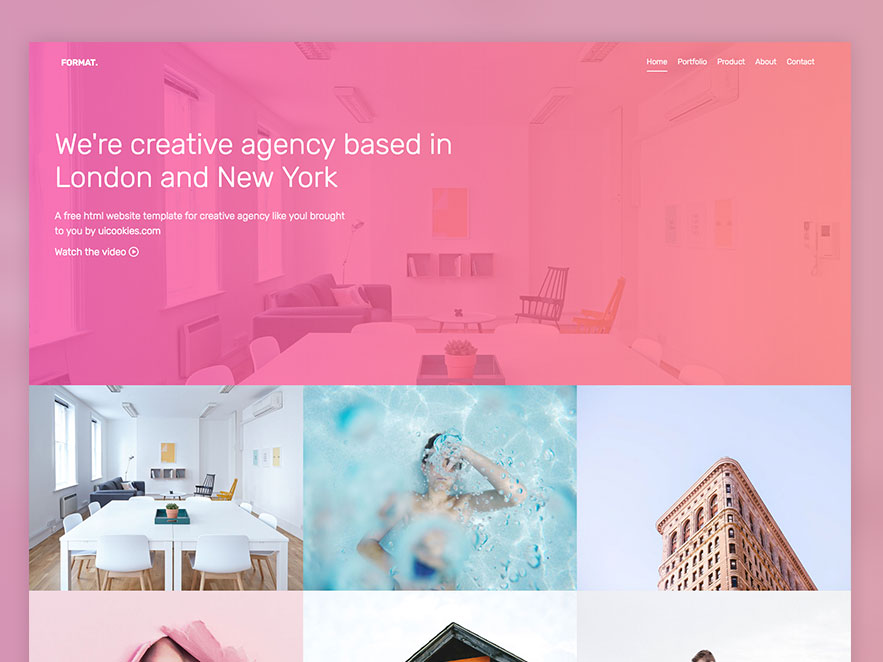
Format is a powerful with a pixel-perfect design website theme that works perfectly as a portfolio for web designers, photographers, videographers and anybody else who needs to showcase his items. Format is having a premium touch, even if it’s totally free.
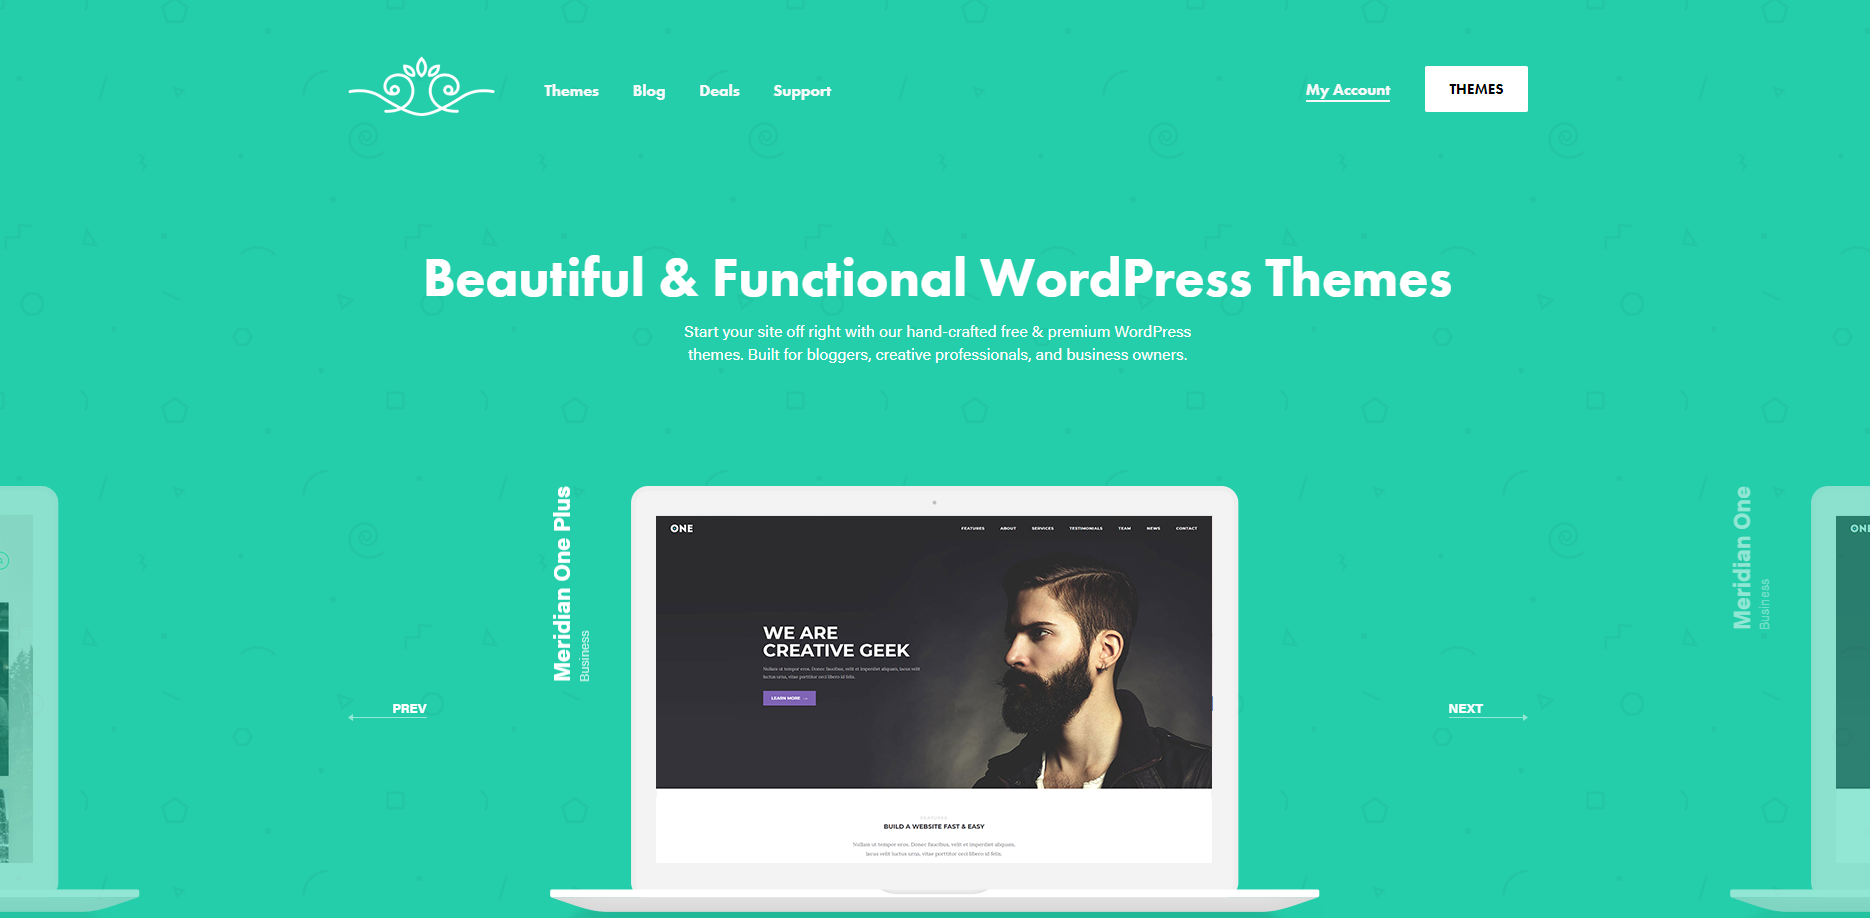
At MeridianThemes, you will find gorgeous WordPress theme that are loaded with tons of features and options, normally found on very expensive templates. Here you have everything included.
Always check the Deals section where hugely discounts products are being sold.
Use the coupon code “bf2018” and you will get an excellent 30% discount (valid from Nov 23 to 30).
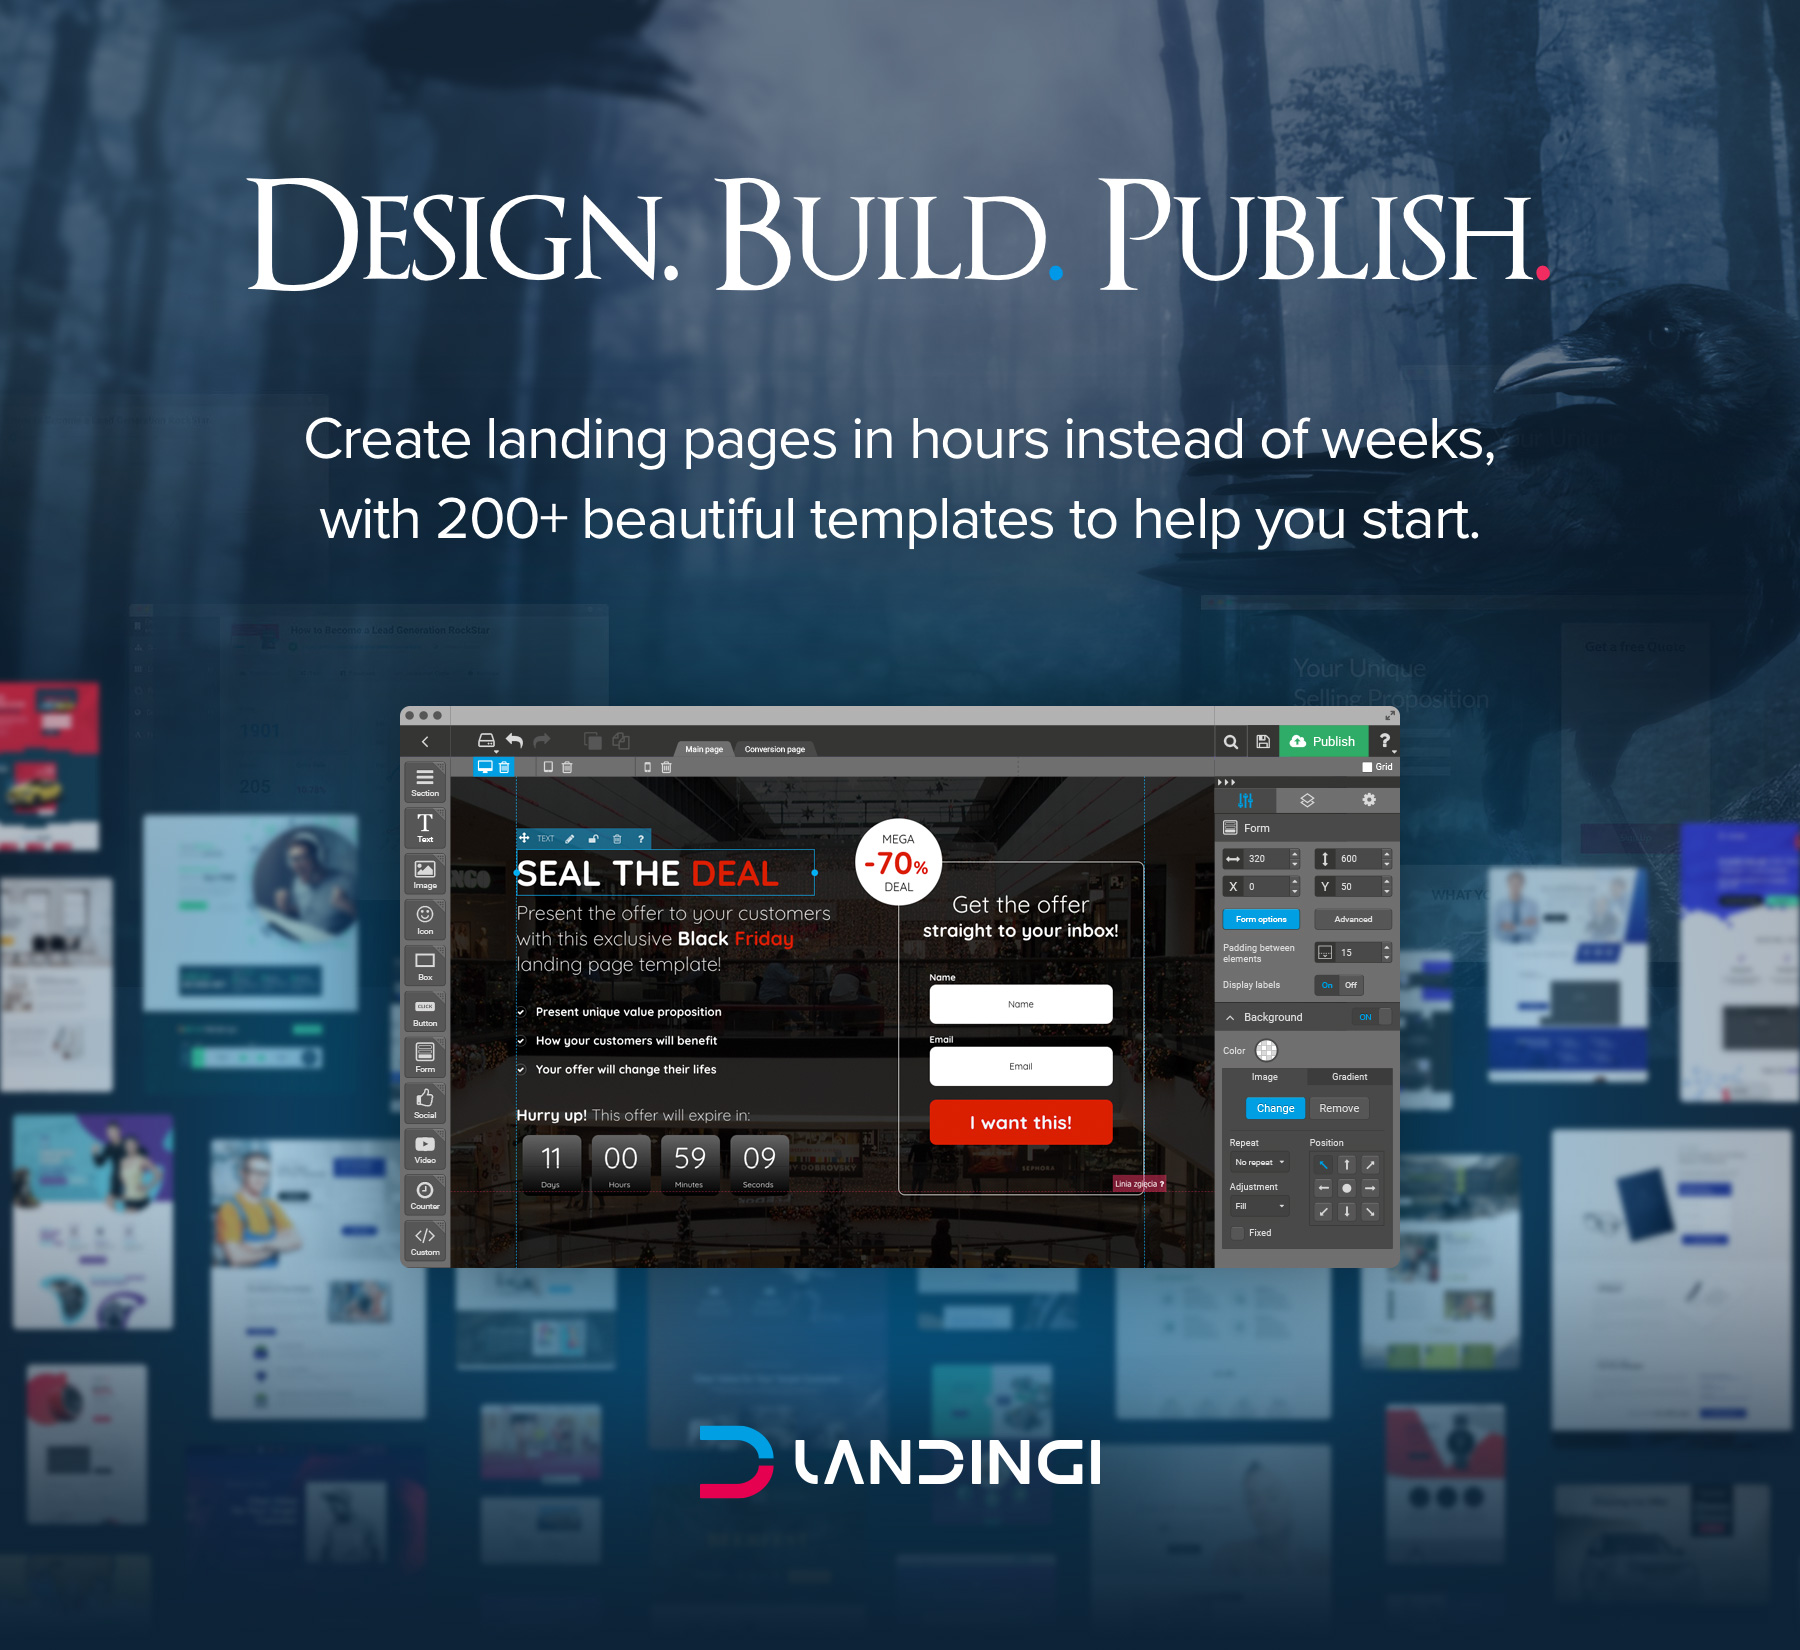
Landingi is a powerful website builder which is packed with tons of things: over 200 premade, gorgeous templates, 5,000 stock images, an excellent drag-and-drop function, and everything works without having any coding skills or previous experience.
Check out this year’s Black Friday deal and save up to $912 on an annual subscription!
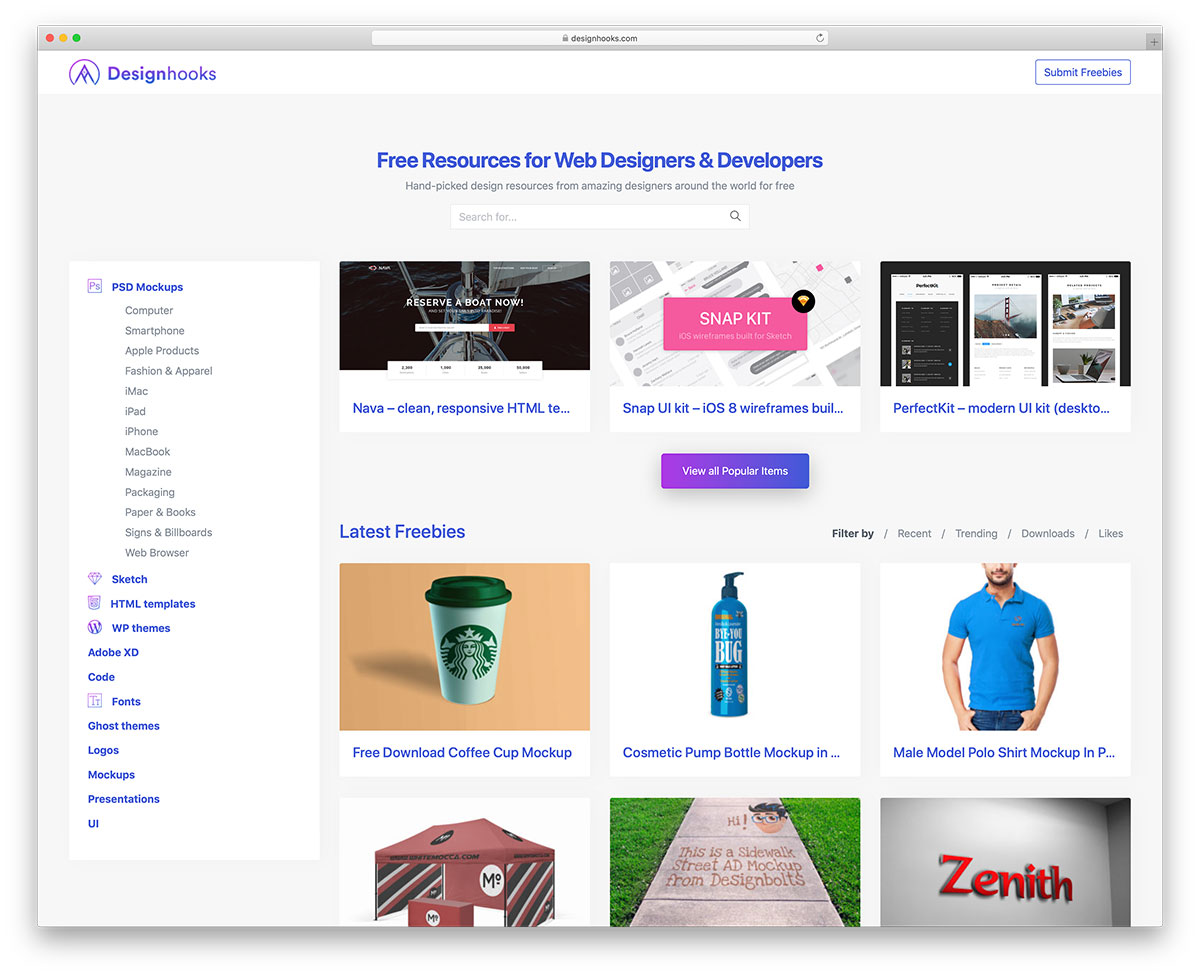
Design Hooks is a huge free resource website where web designers and developers will find thousands of hand-picked PSD Mockups, HTML templates, WordPress themes, Fonts, Logos and much more. Browse it and pick what you need for your projects.
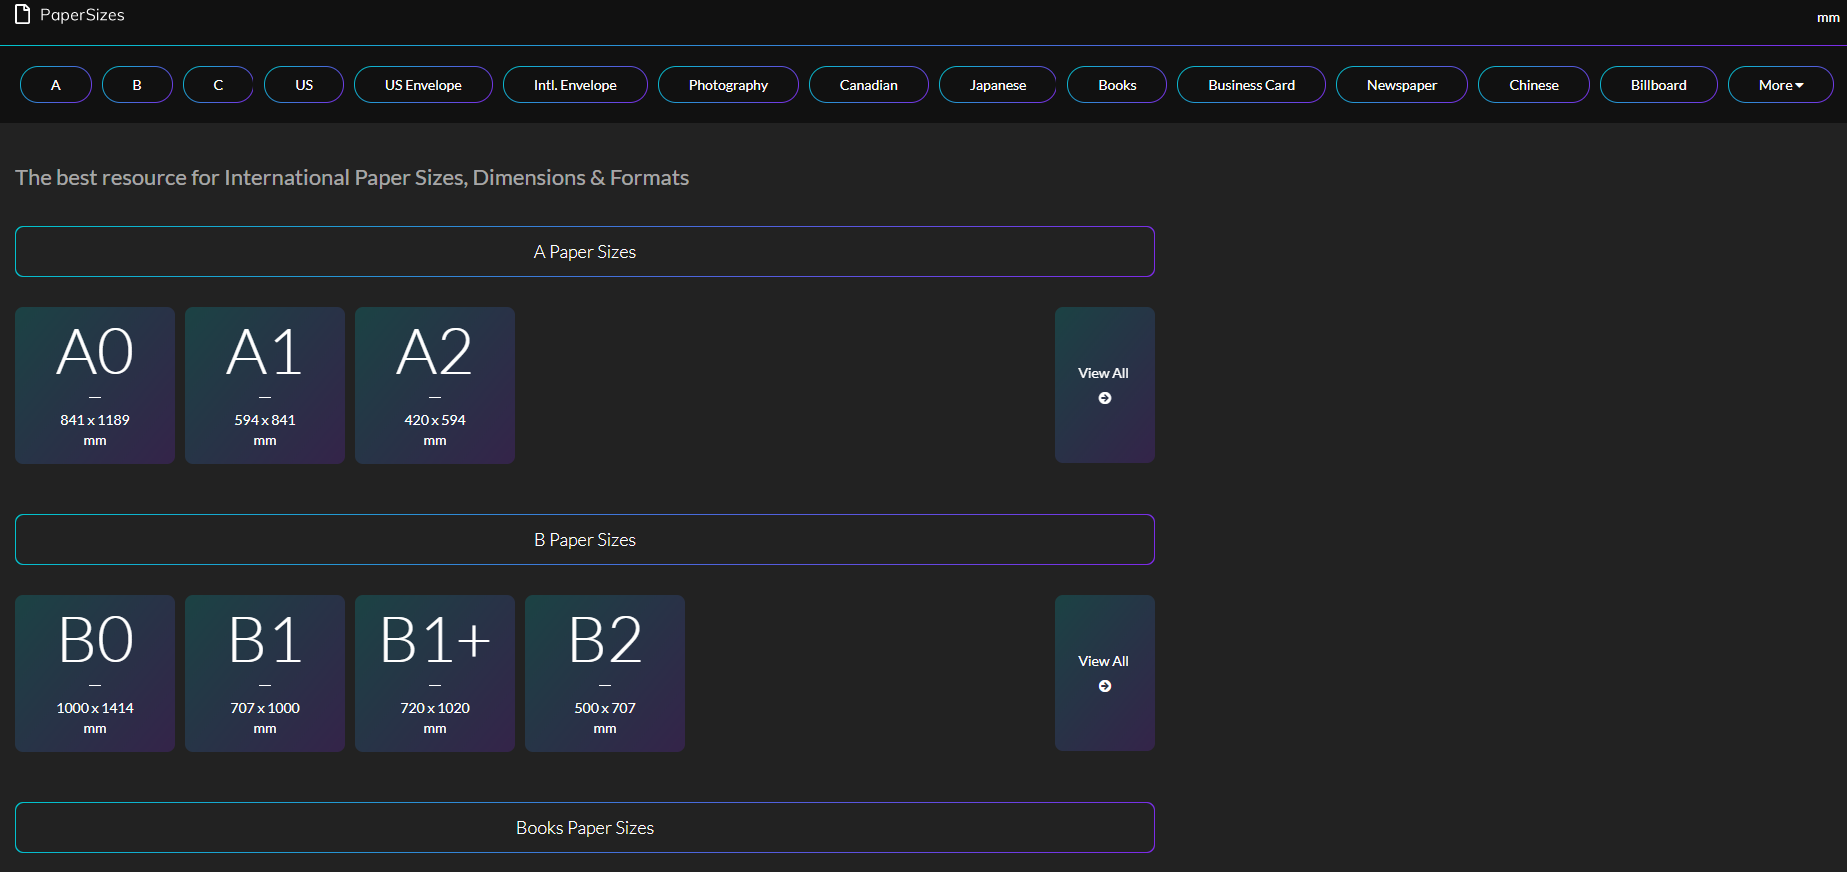
This is one of a kind website, providing all the info regarding paper sizes in one place. The website is very well structured, the information can be found effortless in a couple of seconds.
Useful website for designers that are preparing ads and all kind of materials.
Tesla Themes is building awesome, premium WordPress themes that are fully loaded with the latest features and options on the market. The design is pixel-perfect and is a perfect fit for businesses, ecommerce sites, videographers, and more.
Show Themes are building the best WordPress themes on the market. Huge and important events are using these themes with great success, being a well-tested solution for others who want to start right now.
NextGEN Gallery is the industry standard for WordPress galleries, with 15+ million total downloads and 40,000 new downloads per week. It’s by far the most powerful WordPress gallery plugin available, with hundreds of options in the free version and even more with Pro extensions. Build stunning responsive galleries on a platform that can anticipate your needs.
Built by photographers for photographers, Photocrati is the best niche WordPress theme on the market. It is already used with great success by 1 million people and it comes loaded with the awesome NextGen Gallery plugin.
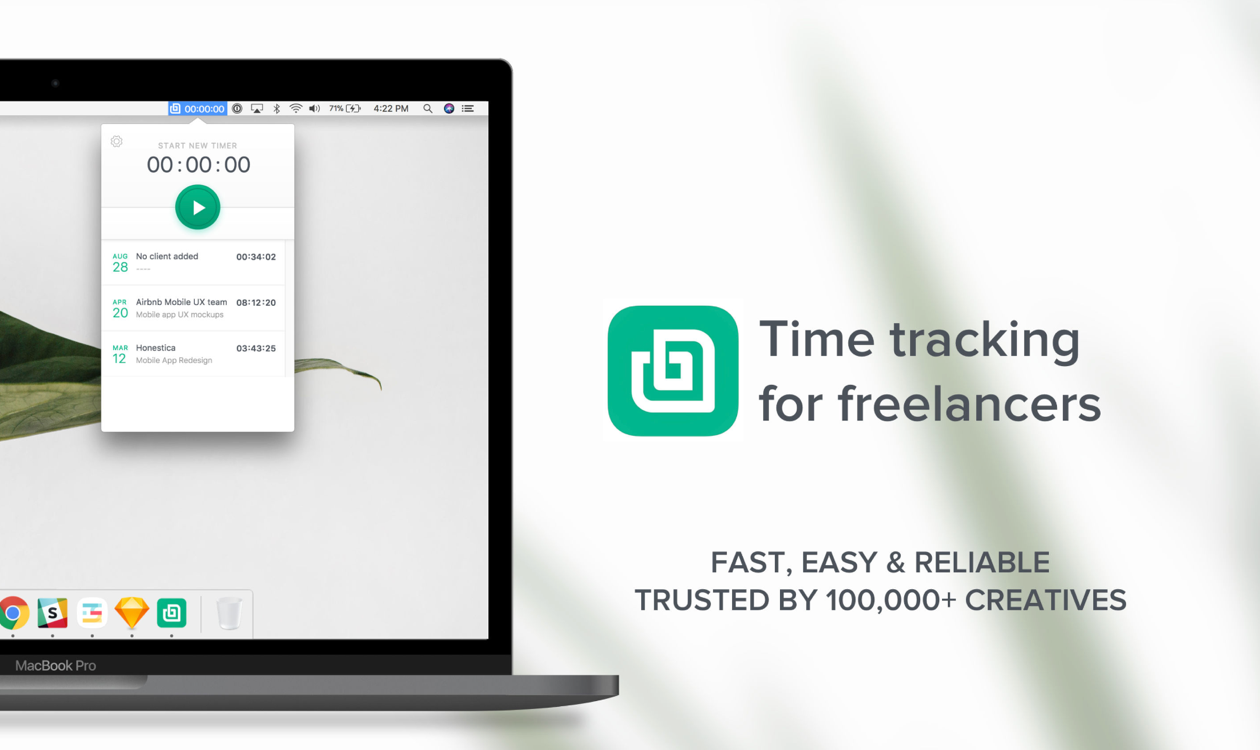
Bonsai built a professional, super-simple to use and dedicated time tracking solution for freelancers. It’s fast, reliable and an all-in-one solution trusted by more than 100,000 creatives. It’s the first time tracker fully integrated with your workflow. Available on web, macOS and iOS.
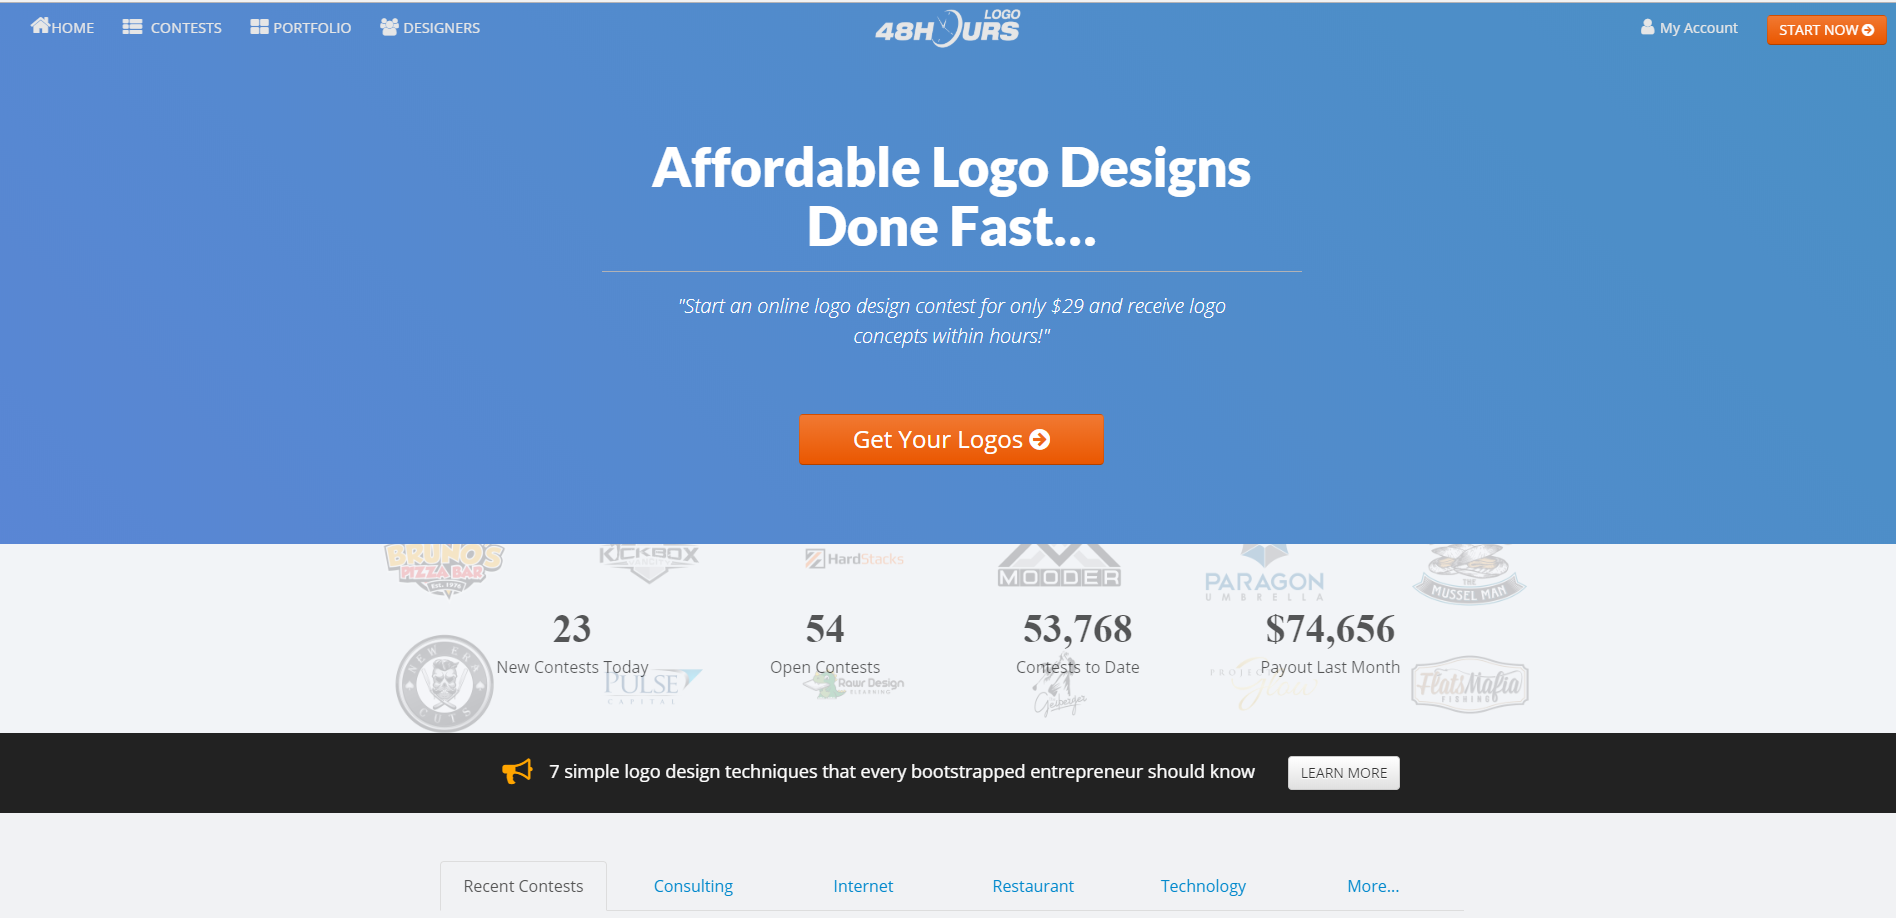
48HoursLogo is one of the best logo design contests on the market. Launch your own contest where designers will compete for you. In the end, you pick the design you like most. The results are excellent and are not reflecting the small payment you are making. Get new logo ideas.
WrapKit Builder is a powerful website builder that works excellent and is very fast. You don’t need to have any programming skills or special knowledge to create a gorgeous, fully functional website.
MyThemeShop is having more than 500,000 happy customers and they are focused on providing the best premium themes and plugins. For only $19 you will have access to all their products, it’s a once in a lifetime offer. Save lots of money and time for your future projects.
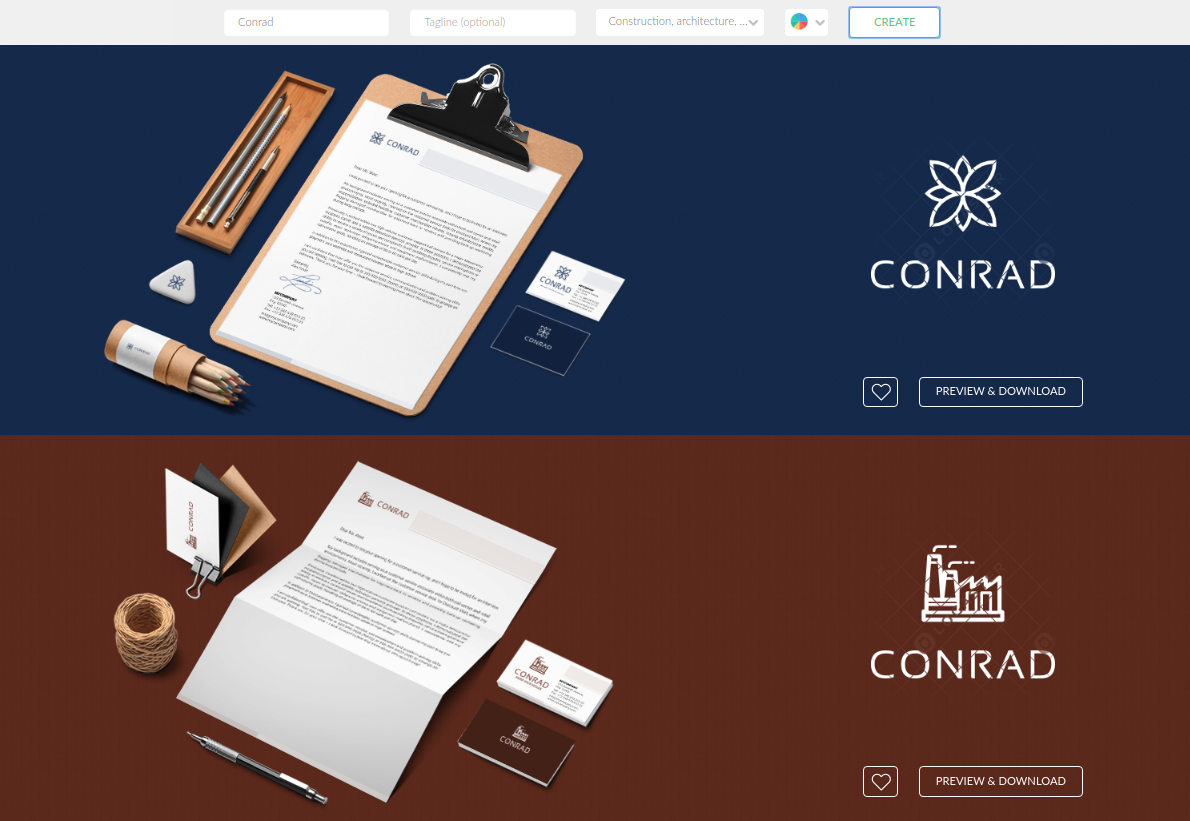
With 8.5 million gorgeous logo created, Logaster is one of the best logo design platforms in the world. You can use it to quickly create professional logos, or for corporate identity and branded items.
The results are excellent and the platform is extremely fast, try it.
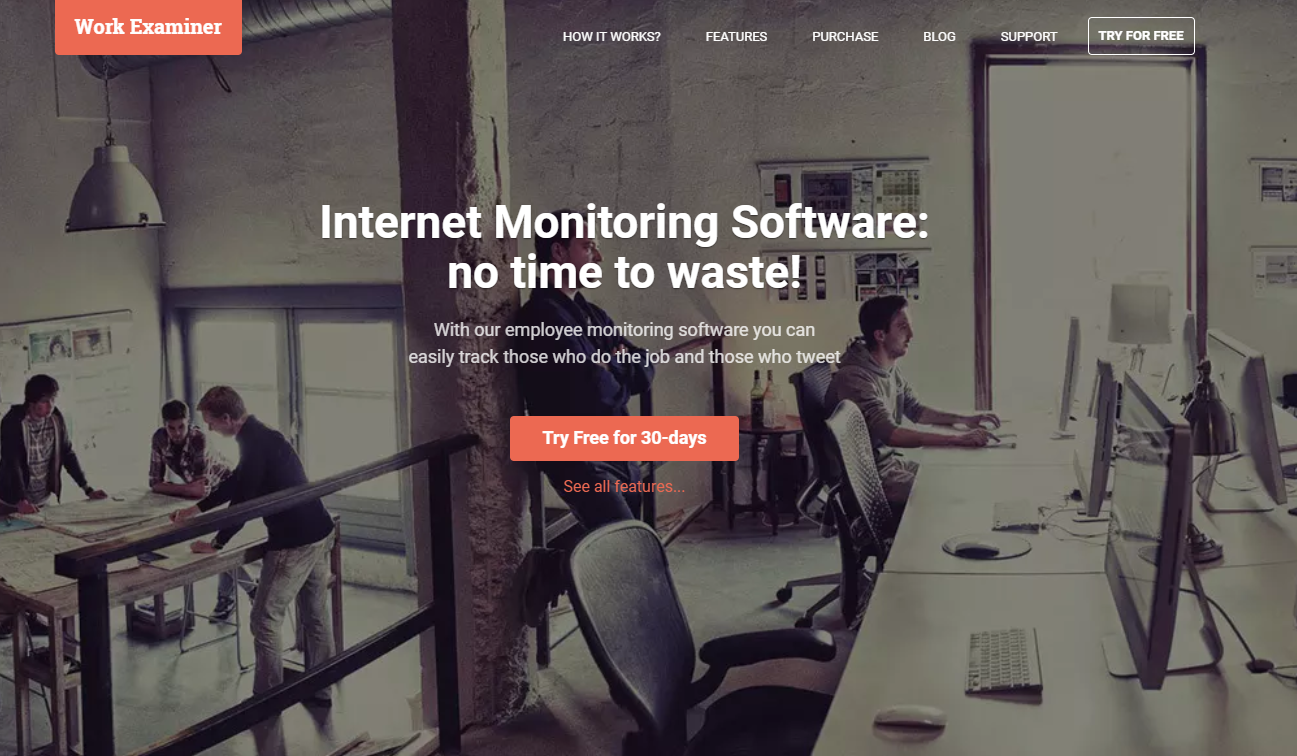
Work Examiner is a powerful internet monitoring software which you can use for Real-time view of user activities on their PCs: live screenshots, active application\website, active\away status, etc; for interactive reports with a complete view of what employees do on their PCs including many application and web usage reports, screenshots chats recording, attendance tracking, and more…
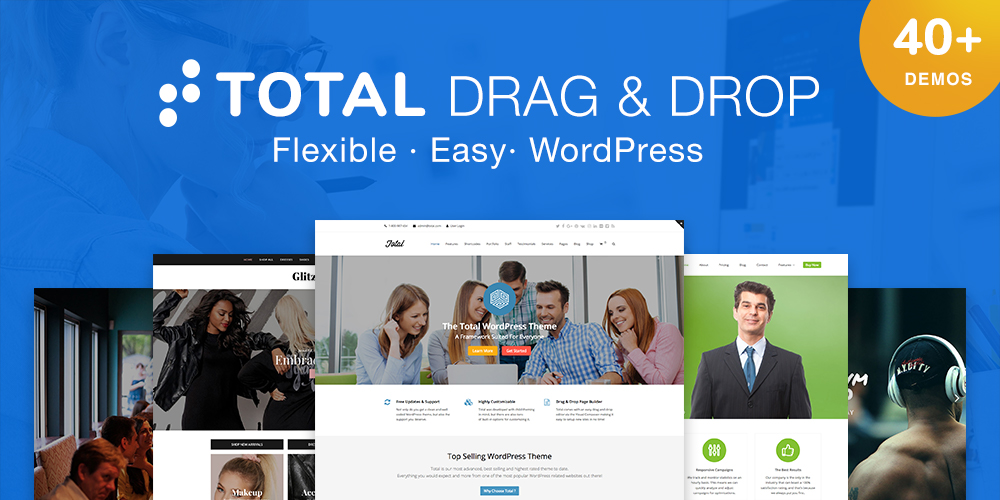
Total is a super flexible, powerful and complete WordPress theme which is loaded with tons of features, options and one of the best drag-and-drop page builders on the market. Fully customizing this clean design theme takes a couple of minutes and the results look great.
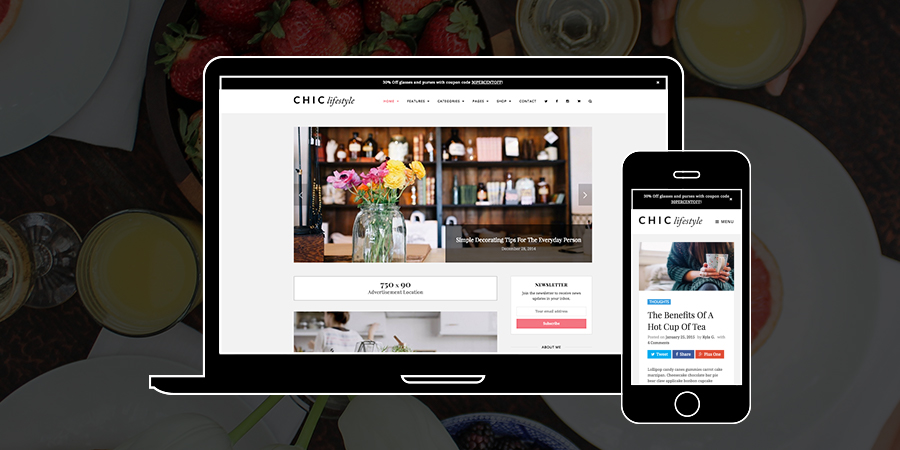
Chic is an ultra-fast, SEO friendly and premium WordPress theme which you can use for your blogging and WooCommerce projects. The design is pixel-perfect and looks great on any device, being fully responsive.
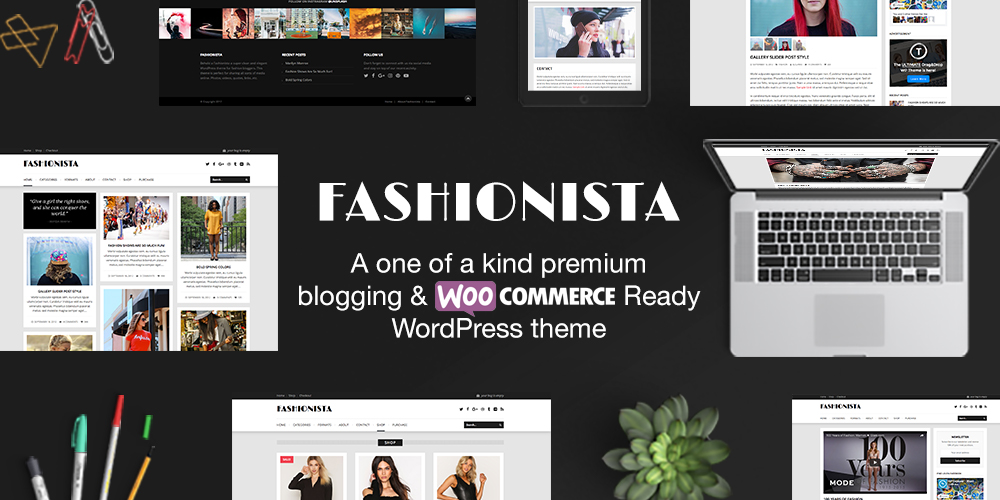
Fashionista is a one of a kind premium blogging and woo commerce ready WordPress theme which you can use for your next projects. It is lightning fast, SEO friendly and you can fully customize it in a couple of minutes. Check their website for more info, Fashionista is literally packed with tons of features and options.
As the website name says, this is an academy with more than 10 highly detailed courses that will teach you everything you need to know about Selenium and automated testing from start to finish. You will create automated browser test, maintainable tests and much more.
Use the BLACKFRIDAY50 coupon and you will get 50% discount until the end of the year.
With InstantLogoDesign, you will get a professional, unique design logo in seconds and you can ask for unlimited edits and downloads. The results are outstanding, try it.
Jump online before the 2018 ends. Launch your website with Goodiewebsite.com. This unique platform allows you to work directly with a developer who will code your design within a few days and at the affordable price. At Goodiewebsite “Black Friday” last all year long as you can get a “design to code” conversion for $999.
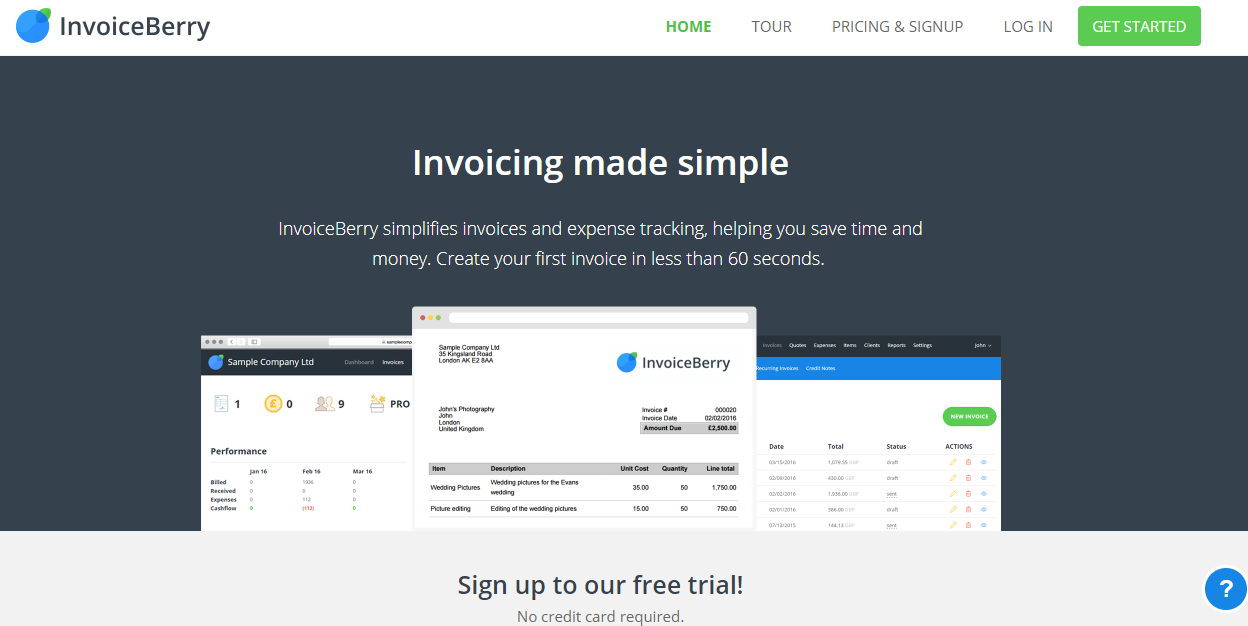
InvoiceBerry is a professional, all-in-one invoicing platform that you can use to create and customize invoices, to track expenses, create fully detailed invoices and much more. It’s the perfect fit for small and medium teams.
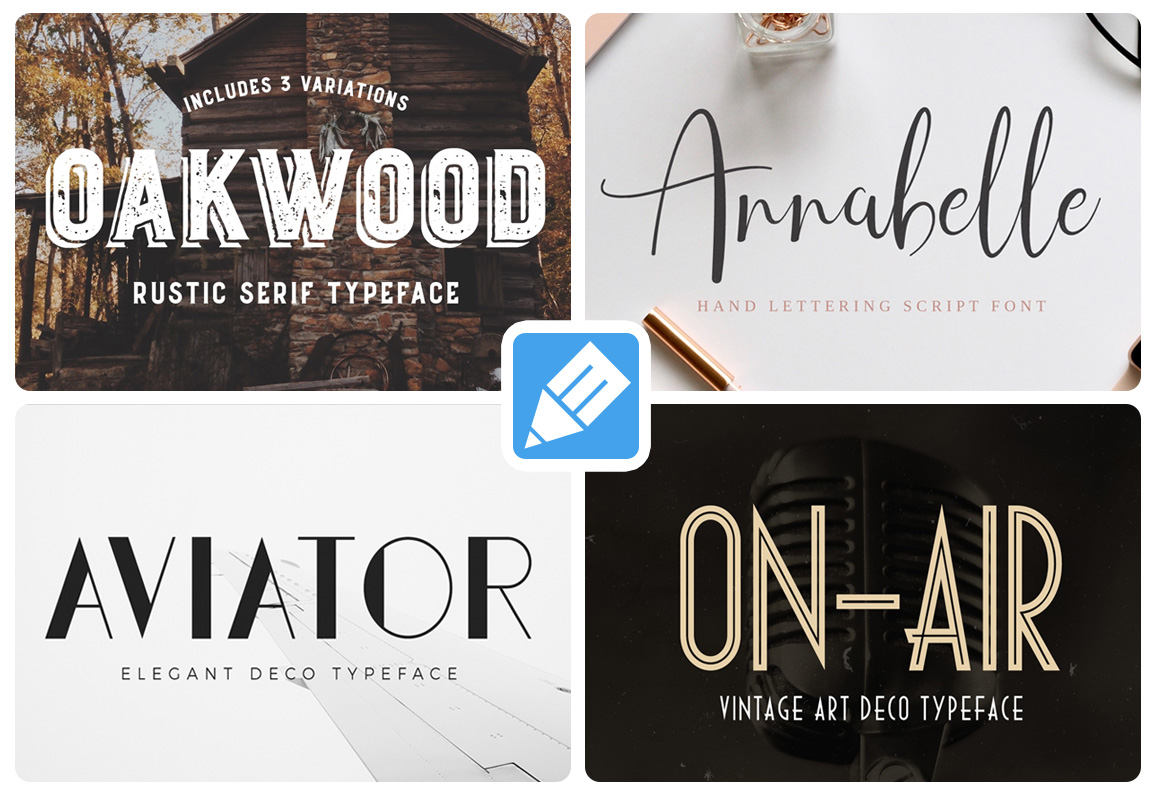
Probably the best Black Friday offer from the whole market is coming from Media Loot Fonts. For only $14 you will get access to more than 80 custom, stunning fonts and to thousands of different items: icons, templates and mockups. It’s like getting everything for free, check it. You will save lots of money for your future projects with this deal.
With over 450,000 fonts and the best AI font finder on the market, WhatFontIs is the best way to identify a font from an image in less than 40 seconds. The steps are super simple, after you upload the photo with the font you are looking for, the platform will show you more than 60 similar free and commercial fonts. It works excellent, try it.
A deal of the hour is a great thing. Yet it is a really short while to buy all necessary digital products. What about having a deal of the entire 11 days? TemplateMonster is ready to gladden you with -50% OFF on all ready-made templates you need on Black Friday. Make certain to buy all of them on November, 19-29 and build the most stylish websites using them!
The best period to buy lots of things is the Black Friday special event. In these days, most of the companies are offering huge discounts to start using their services or their products. If you carefully decide what you need in the next 6-12 months, you can easily save tons of money, literally.
We as web designers and developers need lots of web tools and services, WordPress themes and other things. Everything which is on your list, can be found below.
With over 200,000 companies using Hotjar, including the well-known Microsoft, this is by far the best way to find out how visitors are interacting with a website. It is packed with a friendly interface, powerful features, and options, and it works with all the known platforms: WordPress, Joomla, Shopify, Magento, and many others.
I have never seen so many features packed in the same solution. The heatmaps and recordings are brilliant and are offering complete insights. With conversions funnels, you can quickly identify where your visitors are dropping off, including the page and the step. These are only a small part of what Hotjar can do for you, check their homepage to get all the info.
The pricing is very well optimized to be a perfect fit for any organization size, including for personal projects with low traffic where there is a free forever plan.
Start a free trial in seconds, you don’t need to have a credit card.
Bonsai is the most used and reputed freelancer invoicing platform on the market, being used with great success by more than 100,000 customers.
It was built for freelancers and you will feel this every moment while using it. Bonsai is lightning fast, reliable, secure, and it’s a solution to the freelancers’ headaches. It can be used to sent automatic payment reminders, it will let you know when customers interact with the invoices and let you know when customers are planning to pay the invoice. You can even automatically generate invoices from contracts or from proposals. Everything is there, including a super-friendly and beautifully designed interface.
If you’re ready to implement a seamless social media marketing strategy, Tailor Social is the tool to use. With a content discovery feature that brings you content your audience will love, and an automated post scheduler that keeps your posting consistent, Tailor Social saves you the time of managing your social accounts on your own. Instead, simply create flawless social post images with their design feature, and use Tailor Analytics to watch your audience engagement grow.
Their most popular plan gives you 500 scheduled posts on 7 social media accounts for only $12 a month, but they also offer 50 scheduled posts on 2 accounts for $8, or 2,000 posts for up to 30 accounts, for $40.
Black Friday bonus – Designer Daily readers get their first month of Tailor Social free! Select your plan and enter promo code: First Month Free at checkout to redeem your Black Friday coupon.
BrowseEmAll is a well-reputed cross-browser testing service among web designers and developers, being fully loaded with lots of features and options. It supports both manual and automated browser testing, it works with all the major browser, including mobile browsers, and the tests are being made directly on your computer, forget emulators.
The manual browser testing feature enables developers and testers to locate and fix browser specific problems right on their machine. Run the browsers your customers use for quick and painless testing. Do live, regression & visual testing without network delays or usage limits on any major operating system. All major browsers are supported out of the box.
Get the free trial today and save 30% with the coupon code ‘BLACKFRIDAY’ on every purchase until the end of the year!
Page Proofer is a powerful visual bug tracker and visual feedback tool that you can use to request changes, leave feedback and track issues directly on your website. Forget the old methods – sending emails, having handwritten notes or recorded meetings – and save tons of time.
Pricing: plans start at $20/month. Use promo code BLACKFRI18 to save 25%.
Codester is a fast growing marketplace where web designers and developers can buy thousands of PHP scripts, website templates, codes, scripts and much more. You can even sell your products via Codester, they are not requesting exclusivity over your items.
Always check the Flash sales section where hugely discounts items are being sold.
Format is a powerful with a pixel-perfect design website theme that works perfectly as a portfolio for web designers, photographers, videographers and anybody else who needs to showcase his items. Format is having a premium touch, even if it’s totally free.
At MeridianThemes, you will find gorgeous WordPress theme that are loaded with tons of features and options, normally found on very expensive templates. Here you have everything included.
Always check the Deals section where hugely discounts products are being sold.
Use the coupon code “bf2018” and you will get an excellent 30% discount (valid from Nov 23 to 30).
Landingi is a powerful website builder which is packed with tons of things: over 200 premade, gorgeous templates, 5,000 stock images, an excellent drag-and-drop function, and everything works without having any coding skills or previous experience.
Check out this year’s Black Friday deal and save up to $912 on an annual subscription!
Design Hooks is a huge free resource website where web designers and developers will find thousands of hand-picked PSD Mockups, HTML templates, WordPress themes, Fonts, Logos and much more. Browse it and pick what you need for your projects.
This is one of a kind website, providing all the info regarding paper sizes in one place. The website is very well structured, the information can be found effortless in a couple of seconds.
Useful website for designers that are preparing ads and all kind of materials.
Tesla Themes is building awesome, premium WordPress themes that are fully loaded with the latest features and options on the market. The design is pixel-perfect and is a perfect fit for businesses, ecommerce sites, videographers, and more.
Show Themes are building the best WordPress themes on the market. Huge and important events are using these themes with great success, being a well-tested solution for others who want to start right now.
NextGEN Gallery is the industry standard for WordPress galleries, with 15+ million total downloads and 40,000 new downloads per week. It’s by far the most powerful WordPress gallery plugin available, with hundreds of options in the free version and even more with Pro extensions. Build stunning responsive galleries on a platform that can anticipate your needs.
Built by photographers for photographers, Photocrati is the best niche WordPress theme on the market. It is already used with great success by 1 million people and it comes loaded with the awesome NextGen Gallery plugin.
Bonsai built a professional, super-simple to use and dedicated time tracking solution for freelancers. It’s fast, reliable and an all-in-one solution trusted by more than 100,000 creatives. It’s the first time tracker fully integrated with your workflow. Available on web, macOS and iOS.
48HoursLogo is one of the best logo design contests on the market. Launch your own contest where designers will compete for you. In the end, you pick the design you like most. The results are excellent and are not reflecting the small payment you are making. Get new logo ideas.
WrapKit Builder is a powerful website builder that works excellent and is very fast. You don’t need to have any programming skills or special knowledge to create a gorgeous, fully functional website.
MyThemeShop is having more than 500,000 happy customers and they are focused on providing the best premium themes and plugins. For only $19 you will have access to all their products, it’s a once in a lifetime offer. Save lots of money and time for your future projects.
With 8.5 million gorgeous logo created, Logaster is one of the best logo design platforms in the world. You can use it to quickly create professional logos, or for corporate identity and branded items.
The results are excellent and the platform is extremely fast, try it.
Work Examiner is a powerful internet monitoring software which you can use for Real-time view of user activities on their PCs: live screenshots, active application\website, active\away status, etc; for interactive reports with a complete view of what employees do on their PCs including many application and web usage reports, screenshots chats recording, attendance tracking, and more…
Total is a super flexible, powerful and complete WordPress theme which is loaded with tons of features, options and one of the best drag-and-drop page builders on the market. Fully customizing this clean design theme takes a couple of minutes and the results look great.
Chic is an ultra-fast, SEO friendly and premium WordPress theme which you can use for your blogging and WooCommerce projects. The design is pixel-perfect and looks great on any device, being fully responsive.
Fashionista is a one of a kind premium blogging and woo commerce ready WordPress theme which you can use for your next projects. It is lightning fast, SEO friendly and you can fully customize it in a couple of minutes. Check their website for more info, Fashionista is literally packed with tons of features and options.
As the website name says, this is an academy with more than 10 highly detailed courses that will teach you everything you need to know about Selenium and automated testing from start to finish. You will create automated browser test, maintainable tests and much more.
Use the BLACKFRIDAY50 coupon and you will get 50% discount until the end of the year.
With InstantLogoDesign, you will get a professional, unique design logo in seconds and you can ask for unlimited edits and downloads. The results are outstanding, try it.
Jump online before the 2018 ends. Launch your website with Goodiewebsite.com. This unique platform allows you to work directly with a developer who will code your design within a few days and at the affordable price. At Goodiewebsite “Black Friday” last all year long as you can get a “design to code” conversion for $999.
InvoiceBerry is a professional, all-in-one invoicing platform that you can use to create and customize invoices, to track expenses, create fully detailed invoices and much more. It’s the perfect fit for small and medium teams.
Probably the best Black Friday offer from the whole market is coming from Media Loot Fonts. For only $14 you will get access to more than 80 custom, stunning fonts and to thousands of different items: icons, templates and mockups. It’s like getting everything for free, check it. You will save lots of money for your future projects with this deal.
With over 450,000 fonts and the best AI font finder on the market, WhatFontIs is the best way to identify a font from an image in less than 40 seconds. The steps are super simple, after you upload the photo with the font you are looking for, the platform will show you more than 60 similar free and commercial fonts. It works excellent, try it.
A deal of the hour is a great thing. Yet it is a really short while to buy all necessary digital products. What about having a deal of the entire 11 days? TemplateMonster is ready to gladden you with -50% OFF on all ready-made templates you need on Black Friday. Make certain to buy all of them on November, 19-29 and build the most stylish websites using them!
The best period to buy lots of things is the Black Friday special event. In these days, most of the companies are offering huge discounts to start using their services or their products. If you carefully decide what you need in the next 6-12 months, you can easily save tons of money, literally.
We as web designers and developers need lots of web tools and services, WordPress themes and other things. Everything which is on your list, can be found below.
With over 200,000 companies using Hotjar, including the well-known Microsoft, this is by far the best way to find out how visitors are interacting with a website. It is packed with a friendly interface, powerful features, and options, and it works with all the known platforms: WordPress, Joomla, Shopify, Magento, and many others.
I have never seen so many features packed in the same solution. The heatmaps and recordings are brilliant and are offering complete insights. With conversions funnels, you can quickly identify where your visitors are dropping off, including the page and the step. These are only a small part of what Hotjar can do for you, check their homepage to get all the info.
The pricing is very well optimized to be a perfect fit for any organization size, including for personal projects with low traffic where there is a free forever plan.
Start a free trial in seconds, you don’t need to have a credit card.
Bonsai is the most used and reputed freelancer invoicing platform on the market, being used with great success by more than 100,000 customers.
It was built for freelancers and you will feel this every moment while using it. Bonsai is lightning fast, reliable, secure, and it’s a solution to the freelancers’ headaches. It can be used to sent automatic payment reminders, it will let you know when customers interact with the invoices and let you know when customers are planning to pay the invoice. You can even automatically generate invoices from contracts or from proposals. Everything is there, including a super-friendly and beautifully designed interface.
If you’re ready to implement a seamless social media marketing strategy, Tailor Social is the tool to use. With a content discovery feature that brings you content your audience will love, and an automated post scheduler that keeps your posting consistent, Tailor Social saves you the time of managing your social accounts on your own. Instead, simply create flawless social post images with their design feature, and use Tailor Analytics to watch your audience engagement grow.
Their most popular plan gives you 500 scheduled posts on 7 social media accounts for only $12 a month, but they also offer 50 scheduled posts on 2 accounts for $8, or 2,000 posts for up to 30 accounts, for $40.
Black Friday bonus – Designer Daily readers get their first month of Tailor Social free! Select your plan and enter promo code: First Month Free at checkout to redeem your Black Friday coupon.
BrowseEmAll is a well-reputed cross-browser testing service among web designers and developers, being fully loaded with lots of features and options. It supports both manual and automated browser testing, it works with all the major browser, including mobile browsers, and the tests are being made directly on your computer, forget emulators.
The manual browser testing feature enables developers and testers to locate and fix browser specific problems right on their machine. Run the browsers your customers use for quick and painless testing. Do live, regression & visual testing without network delays or usage limits on any major operating system. All major browsers are supported out of the box.
Get the free trial today and save 30% with the coupon code ‘BLACKFRIDAY’ on every purchase until the end of the year!
Page Proofer is a powerful visual bug tracker and visual feedback tool that you can use to request changes, leave feedback and track issues directly on your website. Forget the old methods – sending emails, having handwritten notes or recorded meetings – and save tons of time.
Pricing: plans start at $20/month. Use promo code BLACKFRI18 to save 25%.
Codester is a fast growing marketplace where web designers and developers can buy thousands of PHP scripts, website templates, codes, scripts and much more. You can even sell your products via Codester, they are not requesting exclusivity over your items.
Always check the Flash sales section where hugely discounts items are being sold.
Format is a powerful with a pixel-perfect design website theme that works perfectly as a portfolio for web designers, photographers, videographers and anybody else who needs to showcase his items. Format is having a premium touch, even if it’s totally free.
At MeridianThemes, you will find gorgeous WordPress theme that are loaded with tons of features and options, normally found on very expensive templates. Here you have everything included.
Always check the Deals section where hugely discounts products are being sold.
Use the coupon code “bf2018” and you will get an excellent 30% discount (valid from Nov 23 to 30).
Landingi is a powerful website builder which is packed with tons of things: over 200 premade, gorgeous templates, 5,000 stock images, an excellent drag-and-drop function, and everything works without having any coding skills or previous experience.
Check out this year’s Black Friday deal and save up to $912 on an annual subscription!
Design Hooks is a huge free resource website where web designers and developers will find thousands of hand-picked PSD Mockups, HTML templates, WordPress themes, Fonts, Logos and much more. Browse it and pick what you need for your projects.
This is one of a kind website, providing all the info regarding paper sizes in one place. The website is very well structured, the information can be found effortless in a couple of seconds.
Useful website for designers that are preparing ads and all kind of materials.
Tesla Themes is building awesome, premium WordPress themes that are fully loaded with the latest features and options on the market. The design is pixel-perfect and is a perfect fit for businesses, ecommerce sites, videographers, and more.
Show Themes are building the best WordPress themes on the market. Huge and important events are using these themes with great success, being a well-tested solution for others who want to start right now.
NextGEN Gallery is the industry standard for WordPress galleries, with 15+ million total downloads and 40,000 new downloads per week. It’s by far the most powerful WordPress gallery plugin available, with hundreds of options in the free version and even more with Pro extensions. Build stunning responsive galleries on a platform that can anticipate your needs.
Built by photographers for photographers, Photocrati is the best niche WordPress theme on the market. It is already used with great success by 1 million people and it comes loaded with the awesome NextGen Gallery plugin.
Bonsai built a professional, super-simple to use and dedicated time tracking solution for freelancers. It’s fast, reliable and an all-in-one solution trusted by more than 100,000 creatives. It’s the first time tracker fully integrated with your workflow. Available on web, macOS and iOS.
48HoursLogo is one of the best logo design contests on the market. Launch your own contest where designers will compete for you. In the end, you pick the design you like most. The results are excellent and are not reflecting the small payment you are making. Get new logo ideas.
WrapKit Builder is a powerful website builder that works excellent and is very fast. You don’t need to have any programming skills or special knowledge to create a gorgeous, fully functional website.
MyThemeShop is having more than 500,000 happy customers and they are focused on providing the best premium themes and plugins. For only $19 you will have access to all their products, it’s a once in a lifetime offer. Save lots of money and time for your future projects.
With 8.5 million gorgeous logo created, Logaster is one of the best logo design platforms in the world. You can use it to quickly create professional logos, or for corporate identity and branded items.
The results are excellent and the platform is extremely fast, try it.
Work Examiner is a powerful internet monitoring software which you can use for Real-time view of user activities on their PCs: live screenshots, active application\website, active\away status, etc; for interactive reports with a complete view of what employees do on their PCs including many application and web usage reports, screenshots chats recording, attendance tracking, and more…
Total is a super flexible, powerful and complete WordPress theme which is loaded with tons of features, options and one of the best drag-and-drop page builders on the market. Fully customizing this clean design theme takes a couple of minutes and the results look great.
Chic is an ultra-fast, SEO friendly and premium WordPress theme which you can use for your blogging and WooCommerce projects. The design is pixel-perfect and looks great on any device, being fully responsive.
Fashionista is a one of a kind premium blogging and woo commerce ready WordPress theme which you can use for your next projects. It is lightning fast, SEO friendly and you can fully customize it in a couple of minutes. Check their website for more info, Fashionista is literally packed with tons of features and options.
As the website name says, this is an academy with more than 10 highly detailed courses that will teach you everything you need to know about Selenium and automated testing from start to finish. You will create automated browser test, maintainable tests and much more.
Use the BLACKFRIDAY50 coupon and you will get 50% discount until the end of the year.
With InstantLogoDesign, you will get a professional, unique design logo in seconds and you can ask for unlimited edits and downloads. The results are outstanding, try it.
Jump online before the 2018 ends. Launch your website with Goodiewebsite.com. This unique platform allows you to work directly with a developer who will code your design within a few days and at the affordable price. At Goodiewebsite “Black Friday” last all year long as you can get a “design to code” conversion for $999.
InvoiceBerry is a professional, all-in-one invoicing platform that you can use to create and customize invoices, to track expenses, create fully detailed invoices and much more. It’s the perfect fit for small and medium teams.
Probably the best Black Friday offer from the whole market is coming from Media Loot Fonts. For only $14 you will get access to more than 80 custom, stunning fonts and to thousands of different items: icons, templates and mockups. It’s like getting everything for free, check it. You will save lots of money for your future projects with this deal.
With over 450,000 fonts and the best AI font finder on the market, WhatFontIs is the best way to identify a font from an image in less than 40 seconds. The steps are super simple, after you upload the photo with the font you are looking for, the platform will show you more than 60 similar free and commercial fonts. It works excellent, try it.
A deal of the hour is a great thing. Yet it is a really short while to buy all necessary digital products. What about having a deal of the entire 11 days? TemplateMonster is ready to gladden you with -50% OFF on all ready-made templates you need on Black Friday. Make certain to buy all of them on November, 19-29 and build the most stylish websites using them!
The best period to buy lots of things is the Black Friday special event. In these days, most of the companies are offering huge discounts to start using their services or their products. If you carefully decide what you need in the next 6-12 months, you can easily save tons of money, literally.
We as web designers and developers need lots of web tools and services, WordPress themes and other things. Everything which is on your list, can be found below.
With over 200,000 companies using Hotjar, including the well-known Microsoft, this is by far the best way to find out how visitors are interacting with a website. It is packed with a friendly interface, powerful features, and options, and it works with all the known platforms: WordPress, Joomla, Shopify, Magento, and many others.
I have never seen so many features packed in the same solution. The heatmaps and recordings are brilliant and are offering complete insights. With conversions funnels, you can quickly identify where your visitors are dropping off, including the page and the step. These are only a small part of what Hotjar can do for you, check their homepage to get all the info.
The pricing is very well optimized to be a perfect fit for any organization size, including for personal projects with low traffic where there is a free forever plan.
Start a free trial in seconds, you don’t need to have a credit card.
Bonsai is the most used and reputed freelancer invoicing platform on the market, being used with great success by more than 100,000 customers.
It was built for freelancers and you will feel this every moment while using it. Bonsai is lightning fast, reliable, secure, and it’s a solution to the freelancers’ headaches. It can be used to sent automatic payment reminders, it will let you know when customers interact with the invoices and let you know when customers are planning to pay the invoice. You can even automatically generate invoices from contracts or from proposals. Everything is there, including a super-friendly and beautifully designed interface.
If you’re ready to implement a seamless social media marketing strategy, Tailor Social is the tool to use. With a content discovery feature that brings you content your audience will love, and an automated post scheduler that keeps your posting consistent, Tailor Social saves you the time of managing your social accounts on your own. Instead, simply create flawless social post images with their design feature, and use Tailor Analytics to watch your audience engagement grow.
Their most popular plan gives you 500 scheduled posts on 7 social media accounts for only $12 a month, but they also offer 50 scheduled posts on 2 accounts for $8, or 2,000 posts for up to 30 accounts, for $40.
Black Friday bonus – Designer Daily readers get their first month of Tailor Social free! Select your plan and enter promo code: First Month Free at checkout to redeem your Black Friday coupon.
BrowseEmAll is a well-reputed cross-browser testing service among web designers and developers, being fully loaded with lots of features and options. It supports both manual and automated browser testing, it works with all the major browser, including mobile browsers, and the tests are being made directly on your computer, forget emulators.
The manual browser testing feature enables developers and testers to locate and fix browser specific problems right on their machine. Run the browsers your customers use for quick and painless testing. Do live, regression & visual testing without network delays or usage limits on any major operating system. All major browsers are supported out of the box.
Get the free trial today and save 30% with the coupon code ‘BLACKFRIDAY’ on every purchase until the end of the year!
Page Proofer is a powerful visual bug tracker and visual feedback tool that you can use to request changes, leave feedback and track issues directly on your website. Forget the old methods – sending emails, having handwritten notes or recorded meetings – and save tons of time.
Pricing: plans start at $20/month. Use promo code BLACKFRI18 to save 25%.
Codester is a fast growing marketplace where web designers and developers can buy thousands of PHP scripts, website templates, codes, scripts and much more. You can even sell your products via Codester, they are not requesting exclusivity over your items.
Always check the Flash sales section where hugely discounts items are being sold.
Format is a powerful with a pixel-perfect design website theme that works perfectly as a portfolio for web designers, photographers, videographers and anybody else who needs to showcase his items. Format is having a premium touch, even if it’s totally free.
At MeridianThemes, you will find gorgeous WordPress theme that are loaded with tons of features and options, normally found on very expensive templates. Here you have everything included.
Always check the Deals section where hugely discounts products are being sold.
Use the coupon code “bf2018” and you will get an excellent 30% discount (valid from Nov 23 to 30).
Landingi is a powerful website builder which is packed with tons of things: over 200 premade, gorgeous templates, 5,000 stock images, an excellent drag-and-drop function, and everything works without having any coding skills or previous experience.
Check out this year’s Black Friday deal and save up to $912 on an annual subscription!
Design Hooks is a huge free resource website where web designers and developers will find thousands of hand-picked PSD Mockups, HTML templates, WordPress themes, Fonts, Logos and much more. Browse it and pick what you need for your projects.
This is one of a kind website, providing all the info regarding paper sizes in one place. The website is very well structured, the information can be found effortless in a couple of seconds.
Useful website for designers that are preparing ads and all kind of materials.
Tesla Themes is building awesome, premium WordPress themes that are fully loaded with the latest features and options on the market. The design is pixel-perfect and is a perfect fit for businesses, ecommerce sites, videographers, and more.
Show Themes are building the best WordPress themes on the market. Huge and important events are using these themes with great success, being a well-tested solution for others who want to start right now.
NextGEN Gallery is the industry standard for WordPress galleries, with 15+ million total downloads and 40,000 new downloads per week. It’s by far the most powerful WordPress gallery plugin available, with hundreds of options in the free version and even more with Pro extensions. Build stunning responsive galleries on a platform that can anticipate your needs.
Built by photographers for photographers, Photocrati is the best niche WordPress theme on the market. It is already used with great success by 1 million people and it comes loaded with the awesome NextGen Gallery plugin.
Bonsai built a professional, super-simple to use and dedicated time tracking solution for freelancers. It’s fast, reliable and an all-in-one solution trusted by more than 100,000 creatives. It’s the first time tracker fully integrated with your workflow. Available on web, macOS and iOS.
48HoursLogo is one of the best logo design contests on the market. Launch your own contest where designers will compete for you. In the end, you pick the design you like most. The results are excellent and are not reflecting the small payment you are making. Get new logo ideas.
WrapKit Builder is a powerful website builder that works excellent and is very fast. You don’t need to have any programming skills or special knowledge to create a gorgeous, fully functional website.
MyThemeShop is having more than 500,000 happy customers and they are focused on providing the best premium themes and plugins. For only $19 you will have access to all their products, it’s a once in a lifetime offer. Save lots of money and time for your future projects.
With 8.5 million gorgeous logo created, Logaster is one of the best logo design platforms in the world. You can use it to quickly create professional logos, or for corporate identity and branded items.
The results are excellent and the platform is extremely fast, try it.
Work Examiner is a powerful internet monitoring software which you can use for Real-time view of user activities on their PCs: live screenshots, active application\website, active\away status, etc; for interactive reports with a complete view of what employees do on their PCs including many application and web usage reports, screenshots chats recording, attendance tracking, and more…
Total is a super flexible, powerful and complete WordPress theme which is loaded with tons of features, options and one of the best drag-and-drop page builders on the market. Fully customizing this clean design theme takes a couple of minutes and the results look great.
Chic is an ultra-fast, SEO friendly and premium WordPress theme which you can use for your blogging and WooCommerce projects. The design is pixel-perfect and looks great on any device, being fully responsive.
Fashionista is a one of a kind premium blogging and woo commerce ready WordPress theme which you can use for your next projects. It is lightning fast, SEO friendly and you can fully customize it in a couple of minutes. Check their website for more info, Fashionista is literally packed with tons of features and options.
As the website name says, this is an academy with more than 10 highly detailed courses that will teach you everything you need to know about Selenium and automated testing from start to finish. You will create automated browser test, maintainable tests and much more.
Use the BLACKFRIDAY50 coupon and you will get 50% discount until the end of the year.
With InstantLogoDesign, you will get a professional, unique design logo in seconds and you can ask for unlimited edits and downloads. The results are outstanding, try it.
Jump online before the 2018 ends. Launch your website with Goodiewebsite.com. This unique platform allows you to work directly with a developer who will code your design within a few days and at the affordable price. At Goodiewebsite “Black Friday” last all year long as you can get a “design to code” conversion for $999.
InvoiceBerry is a professional, all-in-one invoicing platform that you can use to create and customize invoices, to track expenses, create fully detailed invoices and much more. It’s the perfect fit for small and medium teams.
Probably the best Black Friday offer from the whole market is coming from Media Loot Fonts. For only $14 you will get access to more than 80 custom, stunning fonts and to thousands of different items: icons, templates and mockups. It’s like getting everything for free, check it. You will save lots of money for your future projects with this deal.
With over 450,000 fonts and the best AI font finder on the market, WhatFontIs is the best way to identify a font from an image in less than 40 seconds. The steps are super simple, after you upload the photo with the font you are looking for, the platform will show you more than 60 similar free and commercial fonts. It works excellent, try it.
A deal of the hour is a great thing. Yet it is a really short while to buy all necessary digital products. What about having a deal of the entire 11 days? TemplateMonster is ready to gladden you with -50% OFF on all ready-made templates you need on Black Friday. Make certain to buy all of them on November, 19-29 and build the most stylish websites using them!
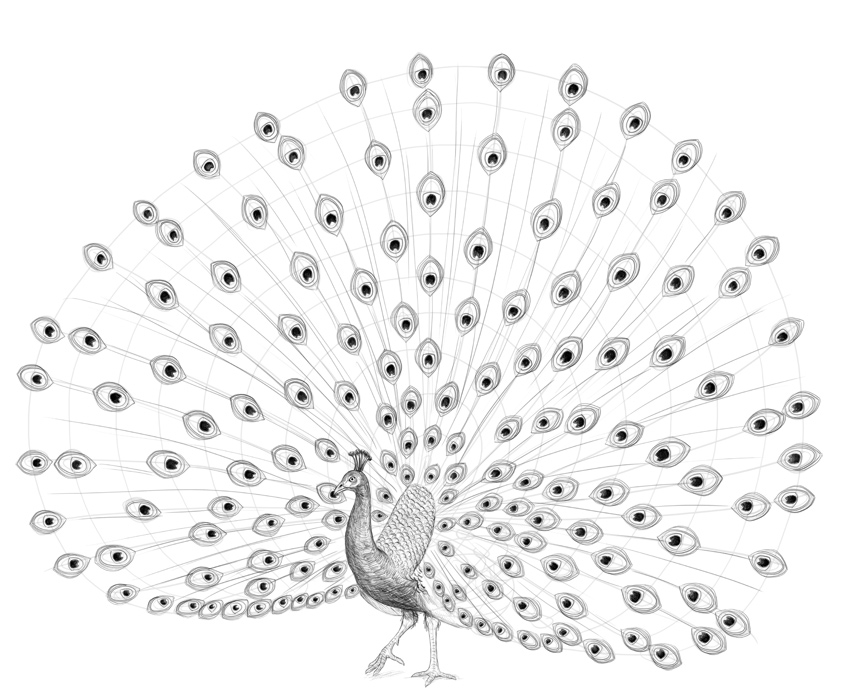
In this tutorial, I will show you how to draw a peacock with an open tail and how to draw a peacock feather.
Many birds sport fabulous plumage, but one species takes it to an extreme level—the peacock. Their tails are huge and can be displayed in the shape of a fan. It’s a beautiful sight, very inspiring for an artist, but not easy to draw at all.
In this tutorial, I will show you how to draw a peacock with a beautiful, open tail. I will also show you how to draw a peacock feather step by step, not only in a tail, but as an individual one.
1. How to Draw a Peacock
Step 1
Draw an oval. This will be the torso of our peacock.
Step 2
Draw a long, S-shaped neck with an oval head at one end.
Step 3
Sketch the legs below the ankles („reversed knees”). Drawing them this way can help you establish the pose without getting caught up in the details.
Step 4
Draw the upper part of the legs. These will be hidden under the feathers, but it helps to know where they are.
Step 5
Sketch the curve of the beak. Peacocks are related to chickens, so you can use a chicken beak as a reference.
Step 6
Sketch the curve of the wings. Peacocks tend to keep them low when they fan their tail. The wings are covered by the tail mostly, but some parts may stay visible, so we need to know where they are.
Step 7
Draw all the toes. Again, these are just like chicken feet!
Step 8
Outline the neck, starting thin right by the head and then getting wider as you get closer to the torso.
Step 9
Finish the beak.
Step 10
Draw an oval eye.
Step 11
Add a nose hole.
Step 12
Draw the „crown” on the head.
Step 13
Add details to the legs and feet.
Step 14
Finish the wings.
2. How to Draw a Peacock’s Tail
Step 1
The body is done, so now it’s time to draw a fabulous peacock tail! Its base is like a stiff cape that the peacock raises above its back.
Step 2
Sketch the axes of the tail. Younger birds have smaller tails, so if you want to make this drawing less challenging, you can draw the axes shorter.
Step 3
Draw the rays of feathers.
Step 4
Outline the whole tail to make sure the shape made by the feathers looks regular.
Step 5
Divide the whole shape of the tail into many regular sections. This will help you place the feathers regularly.
Step 6
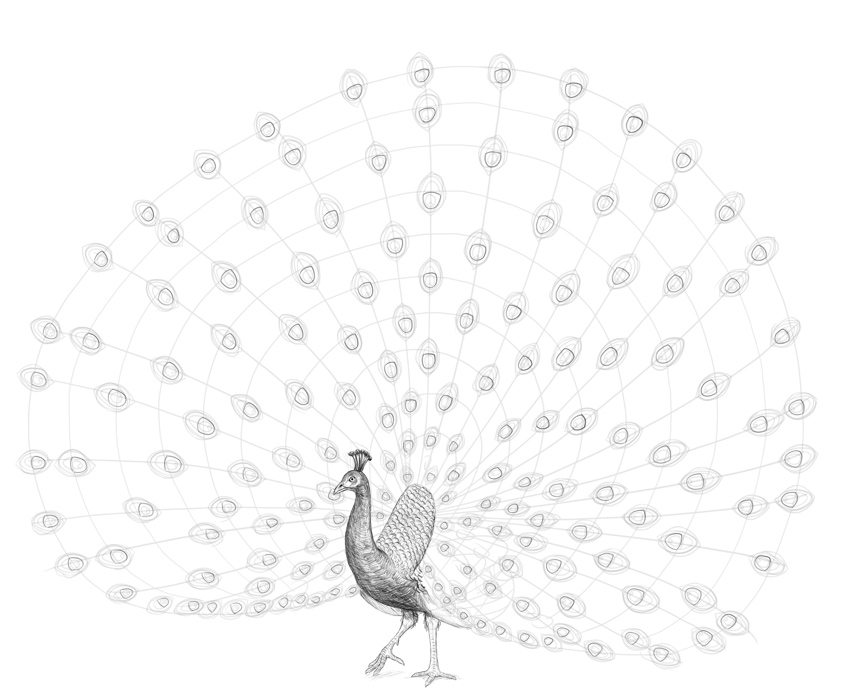
Draw the „eyespots” around the tail’s edge…
… and within the shape, but this time leaving regular spaces in between.
Step 7
The base of the tail is covered with little scale-like feathers. So you can use the method I use for drawing scales:
3. How to Draw a Peacock Feather
Step 1
All the guide lines are in place, so let’s take a look now at the details of how to draw a single peacock feather.
Every feather must start with a straight line. Peacock feathers can be very long, but only the top has a visible vane.
Step 2
Draw an egg shape. It will be the basis for the whole eyespot.
Step 3
Draw the same shape inside, leaving a little space in between.
Step 4
Cross the smaller oval with a gentle curve. This will create a shape of the „iris”.
Step 5
Draw a smaller oval inside the „iris”—the „pupil”.
Step 6
Draw a reversed „V” inside this small shape.
Step 7
Outline the whole shape, creating a triangular base for the eyespot and a thick outline on its sides.
Step 8
This outline is copied on top, but here it starts to turn into individual barbs.
Step 9
The whole tail must be drawn with a slightly different approach, so let’s focus on a single feather for now. The „pupil” is dark, but there’s a subtle gradient inside.
Step 10
The top of the feather is the densest, and it follows the shape of the eyespot:
Step 11
The lower part is sparser:
Step 12
If you want to draw a detailed peacock feather, make the barbs fluffy and gently shade the eyespot.
Step 13
We’re focusing on black and white drawing here, but if you want to draw a peacock feather in color, there are three colors that are the most important: green, blue, and brown.
4. How to Finish a Drawing of a Peacock
Step 1
All right, we’re almost done! Let’s draw the final lines now. Draw the details of the head. Because the head looks so insignificant in comparison to the impressive tail, you don’t have to make it too detailed—these details will not be that visible anyway.
Step 2
Outline the body and the legs.
Step 3
Outline the scaly feathers at the base of the tail.
Step 4
Add some scales to the legs.
Step 5
Cross each „scale” on the base of the tail with a vertical line.
Step 6
Now shade the peacock. It must look dark in comparison to the tail.
Step 7
Let’s go back to the tail now. Draw the spots as explained earlier, except looser here—because there are so many of the spots and they’re so little, each individual one matters less.
Step 8
Draw the shafts of the feathers. Because the feathers are mostly thin, they look almost translucent in contrast to the thick and solid shafts. Add shafts to all the eyespots, but also in between, to fill the empty spaces.
Step 9
The lower part of the tail has a lot of eyespots concentrated in one place. It makes this area look thick and fluffy.
Step 10
Now draw all the feathers. It may take a while, but remember that you don’t need to be very strict here—just draw a lot of lines in the same rhythm along each shaft.
Step 11
There’s also one more type of peacock feather, mainly visible at the edge of the tail. They look like open V’s.
Step 12
Accentuate the shafts some more to make them more visible.
Step 13
Since we’re drawing in black and white, it’s hard to create the contrast between colorful eyespots and dull feathers. However, we can use value for this—make it even denser to make the areas between the eyespots darker. However, keep in mind that the closer you are to the edge of the tail, the sparser the feathers.
Step 14
Take a final look at your drawing and see what else you can fix. I accentuated the shading some more to increase the contrast.
Beautiful!
Now you know how to draw a beautiful peacock with an open tail from scratch! If you’ve followed my steps and you like your end result, feel free to share it in the comments—I’d love to see it!
You may also be interested in one of our many bird-related tutorials:
In this tutorial, I will show you how to draw a peacock with an open tail and how to draw a peacock feather.
Many birds sport fabulous plumage, but one species takes it to an extreme level—the peacock. Their tails are huge and can be displayed in the shape of a fan. It’s a beautiful sight, very inspiring for an artist, but not easy to draw at all.
In this tutorial, I will show you how to draw a peacock with a beautiful, open tail. I will also show you how to draw a peacock feather step by step, not only in a tail, but as an individual one.
1. How to Draw a Peacock
Step 1
Draw an oval. This will be the torso of our peacock.
Step 2
Draw a long, S-shaped neck with an oval head at one end.
Step 3
Sketch the legs below the ankles („reversed knees”). Drawing them this way can help you establish the pose without getting caught up in the details.
Step 4
Draw the upper part of the legs. These will be hidden under the feathers, but it helps to know where they are.
Step 5
Sketch the curve of the beak. Peacocks are related to chickens, so you can use a chicken beak as a reference.
Step 6
Sketch the curve of the wings. Peacocks tend to keep them low when they fan their tail. The wings are covered by the tail mostly, but some parts may stay visible, so we need to know where they are.
Step 7
Draw all the toes. Again, these are just like chicken feet!
Step 8
Outline the neck, starting thin right by the head and then getting wider as you get closer to the torso.
Step 9
Finish the beak.
Step 10
Draw an oval eye.
Step 11
Add a nose hole.
Step 12
Draw the „crown” on the head.
Step 13
Add details to the legs and feet.
Step 14
Finish the wings.
2. How to Draw a Peacock’s Tail
Step 1
The body is done, so now it’s time to draw a fabulous peacock tail! Its base is like a stiff cape that the peacock raises above its back.
Step 2
Sketch the axes of the tail. Younger birds have smaller tails, so if you want to make this drawing less challenging, you can draw the axes shorter.
Step 3
Draw the rays of feathers.
Step 4
Outline the whole tail to make sure the shape made by the feathers looks regular.
Step 5
Divide the whole shape of the tail into many regular sections. This will help you place the feathers regularly.
Step 6
Draw the „eyespots” around the tail’s edge…
… and within the shape, but this time leaving regular spaces in between.
Step 7
The base of the tail is covered with little scale-like feathers. So you can use the method I use for drawing scales:
3. How to Draw a Peacock Feather
Step 1
All the guide lines are in place, so let’s take a look now at the details of how to draw a single peacock feather.
Every feather must start with a straight line. Peacock feathers can be very long, but only the top has a visible vane.
Step 2
Draw an egg shape. It will be the basis for the whole eyespot.
Step 3
Draw the same shape inside, leaving a little space in between.
Step 4
Cross the smaller oval with a gentle curve. This will create a shape of the „iris”.
Step 5
Draw a smaller oval inside the „iris”—the „pupil”.
Step 6
Draw a reversed „V” inside this small shape.
Step 7
Outline the whole shape, creating a triangular base for the eyespot and a thick outline on its sides.
Step 8
This outline is copied on top, but here it starts to turn into individual barbs.
Step 9
The whole tail must be drawn with a slightly different approach, so let’s focus on a single feather for now. The „pupil” is dark, but there’s a subtle gradient inside.
Step 10
The top of the feather is the densest, and it follows the shape of the eyespot:
Step 11
The lower part is sparser:
Step 12
If you want to draw a detailed peacock feather, make the barbs fluffy and gently shade the eyespot.
Step 13
We’re focusing on black and white drawing here, but if you want to draw a peacock feather in color, there are three colors that are the most important: green, blue, and brown.
4. How to Finish a Drawing of a Peacock
Step 1
All right, we’re almost done! Let’s draw the final lines now. Draw the details of the head. Because the head looks so insignificant in comparison to the impressive tail, you don’t have to make it too detailed—these details will not be that visible anyway.
Step 2
Outline the body and the legs.
Step 3
Outline the scaly feathers at the base of the tail.
Step 4
Add some scales to the legs.
Step 5
Cross each „scale” on the base of the tail with a vertical line.
Step 6
Now shade the peacock. It must look dark in comparison to the tail.
Step 7
Let’s go back to the tail now. Draw the spots as explained earlier, except looser here—because there are so many of the spots and they’re so little, each individual one matters less.
Step 8
Draw the shafts of the feathers. Because the feathers are mostly thin, they look almost translucent in contrast to the thick and solid shafts. Add shafts to all the eyespots, but also in between, to fill the empty spaces.
Step 9
The lower part of the tail has a lot of eyespots concentrated in one place. It makes this area look thick and fluffy.
Step 10
Now draw all the feathers. It may take a while, but remember that you don’t need to be very strict here—just draw a lot of lines in the same rhythm along each shaft.
Step 11
There’s also one more type of peacock feather, mainly visible at the edge of the tail. They look like open V’s.
Step 12
Accentuate the shafts some more to make them more visible.
Step 13
Since we’re drawing in black and white, it’s hard to create the contrast between colorful eyespots and dull feathers. However, we can use value for this—make it even denser to make the areas between the eyespots darker. However, keep in mind that the closer you are to the edge of the tail, the sparser the feathers.
Step 14
Take a final look at your drawing and see what else you can fix. I accentuated the shading some more to increase the contrast.
Beautiful!
Now you know how to draw a beautiful peacock with an open tail from scratch! If you’ve followed my steps and you like your end result, feel free to share it in the comments—I’d love to see it!
You may also be interested in one of our many bird-related tutorials:
In this tutorial, I will show you how to draw a peacock with an open tail and how to draw a peacock feather.
Many birds sport fabulous plumage, but one species takes it to an extreme level—the peacock. Their tails are huge and can be displayed in the shape of a fan. It’s a beautiful sight, very inspiring for an artist, but not easy to draw at all.
In this tutorial, I will show you how to draw a peacock with a beautiful, open tail. I will also show you how to draw a peacock feather step by step, not only in a tail, but as an individual one.
1. How to Draw a Peacock
Step 1
Draw an oval. This will be the torso of our peacock.
Step 2
Draw a long, S-shaped neck with an oval head at one end.
Step 3
Sketch the legs below the ankles („reversed knees”). Drawing them this way can help you establish the pose without getting caught up in the details.
Step 4
Draw the upper part of the legs. These will be hidden under the feathers, but it helps to know where they are.
Step 5
Sketch the curve of the beak. Peacocks are related to chickens, so you can use a chicken beak as a reference.
Step 6
Sketch the curve of the wings. Peacocks tend to keep them low when they fan their tail. The wings are covered by the tail mostly, but some parts may stay visible, so we need to know where they are.
Step 7
Draw all the toes. Again, these are just like chicken feet!
Step 8
Outline the neck, starting thin right by the head and then getting wider as you get closer to the torso.
Step 9
Finish the beak.
Step 10
Draw an oval eye.
Step 11
Add a nose hole.
Step 12
Draw the „crown” on the head.
Step 13
Add details to the legs and feet.
Step 14
Finish the wings.
2. How to Draw a Peacock’s Tail
Step 1
The body is done, so now it’s time to draw a fabulous peacock tail! Its base is like a stiff cape that the peacock raises above its back.
Step 2
Sketch the axes of the tail. Younger birds have smaller tails, so if you want to make this drawing less challenging, you can draw the axes shorter.
Step 3
Draw the rays of feathers.
Step 4
Outline the whole tail to make sure the shape made by the feathers looks regular.
Step 5
Divide the whole shape of the tail into many regular sections. This will help you place the feathers regularly.
Step 6
Draw the „eyespots” around the tail’s edge…
… and within the shape, but this time leaving regular spaces in between.
Step 7
The base of the tail is covered with little scale-like feathers. So you can use the method I use for drawing scales:
3. How to Draw a Peacock Feather
Step 1
All the guide lines are in place, so let’s take a look now at the details of how to draw a single peacock feather.
Every feather must start with a straight line. Peacock feathers can be very long, but only the top has a visible vane.
Step 2
Draw an egg shape. It will be the basis for the whole eyespot.
Step 3
Draw the same shape inside, leaving a little space in between.
Step 4
Cross the smaller oval with a gentle curve. This will create a shape of the „iris”.
Step 5
Draw a smaller oval inside the „iris”—the „pupil”.
Step 6
Draw a reversed „V” inside this small shape.
Step 7
Outline the whole shape, creating a triangular base for the eyespot and a thick outline on its sides.
Step 8
This outline is copied on top, but here it starts to turn into individual barbs.
Step 9
The whole tail must be drawn with a slightly different approach, so let’s focus on a single feather for now. The „pupil” is dark, but there’s a subtle gradient inside.
Step 10
The top of the feather is the densest, and it follows the shape of the eyespot:
Step 11
The lower part is sparser:
Step 12
If you want to draw a detailed peacock feather, make the barbs fluffy and gently shade the eyespot.
Step 13
We’re focusing on black and white drawing here, but if you want to draw a peacock feather in color, there are three colors that are the most important: green, blue, and brown.
4. How to Finish a Drawing of a Peacock
Step 1
All right, we’re almost done! Let’s draw the final lines now. Draw the details of the head. Because the head looks so insignificant in comparison to the impressive tail, you don’t have to make it too detailed—these details will not be that visible anyway.
Step 2
Outline the body and the legs.
Step 3
Outline the scaly feathers at the base of the tail.
Step 4
Add some scales to the legs.
Step 5
Cross each „scale” on the base of the tail with a vertical line.
Step 6
Now shade the peacock. It must look dark in comparison to the tail.
Step 7
Let’s go back to the tail now. Draw the spots as explained earlier, except looser here—because there are so many of the spots and they’re so little, each individual one matters less.
Step 8
Draw the shafts of the feathers. Because the feathers are mostly thin, they look almost translucent in contrast to the thick and solid shafts. Add shafts to all the eyespots, but also in between, to fill the empty spaces.
Step 9
The lower part of the tail has a lot of eyespots concentrated in one place. It makes this area look thick and fluffy.
Step 10
Now draw all the feathers. It may take a while, but remember that you don’t need to be very strict here—just draw a lot of lines in the same rhythm along each shaft.
Step 11
There’s also one more type of peacock feather, mainly visible at the edge of the tail. They look like open V’s.
Step 12
Accentuate the shafts some more to make them more visible.
Step 13
Since we’re drawing in black and white, it’s hard to create the contrast between colorful eyespots and dull feathers. However, we can use value for this—make it even denser to make the areas between the eyespots darker. However, keep in mind that the closer you are to the edge of the tail, the sparser the feathers.
Step 14
Take a final look at your drawing and see what else you can fix. I accentuated the shading some more to increase the contrast.
Beautiful!
Now you know how to draw a beautiful peacock with an open tail from scratch! If you’ve followed my steps and you like your end result, feel free to share it in the comments—I’d love to see it!
You may also be interested in one of our many bird-related tutorials:
In this tutorial, I will show you how to draw a peacock with an open tail and how to draw a peacock feather.
Many birds sport fabulous plumage, but one species takes it to an extreme level—the peacock. Their tails are huge and can be displayed in the shape of a fan. It’s a beautiful sight, very inspiring for an artist, but not easy to draw at all.
In this tutorial, I will show you how to draw a peacock with a beautiful, open tail. I will also show you how to draw a peacock feather step by step, not only in a tail, but as an individual one.
1. How to Draw a Peacock
Step 1
Draw an oval. This will be the torso of our peacock.
Step 2
Draw a long, S-shaped neck with an oval head at one end.
Step 3
Sketch the legs below the ankles („reversed knees”). Drawing them this way can help you establish the pose without getting caught up in the details.
Step 4
Draw the upper part of the legs. These will be hidden under the feathers, but it helps to know where they are.
Step 5
Sketch the curve of the beak. Peacocks are related to chickens, so you can use a chicken beak as a reference.
Step 6
Sketch the curve of the wings. Peacocks tend to keep them low when they fan their tail. The wings are covered by the tail mostly, but some parts may stay visible, so we need to know where they are.
Step 7
Draw all the toes. Again, these are just like chicken feet!
Step 8
Outline the neck, starting thin right by the head and then getting wider as you get closer to the torso.
Step 9
Finish the beak.
Step 10
Draw an oval eye.
Step 11
Add a nose hole.
Step 12
Draw the „crown” on the head.
Step 13
Add details to the legs and feet.
Step 14
Finish the wings.
2. How to Draw a Peacock’s Tail
Step 1
The body is done, so now it’s time to draw a fabulous peacock tail! Its base is like a stiff cape that the peacock raises above its back.
Step 2
Sketch the axes of the tail. Younger birds have smaller tails, so if you want to make this drawing less challenging, you can draw the axes shorter.
Step 3
Draw the rays of feathers.
Step 4
Outline the whole tail to make sure the shape made by the feathers looks regular.
Step 5
Divide the whole shape of the tail into many regular sections. This will help you place the feathers regularly.
Step 6
Draw the „eyespots” around the tail’s edge…
… and within the shape, but this time leaving regular spaces in between.
Step 7
The base of the tail is covered with little scale-like feathers. So you can use the method I use for drawing scales:
3. How to Draw a Peacock Feather
Step 1
All the guide lines are in place, so let’s take a look now at the details of how to draw a single peacock feather.
Every feather must start with a straight line. Peacock feathers can be very long, but only the top has a visible vane.
Step 2
Draw an egg shape. It will be the basis for the whole eyespot.
Step 3
Draw the same shape inside, leaving a little space in between.
Step 4
Cross the smaller oval with a gentle curve. This will create a shape of the „iris”.
Step 5
Draw a smaller oval inside the „iris”—the „pupil”.
Step 6
Draw a reversed „V” inside this small shape.
Step 7
Outline the whole shape, creating a triangular base for the eyespot and a thick outline on its sides.
Step 8
This outline is copied on top, but here it starts to turn into individual barbs.
Step 9
The whole tail must be drawn with a slightly different approach, so let’s focus on a single feather for now. The „pupil” is dark, but there’s a subtle gradient inside.
Step 10
The top of the feather is the densest, and it follows the shape of the eyespot:
Step 11
The lower part is sparser:
Step 12
If you want to draw a detailed peacock feather, make the barbs fluffy and gently shade the eyespot.
Step 13
We’re focusing on black and white drawing here, but if you want to draw a peacock feather in color, there are three colors that are the most important: green, blue, and brown.
4. How to Finish a Drawing of a Peacock
Step 1
All right, we’re almost done! Let’s draw the final lines now. Draw the details of the head. Because the head looks so insignificant in comparison to the impressive tail, you don’t have to make it too detailed—these details will not be that visible anyway.
Step 2
Outline the body and the legs.
Step 3
Outline the scaly feathers at the base of the tail.
Step 4
Add some scales to the legs.
Step 5
Cross each „scale” on the base of the tail with a vertical line.
Step 6
Now shade the peacock. It must look dark in comparison to the tail.
Step 7
Let’s go back to the tail now. Draw the spots as explained earlier, except looser here—because there are so many of the spots and they’re so little, each individual one matters less.
Step 8
Draw the shafts of the feathers. Because the feathers are mostly thin, they look almost translucent in contrast to the thick and solid shafts. Add shafts to all the eyespots, but also in between, to fill the empty spaces.
Step 9
The lower part of the tail has a lot of eyespots concentrated in one place. It makes this area look thick and fluffy.
Step 10
Now draw all the feathers. It may take a while, but remember that you don’t need to be very strict here—just draw a lot of lines in the same rhythm along each shaft.
Step 11
There’s also one more type of peacock feather, mainly visible at the edge of the tail. They look like open V’s.
Step 12
Accentuate the shafts some more to make them more visible.
Step 13
Since we’re drawing in black and white, it’s hard to create the contrast between colorful eyespots and dull feathers. However, we can use value for this—make it even denser to make the areas between the eyespots darker. However, keep in mind that the closer you are to the edge of the tail, the sparser the feathers.
Step 14
Take a final look at your drawing and see what else you can fix. I accentuated the shading some more to increase the contrast.
Beautiful!
Now you know how to draw a beautiful peacock with an open tail from scratch! If you’ve followed my steps and you like your end result, feel free to share it in the comments—I’d love to see it!
You may also be interested in one of our many bird-related tutorials:


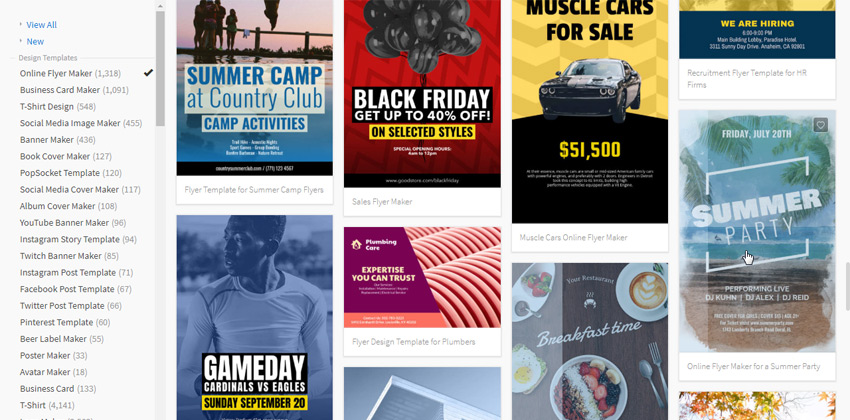
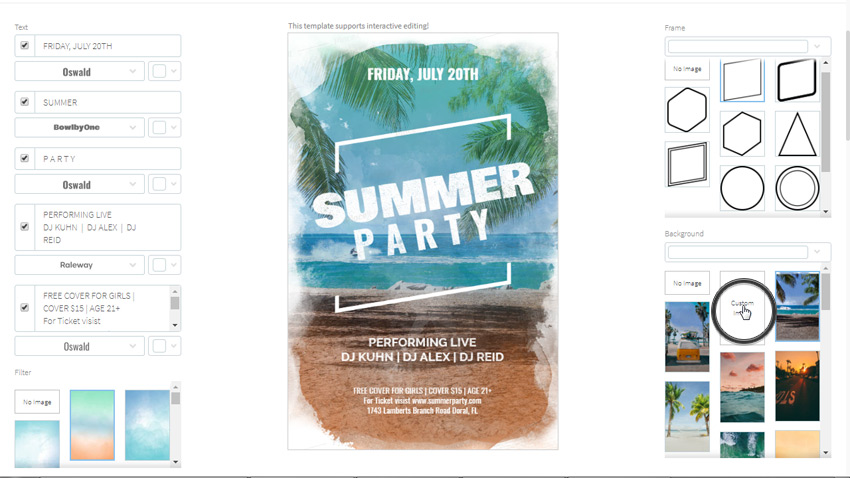


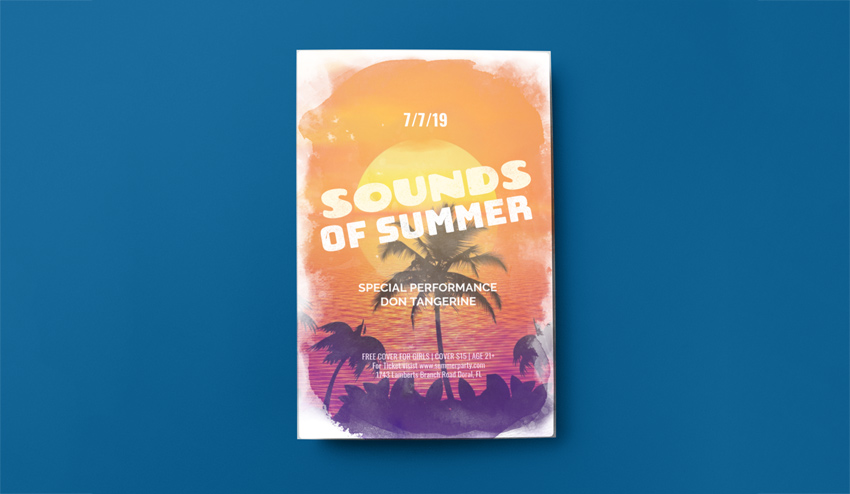
 FlyersHow to Create a Summer Club Flyer in Adobe InDesignGrace Fussell
 Print DesignLearn How to Make a Flyer in Our New Photoshop CourseAndrew Blackman
 FlyersHow to Create a 90s Style Event Flyer in Adobe InDesignGrace Fussell
 Print DesignHow to Create a Vintage Botanical Flyer in Adobe InDesignGrace Fussell
 FlyersHow to Create a Winter Sale Flyer in Adobe InDesignGrace Fussell