Post pobrano z: How to Create an Easy Digital Glitch Text Effect in Adobe Photoshop

This tutorial will show you how to use Photoshop’s layer styles, filters, and layer masks to create a quick and easy digital glitch text effect. Let’s get started!
This text effect was inspired by the many Layer Styles available on GraphicRiver.
Tutorial Assets
The following assets were used during the production of this tutorial:
- Pixel Digivolve font
- basic scanline patterns by Artbox-DA
1. How to Create the Background and Text Layers
Step 1
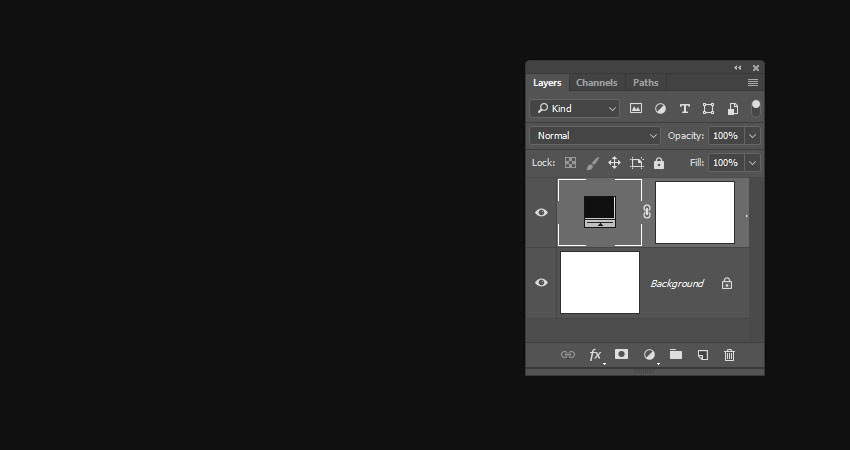
Create a 900 x 700 px New Document, click the Create new fill or adjustment layer icon at the bottom of the Layers panel, choose Solid Color, and use the Color #101010.
Step 2
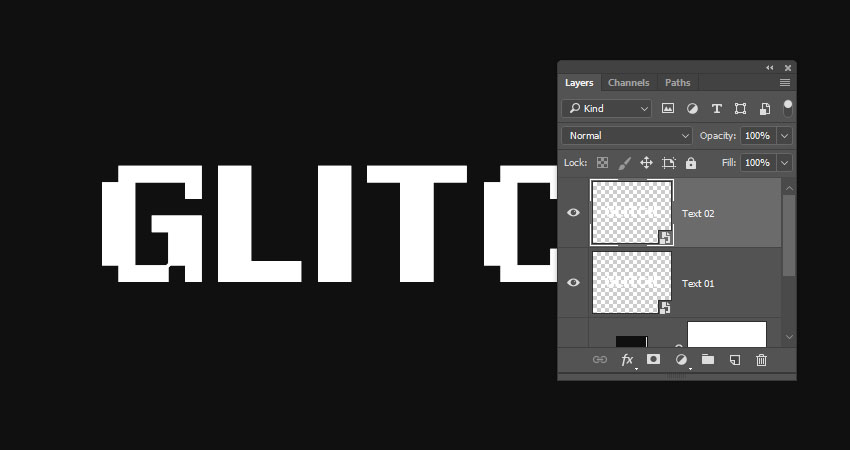
Create the text in White using the font Pixel Digivolve, and set the Size to 170 pt.

Step 3
Rename the text layer to Text 01, right-click it, and choose Convert to Smart Object.

Step 4
Duplicate the Text 01 layer, and rename the copy to Text 02.
Step 5
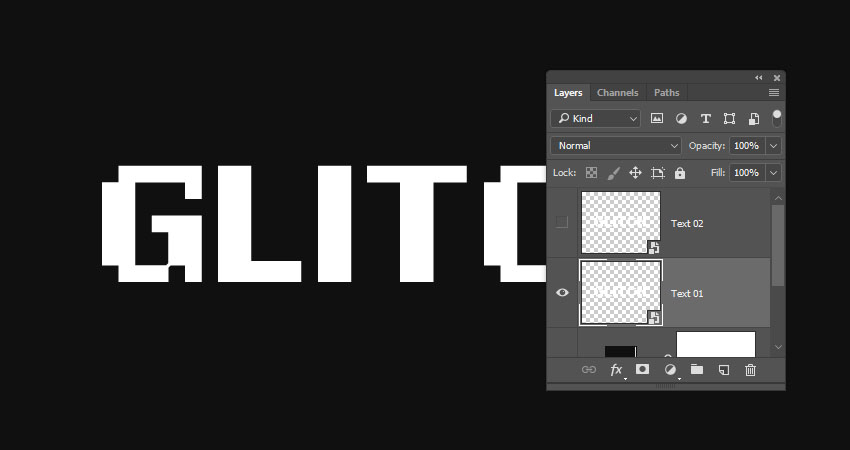
Hide the Text 02 layer by clicking the eye icon next to it.
2. How to Apply Layer Styles
Double-click the Text 01 layer to apply the following Layer Style:
Step 1
Under Blending Options go to Advanced Blending, and uncheck the G and B Channels’ boxes.

Step 2
Add an Outer Glow with these settings:
- Opacity: 50%
- Color:
#ffffff - Size: 10

This will style the red part of the text.

Show the Text 02 layer, and double-click to apply the following Layer Style:
Step 3
Under Blending Options, go to Advanced Blending, and uncheck the R Channels box.

Step 4
Add an Outer Glow with these settings:
- Opacity: 50%
- Color:
#ffffff - Size: 10

This will style the blue part, which will not be visible now, but we’ll work on it next.

3. How to Create a Basic Glitch Effect
Step 1
Pick the Move Tool, and use the Arrow Keys to slightly nudge the Text 01 and Text 02 layers in opposite directions to show the red and blue colors, and get a result you like.

Step 2
Duplicate both the Text 01 and Text 02 layers.

Step 3
Create a New Layer on top of all layers, name it Filters 01, and press the Option-Command-Shift-E keys to create a stamp of all the layers you have.
Right-click the Filters 01 layer, and choose Convert to Smart Object.

Step 4
Press-hold the Option key and click the Add layer mask icon at the bottom of the Layers panel to add an inverted layer mask.

Step 5
Duplicate the Filters 01 layer and rename the copy to Filters 02.

4. How to Work With Layer Masks
Step 1
Pick the Rectangular Marquee Tool, create some random selections that cover parts of the text, and make sure to extend the selections to reach outside the left and right sides of the text.
Keep enough vertical space between the selections as we’re going to create some more selections between them.

Step 2
Select the Filters 01 layer mask’s thumbnail, and Fill the selection with White.
Press Command-D to Deselect.

Step 3
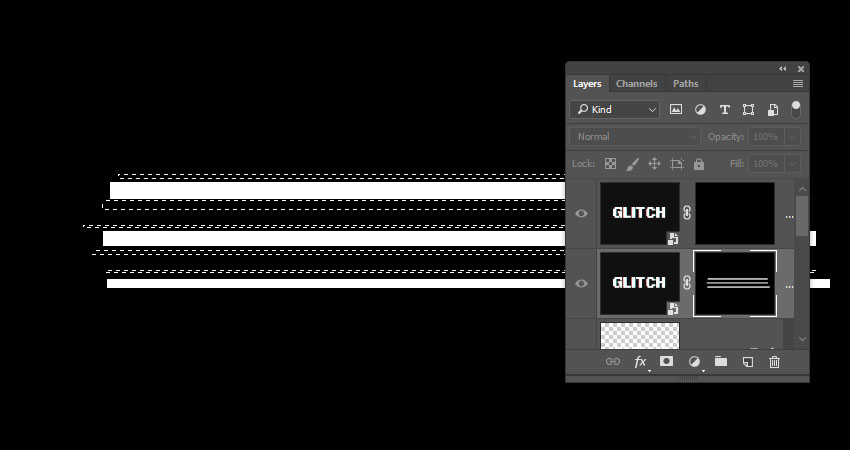
Press-hold the Option key and click the Filters 01 layer mask’s thumbnail to show it. We will use this as a reference to create the selections between the lines we already have.

Step 4
Use the Rectangular Marquee Tool again to create narrower lines between the ones you have, but keep some unselected areas as well.
Step 5
Press-hold the Option key and click the Filters 01 layer mask’s thumbnail again to get the original content, select the Filters 02 layer mask’s thumbnail, and Fill the new selection with White.
Deselect when you’re done.

5. How to Apply Glitch Effect Filters
Step 1
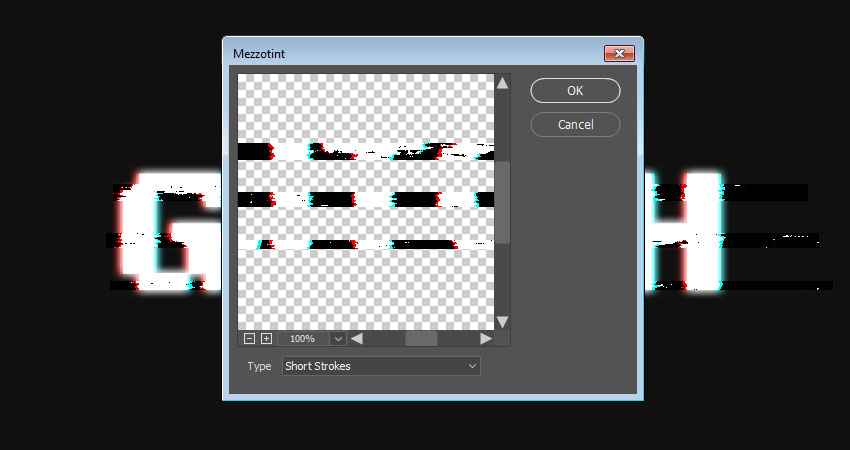
Select the Filters 01 layer, go to Filter > Pixelate > Mezzotint, and set the Type to Short Strokes.
Step 2
Select the Filters 02 layer, and go to Filter > Distort > Wave. This can be a tricky filter to apply, so you might need to try different values until you get a result you like.
The values used here are:
- Number of Generators: 1
- Wavelength:
- Min. 1
- Max. 106
- Amplitude:
- Min. 90
- Max. 133
- Scale:
- Horiz. 6
- Vert. 1
- Type: Sine
- Undefined Areas: Repeat Edges Pixels

Step 3
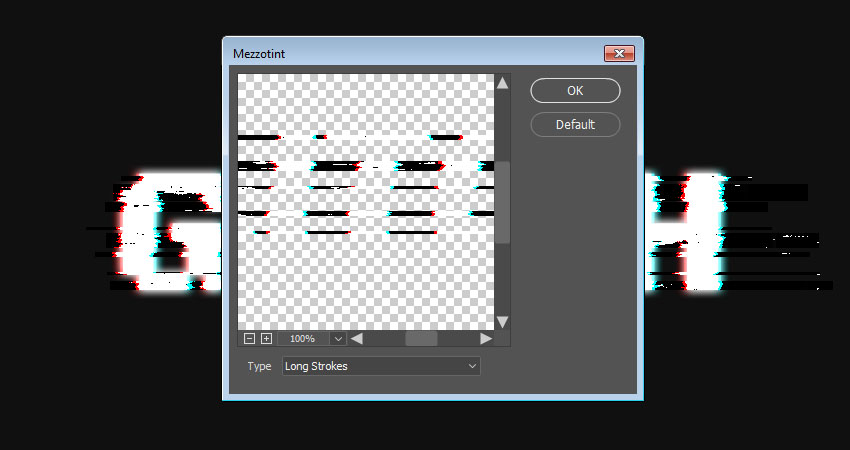
Go to Filter > Pixelate > Mezzotint, and set the Type to Long Strokes.
Step 4
Go to Filter > Stylize > Wind, set the Method to Wind, and the Direction to From the Right.

Step 5
If you need to remove any unwanted parts, select the layer mask’s thumbnail, pick the Brush Tool, and choose a soft round tip.
Set the Foreground Color to Black, and paint over the unwanted areas to hide them.

6. How to Add Scanlines
Step 1
Click the Create new fill or adjustment layer icon at the bottom of the Layers panel, and choose Color Lookup.
Choose the Fuji ETERNA 250D Fuji 3510 (by Adobe).cube table from the 3DLUT File menu.

Step 2
Create a New Layer on top of all layers, Fill it with White, name it Scanlines, and convert it to a Smart Object.
Make sure that the Foreground and Background Colors are set to Black and White.

Step 3
Go to Filter > Filter Gallery > Sketch > Halftone Pattern, and use these settings:
- Size: 1
- Contrast: 5
- Pattern Type: Line

Step 4
Change the Scanlines layer’s Blend Mode to Soft Light and its Opacity to 50%.

Step 5
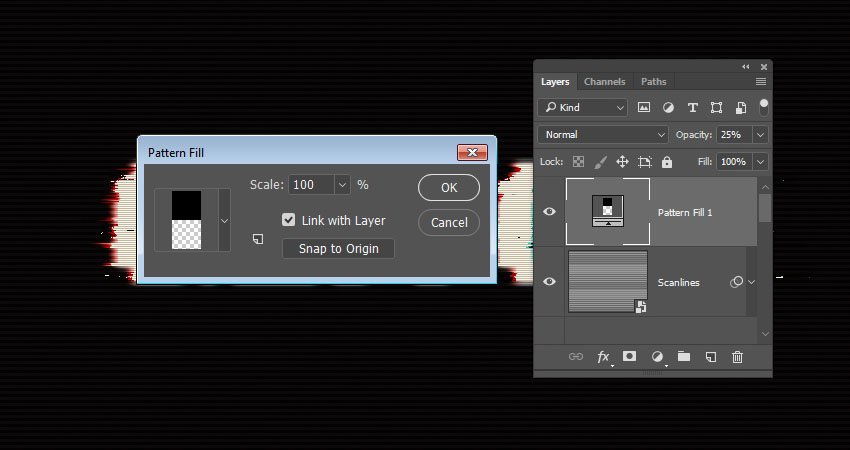
Click the Create new fill or adjustment layer icon at the bottom of the Layers panel, choose Pattern, and use the Pattern 1 Fill from the basic scanline patterns pack.
Change the layer’s Opacity to 25%.
7. How to Create a Noise Overlay
Step 1
Create a New Layer on top of all layers, fill it with Black, name it Noise, and convert it to a Smart Object.

Step 2
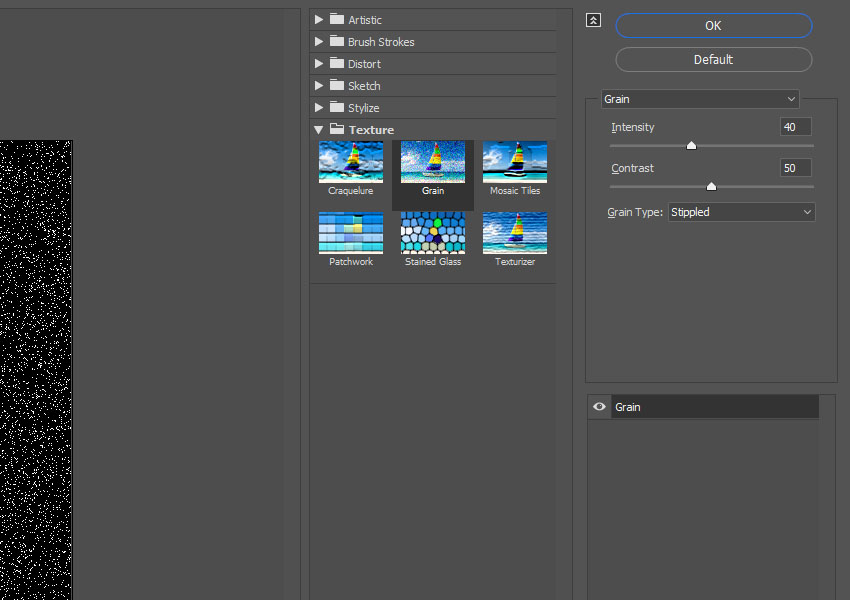
Go to Filter > Texture > Grain, and use these settings:
- Intensity: 40
- Contrast: 50
- Grain Type: Stippled
Step 3
Click OK, and go again to Filter > Texture > Grain and use the same values as the previous step.

Step 4
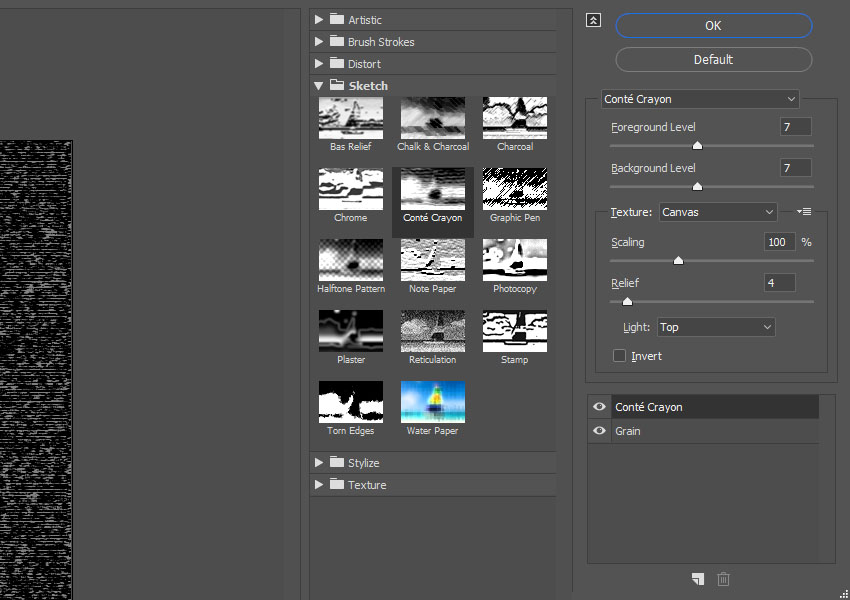
Click the New effect layer icon in the bottom right corner, go to Sketch > Conté Crayon, and use these settings:
- Foreground Level: 7
- Background Level: 7
- Texture: Canvas
- Scaling: 100%
- Relief: 4
- Light: Top
Step 5
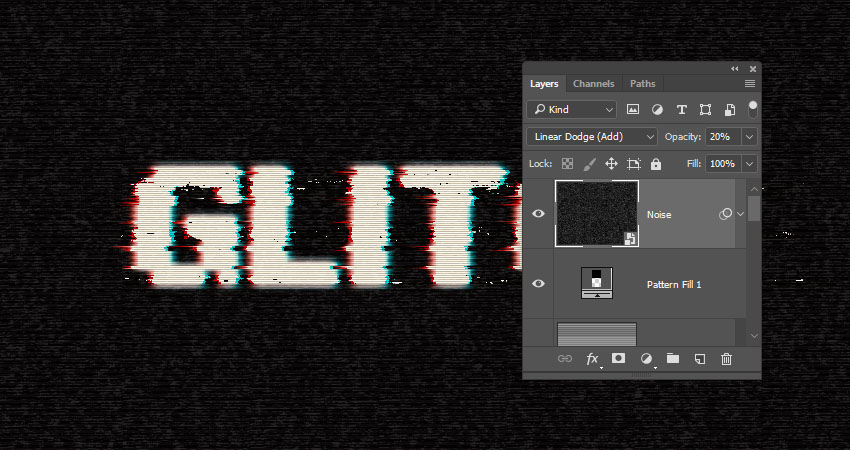
Change the Noise layer’s Blend Mode to Linear Dodge (Add), and its Opacity to 20%.
Step 6
Use the Rectangular Marquee Tool to create random selections all over the document, but try to avoid creating big selections over the text.

Step 7
Press Command-J to Duplicate the selection in a New Layer, rename it to Noise Lines, and change its Blend Mode to Color Dodge.

Congratulations! You’re Done
In this tutorial, we created a couple of text layer smart objects, and used blending options and layer styles to create the main glitch effect.
Then, we created filter layers, and adjusted their layer masks.
Finally, we used a bunch of filters to finish off the glitch effect, as well as added a quick noise overlay to make it more realistic.
Please feel free to leave your comments, suggestions, and outcomes below.

