Carrefour Campaign – DON’T LET THE BILL The campaign’s concept is that a shopping bill shouldn’t scare, confuse, or agitate customers. The execution uses receipt bills formed into different shapes to represent each of these feelings. Body copy reassures the viewer that the hypermarket offers low prices so that one doesn’t have to worry about expenses.
The internet is an excellent resource for all
kinds of information. However, with all of its advantages, there are also some
things that you need to pay attention too. Knowing how to secure a website is a
must, and anyone with an online identity needs to pay attention to this.
As the internet can also be a dangerous place
for websites knowing how to protect them is an investment in the long run. As
an owner, knowing that somebody can wipe out your entire page feels quite bad.
What is needed is to add protection that keeps
out hackers, bugs, or any harmful things. If this doesn’t happen, the entire
data can be at risk, the site can crash, and you could lose money.
Why should you know how to secure a website?
Even if you have a small website that you
consider not relevant for a hacker, websites are still compromised all the
time.
Most of the problems that appear are not
related to data or to mess up the layout of a website. The main reason is to
use your server as an email relay for spam or to add files of an illegal
nature. Other things hackers do is to compromise machines, a well-known one
being to mine for Bitcoins using your hardware.
How can you secure your site?
One of the best ways to do this is by going
for simple choices. You know that you should keep the website safe from
surprises, but when you go down in the rabbit hole of a website, You can
discover difficult concepts.
No worries, there are still some basic steps
that you can take together with decisions so let’s see them.
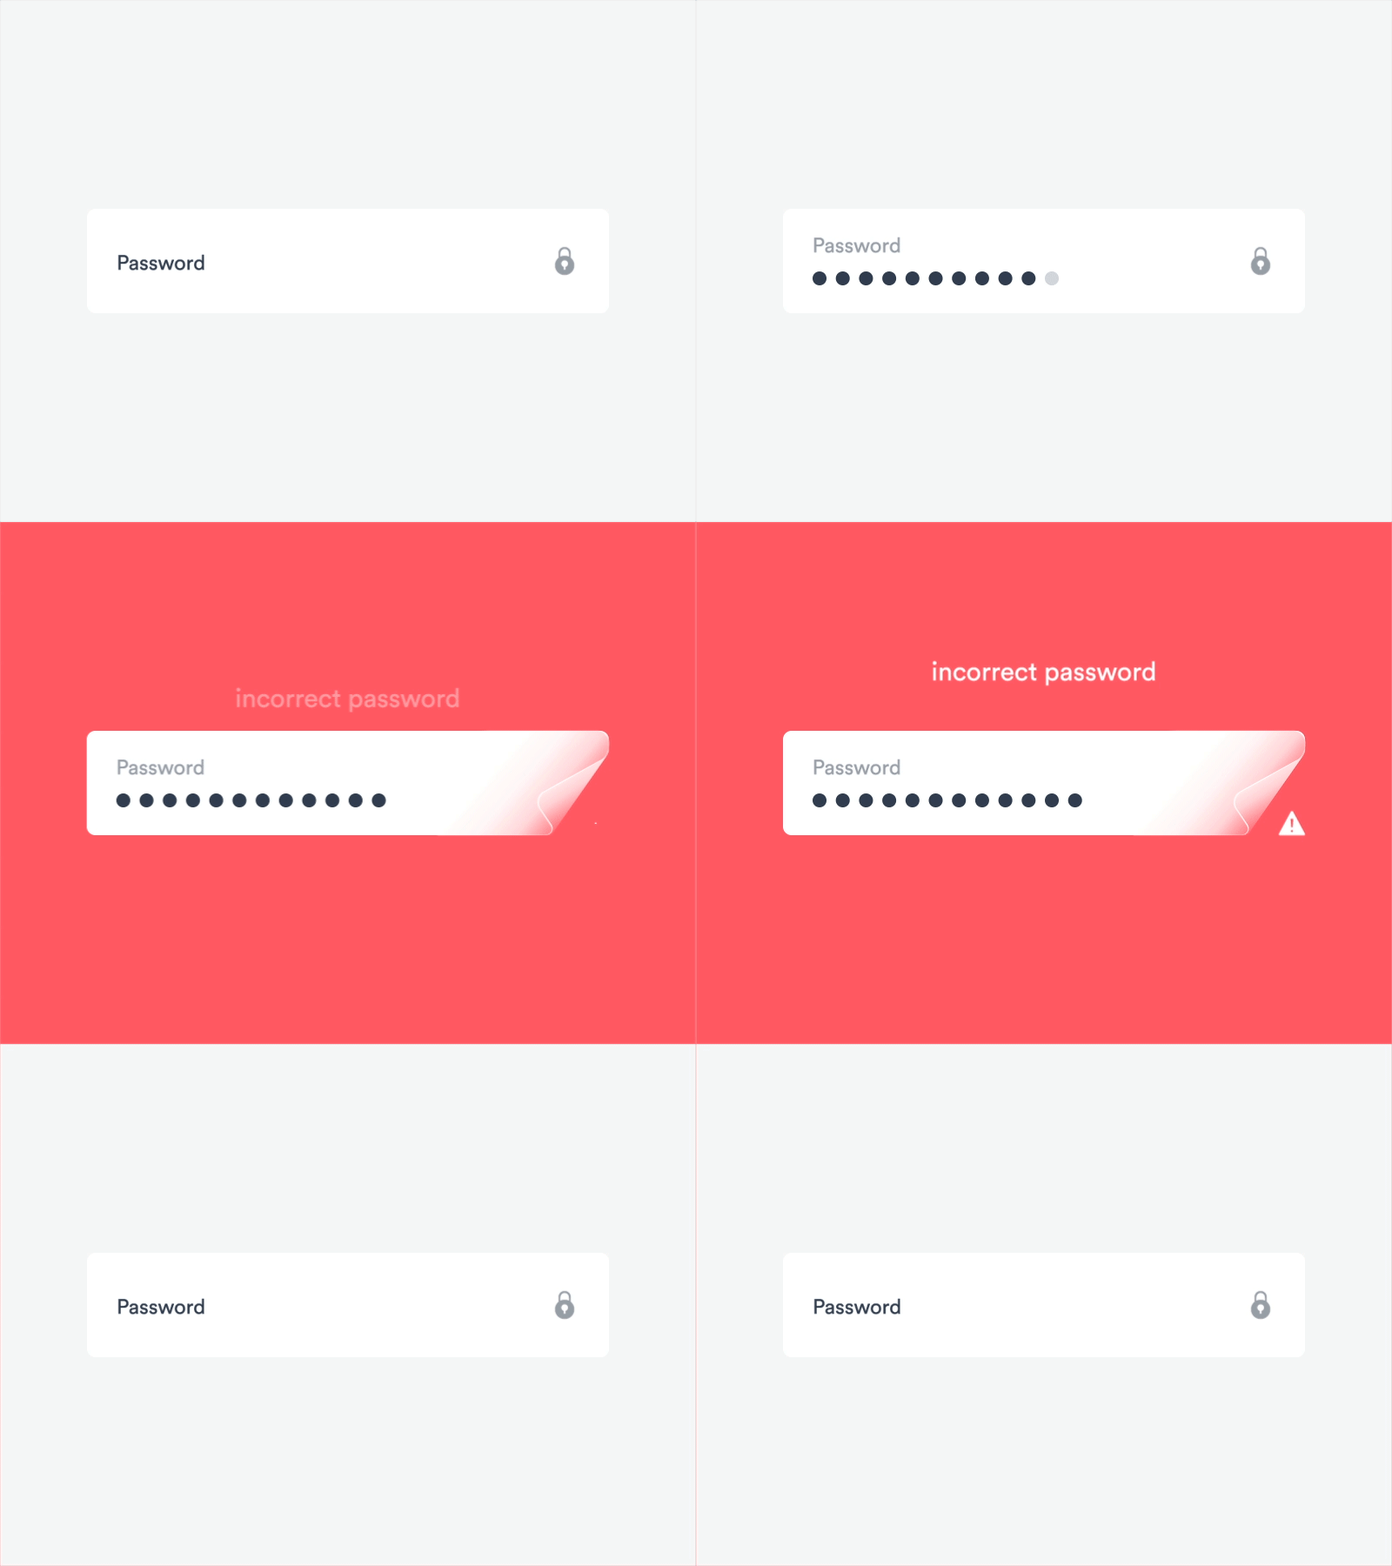
Password and protection
First of all, start by having more complex
passwords than in general. Avoid using the same old one for your accounts and
especially your website’s administrator login. Never use easy to remember
passwords because they can be even guessed sometimes by hackers.
Do not use words that relate to your family or
your name. Passwords that contain your birthday are so easy to hack that you
can’t even complain that you did not expect that to happen.
Also, when you access your website, use a
secure complex password that you can’t guess. A single user’s weak password can
make your entire website be at risk, together with all of its registered users.
Keep everything up-to-date
This can seem quite obvious, but sometimes
people just don’t do it. Make sure that all of the software that you are using
related to your website is on its latest version.
A lot of them are open-source, so this means
that hackers can check the source code and find vulnerabilities. This is how
they usually manage to get inside of your website and take advantage of it. So,
whenever you think it’s
a good idea to downgrade WordPress, don’t. New versions usually fix
vulnerabilities.
Choose a reputable hosting provider
Today, there are many hosting providers that
you can choose from. Even if most of them are safe and have many protections,
they can still get hacked. This is probably one of the current disadvantages;
you can’t control how secure your hosting server is. The only thing you can
control is who you choose as your host provider.
It’s probably in your interest to go for
reputable, world-class hosting providers that invest big amounts in providing
the best services.
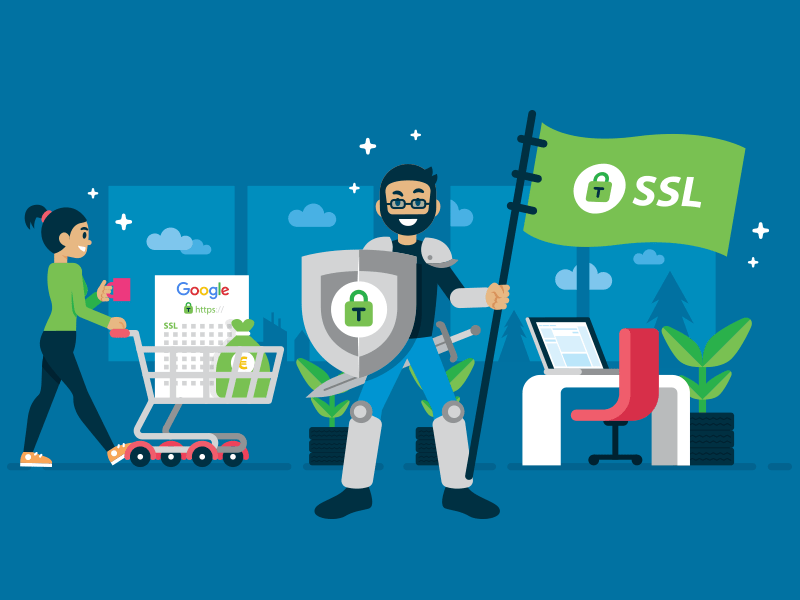
Go for HTTPS and SSL
If you don’t know what HTTP and SSL are, you
need to find out, especially if you are a site owner. People that are running
online shops and have transactions made need to pay even more attention to
their protection.
SSL certificates are obtained from reputable
providers and offer great protection. Understanding how to secure a website
should always include an SSL certificate.
Install security plugins
If you built your website with a content
management system (CMS), you could add security plugins that prevent your
website from getting hacked. Each of the main CMS options has security plugins
available, and a lot of them are free.
These options are focused on the security
vulnerabilities that each of the platforms has.
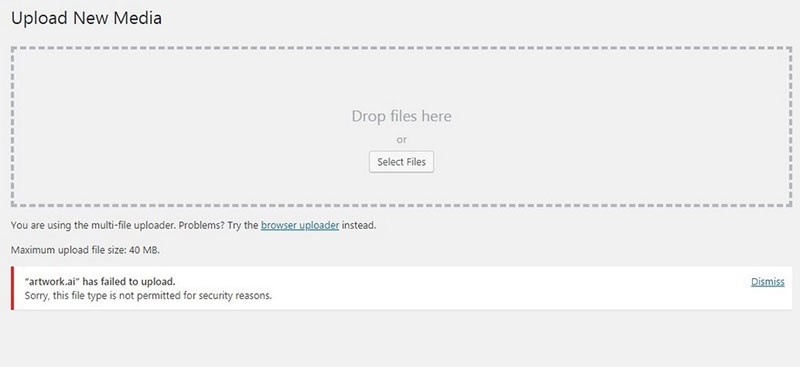
Prevent users from uploading files
What this means is that people don’t get forms
through which they can upload files. Limiting forms of how users can upload
files to just photo extensions can be a solution. Sure, they’ll receive more of
those „this
file is not permitted” errors. But you’ll be safer.
Another one is to add an email address to your
contact page where users can email their files rather than sending them
directly through the website.
Beware of error messages
Be careful about how much information you are
giving in the error messages that your website has. Only give minimal errors to
the users. Sometimes errors can send sensitive information like API keys or
database passwords.
If you don’t change them, you risk getting
certain attacks on your website. This information is good to know, and if you
could do a check to it for sure, it is going to be only in your interest.
Watch out when opening emails
Many attacks from hackers take place by using
emails. They send all kinds of viruses, and they can target you or your
employees, for example.
So the entire team needs
to double-check when they open an email because you don’t want to
compromise the security of your website due to a virus that is ready to mess up
your online presence.
Secure data using VPN
Even if there are many options for safeguards,
the best one to secure your data transmission is using VPN. It is a great
service that is designed to make sure that all of your data gets routed only
through secure channels and that they are highly encrypted.
Create backups regularly
If you don’t do it, now is the time to start.
A backup can help you recover fully if any of your website content gets
damaged. There are lots
of options out there to try.
What is cool now is that you can set the
frequency of how often they are getting done. So for sure, this is another
useful tip on how to secure a website, especially if this is the first time
that you are doing it.
Conclusion
In conclusion, understanding how to secure a
website is all about having good practices. Simple solutions are, most of the
time, the efficient ones. This is why the ones that you can see in this article
are easy to use. So the best way to start your own check is by seeing if you
are applying all of them.
Make a list of what your website is doing now
from a protection point of view. It’s better to invest some time and energy now
when you can and not after you’ve been targeted by hackers.
The internet is an excellent resource for all
kinds of information. However, with all of its advantages, there are also some
things that you need to pay attention too. Knowing how to secure a website is a
must, and anyone with an online identity needs to pay attention to this.
As the internet can also be a dangerous place
for websites knowing how to protect them is an investment in the long run. As
an owner, knowing that somebody can wipe out your entire page feels quite bad.
What is needed is to add protection that keeps
out hackers, bugs, or any harmful things. If this doesn’t happen, the entire
data can be at risk, the site can crash, and you could lose money.
Why should you know how to secure a website?
Even if you have a small website that you
consider not relevant for a hacker, websites are still compromised all the
time.
Most of the problems that appear are not
related to data or to mess up the layout of a website. The main reason is to
use your server as an email relay for spam or to add files of an illegal
nature. Other things hackers do is to compromise machines, a well-known one
being to mine for Bitcoins using your hardware.
How can you secure your site?
One of the best ways to do this is by going
for simple choices. You know that you should keep the website safe from
surprises, but when you go down in the rabbit hole of a website, You can
discover difficult concepts.
No worries, there are still some basic steps
that you can take together with decisions so let’s see them.
Password and protection
First of all, start by having more complex
passwords than in general. Avoid using the same old one for your accounts and
especially your website’s administrator login. Never use easy to remember
passwords because they can be even guessed sometimes by hackers.
Do not use words that relate to your family or
your name. Passwords that contain your birthday are so easy to hack that you
can’t even complain that you did not expect that to happen.
Also, when you access your website, use a
secure complex password that you can’t guess. A single user’s weak password can
make your entire website be at risk, together with all of its registered users.
Keep everything up-to-date
This can seem quite obvious, but sometimes
people just don’t do it. Make sure that all of the software that you are using
related to your website is on its latest version.
A lot of them are open-source, so this means
that hackers can check the source code and find vulnerabilities. This is how
they usually manage to get inside of your website and take advantage of it. So,
whenever you think it’s
a good idea to downgrade WordPress, don’t. New versions usually fix
vulnerabilities.
Choose a reputable hosting provider
Today, there are many hosting providers that
you can choose from. Even if most of them are safe and have many protections,
they can still get hacked. This is probably one of the current disadvantages;
you can’t control how secure your hosting server is. The only thing you can
control is who you choose as your host provider.
It’s probably in your interest to go for
reputable, world-class hosting providers that invest big amounts in providing
the best services.
Go for HTTPS and SSL
If you don’t know what HTTP and SSL are, you
need to find out, especially if you are a site owner. People that are running
online shops and have transactions made need to pay even more attention to
their protection.
SSL certificates are obtained from reputable
providers and offer great protection. Understanding how to secure a website
should always include an SSL certificate.
Install security plugins
If you built your website with a content
management system (CMS), you could add security plugins that prevent your
website from getting hacked. Each of the main CMS options has security plugins
available, and a lot of them are free.
These options are focused on the security
vulnerabilities that each of the platforms has.
Prevent users from uploading files
What this means is that people don’t get forms
through which they can upload files. Limiting forms of how users can upload
files to just photo extensions can be a solution. Sure, they’ll receive more of
those „this
file is not permitted” errors. But you’ll be safer.
Another one is to add an email address to your
contact page where users can email their files rather than sending them
directly through the website.
Beware of error messages
Be careful about how much information you are
giving in the error messages that your website has. Only give minimal errors to
the users. Sometimes errors can send sensitive information like API keys or
database passwords.
If you don’t change them, you risk getting
certain attacks on your website. This information is good to know, and if you
could do a check to it for sure, it is going to be only in your interest.
Watch out when opening emails
Many attacks from hackers take place by using
emails. They send all kinds of viruses, and they can target you or your
employees, for example.
So the entire team needs
to double-check when they open an email because you don’t want to
compromise the security of your website due to a virus that is ready to mess up
your online presence.
Secure data using VPN
Even if there are many options for safeguards,
the best one to secure your data transmission is using VPN. It is a great
service that is designed to make sure that all of your data gets routed only
through secure channels and that they are highly encrypted.
Create backups regularly
If you don’t do it, now is the time to start.
A backup can help you recover fully if any of your website content gets
damaged. There are lots
of options out there to try.
What is cool now is that you can set the
frequency of how often they are getting done. So for sure, this is another
useful tip on how to secure a website, especially if this is the first time
that you are doing it.
Conclusion
In conclusion, understanding how to secure a
website is all about having good practices. Simple solutions are, most of the
time, the efficient ones. This is why the ones that you can see in this article
are easy to use. So the best way to start your own check is by seeing if you
are applying all of them.
Make a list of what your website is doing now
from a protection point of view. It’s better to invest some time and energy now
when you can and not after you’ve been targeted by hackers.
I just can’t stop bookmarking great links related to typography. I’m afraid I’m going to have to subject you, yet again, to a bunch of them all grouped up. So those of you that care about web type stuff, enjoy.
I know there are lots of good reasons to be excited about variable fonts. The design possibilities of endless variations in one file is chief among them. But I remain the most excited about the performance benefits. Having a single file that elegantly handles the thicker weights (for bolding) and italics is so cool. I can’t wait to wave my fist saying back in my day we had to load multiple files for our font variations!
Even if you consider the slightly larger file sizes, when combined with improved font compression formats like WOFF2, font subsetting and font loading techniques like font-display: swap; we end up in a situation where we can still get smaller overall font file sizes as well as a significant increase in stylistic opportunity.
Anna Monus did some variable font performance testing as well, evaluating the extreme case of loading 12 variations of a font against a variable font. Even though the copy of the variable font she had for Roboto was massive (over 1MB), there was a perf gain compared against loading 12 variations.
Roboto is on Google Fonts, of course, and it’s got the #1 position by far. But Google Fonts has Inter now, and I’d expect that leap up in the charts as it’s got a style that everyone seems to like and can work with just about anything.
Klint Finley on the proliferation of high-quality open-source fonts for WIRED. Sometimes they are backed by companies with thick wallets, which makes sense. But the motivation for doing it varies. Sometimes quality is the goal. Like open-source anything, lots of contributions, can, if handled well, lead to a better product. But open-source doesn’t always mean there isn’t a business possibility, and if not, not everyone cares about turning a profit on everything.
Speaking of open-source fonts, Collletttivo is an open-source font foundry with a good dozen typefaces, including a variable font one. It’s a super fun site to explore with the little fake windows you open up and move around.
There’s a new mac app called FontGoggles for poking into a font file and taking a look at what it offers. Seems like that would be easy but it really isn’t. I like that it supports WOFF/2 as that’s pretty much all we deal with on the web.
Also, remember there is a website that looks around in font files with the best name ever.
Font Match allows you to put fonts on top of each other for comparisons. Seems like it’s more for large type and comparing their features, while Font style matcher is more about comparing paragraph text.
In fact, using Font style matcher to make a perfect font fallback is one of my all-time favorite CSS-Tricks. Sssshh… don’t tell anybody but I’m compiling those all-time favorites into a book, like this chapter. You’d have to subscribe to read it, because that’s kind of the point: I’d like to sell the book. So if you happen to subscribe now, there is stuff to read there, but you’d be a very early supporter for the rest of it.
JavaScript and CSS have lived beside one another for upwards of 20 years. And yet it’s been remarkably tough to share data between them. There have been large attempts, sure. But, I have something simple and intuitive in mind — something not involving a structural change, but rather putting CSS custom properties and even Sass variables to use.
CSS custom properties and JavaScript
Custom properties shouldn’t be all that surprising here. One thing they’ve always been able to do since browsers started supporting them is work alongside JavaScript to set and manipulate the values.
Specifically, though, we can use JavaScript with custom properties in a few ways. We can set the value of a custom property using setProperty:
We can also retrieve CSS variables using getComputedStyle in JavaScript. The logic behind this is fairly simple: custom properties are part of the style, therefore, they are part of computed style.
Note that custom properties are scoped. This means we need to get computed styles from a particular element. As we previously defined our variable in :root we get them on the HTML element.
Sass variables and JavaScript
Sass is a pre-processing language, meaning it’s turned into CSS before it ever is a part of a website. For that reason, accessing them from JavaScript in the same way as CSS custom properties — which are accessible in the DOM as computed styles — is not possible.
We need to modify our build process to change this. I doubt there isn’t a huge need for this in most cases since loaders are often already part of a build process. But if that’s not the case in your project, we need three modules that are capable of importing and translating Sass modules.
The :export block is the magic sauce webpack uses to import the variables. What is nice about this approach is that we can rename the variables using camelCase syntax and choose what we expose.
Then we import the Sass file (variables.scss) file into JavaScript, giving us access to the variables defined in the file.
There are some restrictions on the :export syntax that are worth calling out:
It must be at the top level but can be anywhere in the file.
If there is more than one in a file, the keys and values are combined and exported together.
If a particular exportedKey is duplicated, the last one (in the source order) takes precedence.
An exportedValue may contain any character that’s valid in CSS declaration values (including spaces).
An exportedValue does not need to be quoted because it is already treated as a literal string.
There are lots of ways having access to Sass variables in JavaScript can come in handy. I tend to reach for this approach for sharing breakpoints. Here is my breakpoints.scs file, which I later import in JavaScript so I can use the matchMedia() method to have consistent breakpoints.
// Sass variables that define breakpoint values
$breakpoints: (
  mobile: 375px,
  tablet: 768px,
  // etc.
);

// Sass variables for writing out media queries
$media: (
  mobile: '(max-width: #{map-get($breakpoints, mobile)})',
  tablet: '(max-width: #{map-get($breakpoints, tablet)})',
  // etc.
);

// The export module that makes Sass variables accessible in JavaScript
:export {
  breakpointMobile: unquote(map-get($media, mobile));
  breakpointTablet: unquote(map-get($media, tablet));
  // etc.
}
Animations are another use case. The duration of an animation is usually stored in CSS, but more complex animations need to be done with JavaScript’s help.
It makes me happy that I can exchange data between CSS, Sass and JavaScript so easily. Sharing variables like this makes code simple and DRY.
There are multiple ways to achieve the same sort of thing, of course. Les James shared an interesting approach in 2017 that allows Sass and JavaScript to interact via JSON. I may be biased, but I find the approach we covered here to be the simplest and most intuitive. It doesn’t require crazy changes to the way you already use and write CSS and JavaScript.
Are there other approaches that you might be using somewhere? Share them here in the comments — I’d love to see how you’re solving it.
I’ve written up my advice (sprinkled with great advice from others), but this is way more straightforward nuts-and-bolts training on technical writing. It’s structured like an actual course, with exercises along the way.
I’m far from an expert here. But between Geoff and I, we end up doing a lot of technical article editing for the sake of clarity.
Comedy writers seek the funniest results, horror writers strive for the scariest, and technical writers aim for the clearest. In technical writing, clarity takes precedence over all other rules.
It can be tricky to get right. Read the section on Active voice. That’s easy for anyone to get wrong.
Essentially every single rule is just an extension of “make it more clear.”
All viruses are like zombies — they try to take over people’s bodies — but they aren’t really alive. Outside the host’s body they are dormant, surviving without living. Once touched or inhaled and brought inside, their ancient machinery springs into action, using proteins to latch onto and invade human cells so please stay home and don’t let it get you and invade our world. Please let COVID-19 die alone.
First, create a new PSD document, 600 x 400 pixels in RGB mode, 72 DPI with a white background color. Now prepare your assets. Install The Nautigal font on your computer and optionally open the PAT file to create a background. Or you can use the Background Image instead of starting a new document, so you can skip creating the background and jump to step 3 of this tutorial.
Step 2
To make the background, go to Layer > Layer Style > Blending Options and use the settings below.
You can also access the Blending Options in two faster ways. The first (and the fastest) way is to double-click on the layer in your Layers panel. The other way is to right-click on the layer in your Layers panel and choose Blending Options.
When you are done with all the settings below, don’t forget to hit OK in the Blending Options window! If you have downloaded the Patterns file, use pattern number 31. You can also leave the background without the pattern overlay or use any other pattern as the result will look great on any light background.
If you want to move the gradient to the left, click and drag when you’re in the Layer Style panel, Gradient Overlay section. If you want, you can resize the background with Control-T.
2. How to Create a Glass Text Effect in Photoshop
Step 1
Start by creating the first text layer. Now we can start making our text effect. First, choose the Type Tool and change the Font to The Nautigal, Size around 255 pt and Anti-Aliasing Sharp. Now type your text somewhere in the center of the image. You can write any word, but in this tutorial I’ll use „Wow”.
Step 2
This first text layer will be at the bottom of all the text layers. Go to Layer > Layer Style > Blending Options and use the settings below on your text.
Step 3
Now let’s create and customize the second text layer.
Duplicate your text layer, and select the new text layer. Select the text layer in the Layers panel and go to Layer > Duplicate layer and name it as you wish. Now go to Layer > Layer Style > Clear Layer Style as we will make a different style for this layer. Finally, go to Layer > Layer Style > Blending Options and use the settings below on your text.
You can also use the quicker methods to access the Blending Options from „Step 2” of this tutorial. When you are done with all the settings below, don’t forget to hit OK in the Blending Options window! This text layer will be in the middle of all three text layers in your Layers panel. So for now it should be above the first one.
Step 4
We are almost there. Now it’s time to create and customize our third and last text layer.
Start by duplicating the second text layer. Select the text layer in the Layers panel and go to Layer > Duplicate layer and name it as you wish. Now go to Layer > Layer Style > Clear Layer Style as we will make a different style for this layer. Finally, go to Layer > Layer Style > Blending Options and use the settings below on our text.
Again, you can use the quicker methods to access the Blending Options from „Step 2” of this tutorial. When you are done with all the settings below, don’t forget to hit OK in the Blending Options window! This text layer will make most of the effects and must be on top of all other text layers.
Photoshop Glass Effect Styles
If you need a glass effect for your text, you can also try one of these solutions: