Direct mail is still a highly effective form of marketing, but it’s not always as simple as writing a great sales letter and sending it off. The way that marketing collateral is packaged makes a huge difference-and for direct mail, that means creating an engaging envelope design.
Since prospects sometimes receive dozens of pieces of mail in a day, it’s important to use your design to stand out. But there’s a delicate balance between attracting attention and being overly busy in a way that confuses your recipient with too much visual information.
Here are 20 cool envelope designs that you can use to help inspire your next envelope design.
Every week, we’ll give you an overview of the best deals for designers, make sure you don’t miss any by subscribing to our deals feed. You can also follow the recently launched website Type Deals if you are looking for free fonts or font deals.
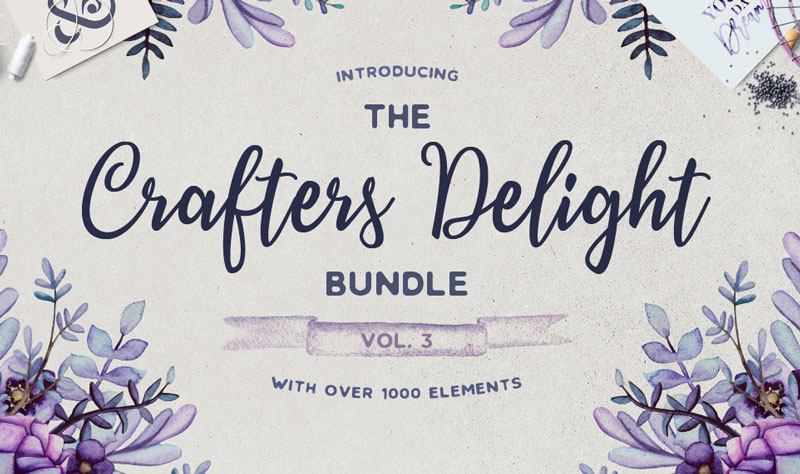
The Crafters Delight Bundle Volume III
Following on from the popularity of Volume I and II, Volume III comes jam packed with over 1000 design elements and 16 fonts this bundle is perfect for all your craft projects.
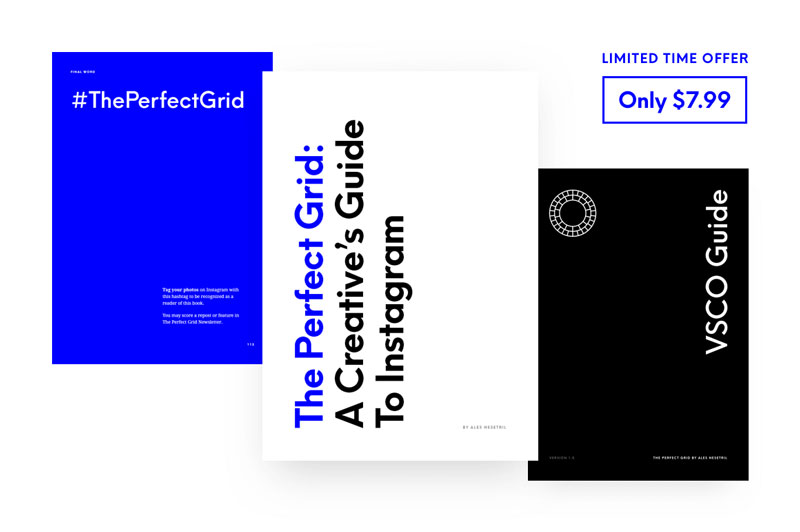
The Perfect Grid: A Creative’s Guide to Instagram eBook
Instagram is a powerful way to self-promote and with The Perfect Grid, you’ll learn all the crucial aspects to get you there! This easy-to-read eBook is packed with over 100 pages of actionable items to help you cultivate and grow your audience. No matter what type of background you have or theme you’re looking to portray, this guide walks you through it all and even reads like an entertaining story.
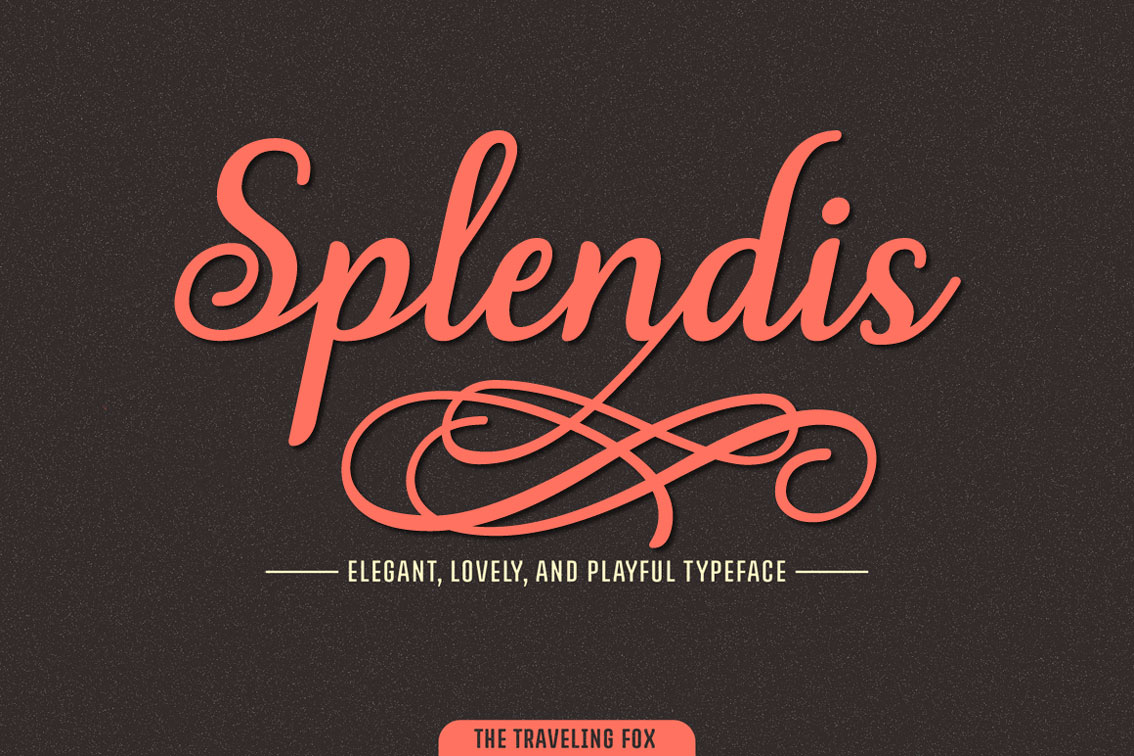
650+ Unique Characters in the Stunning Splendis Script Font
Elegance comes in all forms. In this case, it’s a stunning script font called Splendis. This handwritten typeface includes more than 650 unique characters, as well as tons of alternates so you can create an endless array of font varieties. With a lifetime commercial license, this beautiful font is a wonderful mix of elegance with flexibility.
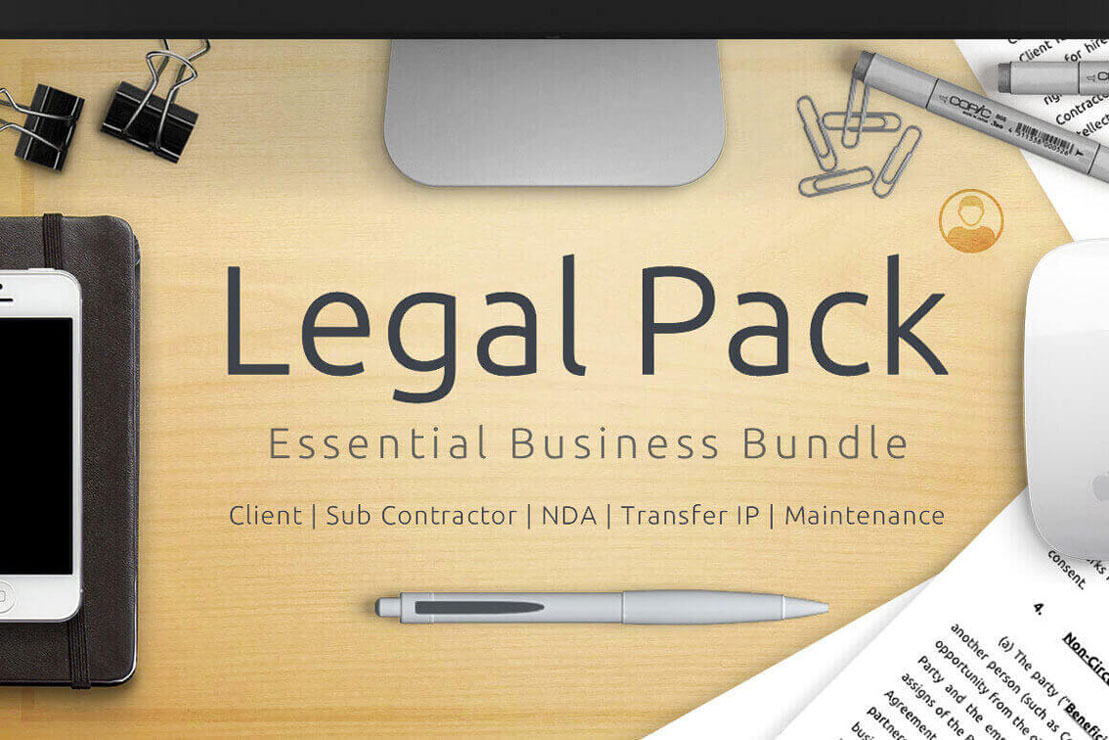
Protect Your Business with a Legal Pack of Essential Business Documents
Whether you’re a freelancer or you run a full-fledged business, this Legal Pack will be your best friend. An essential business bundle, this collection features a set of professionally drafted legal contracts. You’ll get everything from the standard Client Agreement to the Transfer of Intellectual Property. Because when it comes to you and your work, it’s definitely better to be safe than sorry!
Knowing how your customer thinks and what he wants is critical to any business’ success. That’s where a solid UX Design comes in handy. With this powerful online course, you’ll learn all you need to know to Become a UX Designer! Master everything about user experience from the responsibilities of a UX designer to the tools of your trade.
If you’re a freelancer, you know your portfolio is going to be your selling point. If you are just starting out and have little work to add to your portfolio, you might wonder how you can build up your business?
It might feel like a Catch 22 situation, where lack of experience prevents you from getting a job, but you cannot get experience without finding work.
The key to breaking this cycle is to add samples to your portfolio. You will only need a few samples before you can start to market yourself to paying clients. This will enable you to launch your freelance career.
Find your place in the field
Your specialty is the area of work you would most like to be known for, even if you haven’t built up your reputation yet. The term designer is a broad title, but you might know you’d ultimately like to create websites or become an illustrator. Focusing on what you would like to do helps you to attract clients who would like your services.
When you know what interests you the most, you are able to position yourself in the marketplace.
Knowing exactly what you want to do is the strongest advice business leaders give to blossoming entrepreneurs. Knowing what you want to do assists you with marketing your strengths and appealing to clients who want what you have to offer.
Present shining examples of your work
Once you know the type of work you would like to do, create a portfolio which shows off your best pieces.
Your work could include school projects or volunteer work you have done. However, if you have any shining examples which show what you are capable of, be sure to make these a priority. If you have worked for any big-name clients, make this work a priority too.
Include any forms of recognition you might have achieved in your portfolio. Perhaps you have won a prize, been part of an art exhibition or had your work featured in a magazine. Include this work too.
Make your work relevant
Once you’ve chosen the direction you want to take, and you know the work you want to display on your site, make sure that it is relevant. This means creating samples of work that would interest your client. Display only your best work. You can always leave your client wanting more.
If you don’t have relevant work samples, create one. As long as you’re aiming to do similar work in the future, it is worth spending time on self-created projects. You can also volunteer, create products for friends and family or design your own products.
If you are an illustrator, use this technique on your website. If you want to design logos, create one for yourself. Find ways to show your clients what you are capable of and you’ll win their trust.
Make yourself contactable
When you’re first searching for work, make yourself contactable. Include your email address, phone number, and social media contacts so that clients will be able to connect with you easily should they want to engage further.
When setting up a website for your portfolio, make your site easy to navigate. This way it will be easy to find out how to contact you. Add links to your social media accounts. These often provide a way for clients to engage further or ask questions.
Show some personality
Let clients know who you are and what interests you. This will set you apart from designers with a similar education or level of experience. You might have qualities, hobbies, interests or even quirks that a client can relate to.
Your passion for Neil Gaiman may make you the perfect candidate for an indie bookshop. Your love for the environment may appeal to NGOs working on slow living. Sharing who you are will enable you to work with clients who you connect with, and who are on your wavelength.
Include a photo
Your photo puts a face to your work and enables people to see you. This makes you feel more trustworthy to clients.
Place a friendly but professional photo on your site. Choose an image which would give the impression of you being both approachable and capable.
Create a backstory
Let clients know who you are, why you enjoy your work and where your interests lie. Andrew Wise shares that sales and marketing have changed. Where people used to meet in person, sales now often take place over a computer.
As a result, you need to show people who you are online in order to establish a relationship with them. Almost all clients will read an ‘About Me’ page before making contact with you.
Your ‘About Me’ page needs to prove that you are an authority in your industry. You need to prove that you are capable of doing the work. This will prove to your viewer that you are reliable and trustworthy. Add testimonials to your page if you have them.
Relevant Skills and Education
When you create your portfolio, you want to show potential clients that you know what you are doing. Keep it relevant to the work you’re doing now. This will keep your information simple and prevent you from overwhelming your viewers.
Show the skills you have which are relevant to the work you would like to do now. This will help you to get the project you want. Your goal is to show clients you have the relevant knowledge to provide an excellent service.
Include a call to action
Your goal in creating a portfolio is to get your client to hire you. Make it easy for your clients to contact you via your site by offering them the opportunity to sign up online, receive a free quotation or ask a question.
Many sites offer ‘contact’ or ‘hire me’ buttons. You could also place a button which says ‘find out more’. You could also invite your viewers to follow you on social media.
Create an honest representation of who you are
As a freelancer, the work you present to your clients has to be your own. Providing examples of work that other (more experienced) designers have done is counterproductive. This is because you won’t be capable of producing the work once you’ve been hired. You might also find yourself in legal trouble for misleading your clients.
Your references need to be honest as well. This means they should be easy to verify and not made up by either you, a friend or a family member.
It may be harder to start off as a freelancer when you run an ethical practice, but it is important for building up a reputation. Clients who can trust you, who know what to expect, and who are happy with your services, will recommend you in the future.
Unhappy clients will spread the word if they believe you can’t be trusted. It will be harder to create a practice as a dishonest freelancer than it will be as an inexperienced one. Give yourself time. You’ll eventually develop the trust and experience you need to grow and develop as a freelance designer.
Build on your networks
If you would like to begin building up your portfolio, begin with people who know you on a personal level. This reduces the risk to the client who will have an idea of who you are as a person, and what your capabilities are. You might also have a good idea of the type of work the client is looking for.
Draw on your experience. If you have had a student job working at a bookshop, you’ll know the clients the business is marketing to, the atmosphere the company is trying to create and the types of designs which would help them achieve it.
Working in an industry you understand well will assist you with applying new skills. A newer industry may be harder to break into, even if it is your ultimate goal. This doesn’t mean you should give up on the idea. Instead, build up a couple of jobs as a designer first so that you can attract new clients in your chosen area of expertise. The more work you have, the more dependable you prove yourself to be.
Summary
Your portfolio is an excellent marketing tool which will assist you in attracting new clients. It enables you to showcase your creativity and share your interests in the design field. Add your most relevant (and significant) work. Take the time to show your clients who you are and what interests you in the field of design. You can change and adjust your portfolio over time.
Your portfolio will never be static and will evolve with your experience as a designer. However, you always want it to represent you, who you are and where you are going as a designer. Use it as part of an ongoing marketing tool to attract new clients.
Regardless of the nature and the sector of your business, whether it’d be B2B or B2C, downright online or also on location, your customers should be your primary focus. With such vast competition and so much on offer in the market these days, the quality of your customer service and relations can be the breaking point between you and your competitors. Improving customer communication on your website can even increase your revenue. Here are five, easy to accomplish ways of how to improve customer communication on your site.
Blogging
The key to an excellent company blog is knowing your audience and consistently producing quality content. If you have already established your online business, chances are, you also know your target audience. Use that knowledge to deliver targeted and personalized content that your customers will want to read. In your blog posts, try to answer questions your customers might have, provide valuable advice and share your experience. Blogging is a kind of an indirect way of talking to your customers, sharing common concerns and joys. Also, by including social media buttons on your blog, you allow your content to be shared by your readers gaining a wider audience and more potential customers.
Live Chat
There is nothing more frustrating than an inability to contact customer support or difficulty in finding company’s contact details when you have a question to ask about the product or service. Your customers might have inquiries that your blog or website’s copy isn’t answering, therefore, integrating a live chat button on your website is a quick way to handle all sales questions while the lead is still hot, establish a conversation with your potential customers, and reduce your website’s bounce rate. On top of that, using Live Chat, you also get more detailed information about your website’s visitors, such as their location, pages they viewed on your website, email address, and so on.
Web Forms
Generating a good web form on your website is one of the best ways to get input from your potential clients. Online forms are where your potential customers will disclose personal information like email address, name, and surname. Web forms are not only a source of all your customer data but also an indirect conversation starter. Based on the information you get through a web form, you can send personalized emails, sales proposals, and updates about your company directly to your clients. These free forms are the perfect conversation starter. Optimized well, they can help you turn leads into customers.
Produce a lot of visual content
According to research, only 10% of heard or read information is remembered a few days later. However, if that same information is paired with a video or an image, 65% of it is remembered a few days later. Including sales or promotional videos, infographics, engaging images, and other visual content onto your website is an easy way to engage with your customers and grow a loyal audience. Information that you see, and especially if that information connects and motivates you in some way, is easier to remember. It is also essential to make that information easy to share. Who can be better advocates of your brand than your customers?
Use Social Media platforms
Social media platforms, such as Facebook, Twitter, LinkedIn, and Instagram can not only increase your brand’s visibility and become yet another perfect platform to talk about your services and products but also it allows you to listen to what people are saying about your brand. Opinions expressed on social media can come not only from your customers but also from your competitors. Social media presence is vital for any business as it connects you and your customers outside of the “usual environment” like your company’s website. By connecting with your customers on social media channels you establish a less formal contact.
To sum up
Communicating with customers is key to success in any business. Providing perfect conditions for your website’s visitors to communicate with you is essential. In order to do that, it’s good to analyze your website from your client’s perspective and see what it might be lacking. Make sure you include these five points mentioned above on your website to create a more visible and engaging brand as well as establish a loyal audience.
You don’t often think of email as something you pay to get. If anything, most people would pay to get less of it. Of course, there are always emails you like to get and opt into on purpose. We have a newsletter right here on CSS-Tricks that we really try to make worth reading. It’s free, like the vast majority of email newsletters. We hope it helps a bit with engagement and we make it worth doing financially by showing the occasional advertisement. It’s certainly not a full-time job.
I spoke with Adam Roberts who is trying to make it a full-time job by running SitePoint’s Versioning newsletter as a paid subscription. I don’t know much about this world, so I find it all pretty fascinating. I know Ann Friedman has a paid newsletter with a free variant. I know theSkimm is a free newsletter but has a paid membership that powers their app. I was told Bill Bishop made six figures on his first day going paid, which is wild. In the tech space, Ben Thompson’s Stratechery is a paid newsletter.
Let’s hear from Adam on how it’s doing it. I’ll ask questions as headers and the paragraph text is Adam.
So you’re doing it! Making the transition from a free, advertising-supported newsletter to a paid, subscriber-based newsletter. There is a lot to dig into here. Is the motivation a more direct and honest relationship with your readers?
Yep, it’s crazy! Versioning provides devs, designers and web people curated links aimed at making them more productive and up-to-date with the bleeding edge of their industry. I’ve done the newsletter for nearly four years and, up until now, it’s been a thing I squeeze in for an hour or two during my day, as a break from my actual job (most recently, head of content for the site). Now, it’s no longer being squeezed, and is my actual job! I can now focus entirely on making it something people find valuable. They’ll know that everything I include is there because I think it’ll make their lives, skills or knowledge better. I’ve always set a high standard for myself when it comes to what I include—never something I’m 50/50 on (unless it’s an emerging tech) and I never include something because we have a deal or something. Now, this is an actual formal thing. Ads were always a means to an end, now we have a better means, and hopefully a better end!
Is it a straight cut? Anyone who doesn’t subscribe for a fee will stop getting it and have no way to read it?
If you sign up as a paid member, you’ll get the daily newsletter. It’s also viewable on the site, so what you are paying for is really the convenience of email. You’ll also get periodic members-only updates, like deep dives on an emerging subject, always-updated posts on important subjects, and media guides. If you sign up to receive free updates, you’ll get a weekly update plus other periodic free updates.
I’m sure there are financial concerns. Anyone in this position would be nervous that paid subscribers won’t match what was coming in from advertisers before. Is that a concern here? How in-depth did you get trying to figure out the economics of it? Is there potential that it’s even better business?
Given this is a SitePoint venture and not my own thing, we had to make sure it was worthwhile for subscribers and that the numbers were friendly! There’s definitely potential this will work better in a financial sense, while also be being better for subscribers—we wouldn’t be doing it otherwise!
Do you have a good sense of what your readers want from you? It seems to me Versioning is largely a link-dump, but with your hand-curation and light commentary. Did you come to that over time?
I have always had a fairly active reader base, with people dropping me a line via email or Twitter to thank me for something they liked. We also have the requisite creepy email analytics (e.g. opens and clicks), which help to spot trends and subjects to focus on or avoid. It’s a challenge to cover a few different subject areas well (like front-end and back-end development, design, etc.) but I think most readers working in a particular niche in our industry find it helpful to know what everyone else is up to. The world also evolves quickly—the first edition covered a jQuery library, for example. That’s not an area that’s stayed in the forefront of the news since! Mind you, the first edition also had a Star Wars link, so maybe some things do stay the same.
I struggle with even knowing what I want from a newsletter. Most days, give me some personality. I want news but I want to know why I should care and I want an expert to tell me. Then other days, I hate to say it, but I want less talk and more links. Cool story about a goat, but I’m here for the performance links (or whatever). Are you a newsletter connoisseur yourself? Are you writing a newsletter you wanna read?
I think if I ran into Versioning in the wild, I’d want to subscribe to it. I’m working to try to get the content balance right—providing the right stuff for people, plus commentary that’s enjoyable. The other day I had links to an article on understanding state in React (I think it was on some site called CCS-Tricks, am I spelling that right? 😉), an article on fake science gurus on Facebook, one on an Australian cyborg who tried to pay for a train with a chip in his hand, and the video for Warren G’s Regulate (an allusion to the likely response to the various Facebook crises).
I subscribe to so many newsletters, and they’re all different. I think consistency in each newsletter helps. If I was to drop the format and post a long, detailed screed about one subject, that would not go over well. My aim is to include one link that every reader wants to click. Often, that’s all you can handle as a reader, especially on mobile where the interface doesn’t make collecting tabs easy. That’s also why I include the destination domain in brackets next to every link—I don’t want people to end up somewhere they’re not expecting. Also, some sites (like the The New York Times, The New Yorker, and Wired) have limits on the number of free articles people can view. I don’t want people to accidentally run out of freebies because of me—I want them to realize how much they value a site and support it.
Do paid newsletters replace the traditional blog or do you see them complementing one another? We’ve obviously been using our newsletter to support the blog and vice versa, but I’m curious if adding a paid layer changes that relationship.
The formats have different, complementary strengths, and so I don’t think the paid layer necessarily changes this. Newsletters are good at highlighting particularly important things, putting them in context, and maybe taking a long view of a certain issue. Sites (or blogs) are good at adding interactive elements and keeping content up-to-date and accurate as things change.
In our case, one of the things our email platform, Substack, allows us to do is send a particular edition out as both a newsletter and a post. This means a member can access it wherever is best for them. It also means I can do things like send out an initial newsletter outlining a particular topic, then update the online version with new content. I will use this to produce updated, canonical posts for a particular subject or technology. And these formats can be either free to all, or only available to paid members. There’s a lot you can do with this level of flexibility, I’m sure I’m only scratching the surface. The key is to produce something worthwhile for an audience and the format is secondary.
What is it about newsletters that seems to be clicking with people lately? If someone asked you, hey, I have a ton to say about this general topic, and so I’m thinking of either starting a blog or a newsletter, would you say newsletter? Any SEO concerns there?
There is a backlash against the algorithmic tide. Instead of opening a feed and hoping for good content, why not find someone you trust, and whose opinion and taste you find interesting and useful, and sign up to consistently receive content from them. You’ll still get the „something new and cool” dopamine hit you would in a feed, but it’ll be more consistent and reliable. And they’re all separate entities; there’s no „if you followed this publication, maybe you should follow this other one” thing. And if you stop enjoying them, you can just unsubscribe.
Newsletters are intimate. Your inbox is your personal space, where you step back from the tumult and take stock of the stuff that you’ve decided matters most to you. That’s why spam and relentless, poorly-conceived marketing emails always feel like such a violation.
I think newsletters and podcasts are both growing in prominence for the same reasons. Both mediums reward consistency and reliability in format and topic, are built on personality, and have an intimate feel. Someone’s either talking into your ears for hours every week, or writing to you in your private space.
Speaking of concerns, SEO is a tricky one. Algorithms are part of the discussion here again. SitePoint has a pretty decent search footprint, but new and niche publications aren’t so lucky. I suspect there will be a mini-industry of newsletter curation services start to develop. I would actually love to be in that space.
Filter bubbles are another concern. Newsletters are another opportunity for people to only read the stuff they agree with. But it turns out algorithms and social networks aren’t so good at stopping that either!
I was very, very, very sad to see the end of the Awl (and the Hairpin). That was a site that was chock-full of amazing content that was not targeted to appeal to Facebook and such, and as a result, it ultimately wasn’t sustainable. It kind of feels like such cases—plus the re-tooling of Facebook’s feed away from publications and towards people, and the rise of newsletters—are all related. It’s reductive to say „newsletters are the new blogs,” but it’s probably not far off. I would 100% be telling someone to start a newsletter. Actually, I’d tell them to use Substack, but I would have to declare my bias!
Tech-wise, what tooling are you using to curate, create, and send here?
I love talking about this stuff! Uses This is one of my favorite sites. Honestly, it’s pretty low-tech at the moment, just busy. I have a Pocket account with a #versioning tag, so that often gives me a dozen or so links at the start of the day, sourced from my internet meanderings through the evening. I subscribe to a million newsletters, both in my work and personal accounts, on a hopefully both diverse and relevant range of topics.
I subscribe to quite a few RSS feeds using Feedly, too. Nuzzel, which sends you a daily/weekly digest of the most-shared links among people you’re following in Twitter and Facebook, is very useful here too. I have a personal Twitter/Nuzzel feed, plus one I’ve specifically set up for this purpose. Refind is another service trying to solve this problem. Its breadth and depth kind of give me a headache though. They’ve got a Nuzzel-like daily/weekly digest, a service for creating your own newsletters, a cryptocurrency—there’s a lot.
I also have the requisite very big Tweetdeck set-up to grab other links that catch my eye. Oh, and Initab is a new Chrome tab extension you can populate with feeds from certain subreddits and other place. I’ve been playing around with psuedo-Tweetdeck-for-Reddit services too. And Spectrum is a new community service thing I found last week, looks like it could be a winner too. And I need to be more active in Facebook groups. Also, Slack!
So yeah, there’s a lot. A bit of a combo of algorithms and people, hopefully I have the balance right. I also change newsletters, feeds, and other sources regularly, trying to find a better balance.
As for collecting and writing, it’s actually fairly simple—I find something I like, copy the URL into a Markdown doc, then write a description. I deliberately use a web-based Markdown editor (currently Stackedit, though I have used Dillinger and Classeur in the past). Something web-based is good because I can easily tab to it without having to switch to a new app. Stackedit is good because you can paste the generated preview directly into Campaign Monitor and (now) Substack and have formatting and links sorted. I then have a Google Doc to collect links I’ve already shared, and to gauge the reception in the audience—I want to spot trends like a rising interest in micro-services.
Building emails is something we all sort of love and loathe as front-end developers. How did you approach your email design and did you learn anything from building it?
Yes, email design is hard! Fortunately for me, the content and approach I’ve adopted lends itself to a stripped-back design with very little going on. Versioning is just text and a few images, so it required practically zero design. Our use of Campaign Monitor and now Substack meant we could sidestep some of the template work. In general terms though, my advice would be:
Focus on the purpose and content of the newsletter, produce a template based on that. It’s more important to produce something compelling, promote it in the right places, gain an audience, and then keep it (and grow it) by making sure you’re consistent in your production.
If you can (via a survey or through whatever data your email platform offers) work out what devices and platforms your audience uses to access email. People read email in all sorts of obscure ways, but you can likely cover the main ones for your audience with relatively little effort.
Don’t forget the plaintext user! Make sure your URLs are short, your images have alt tags, you’re generally nice to those in your audience who are in this boat. Versioning, given the niche, has a high proportion of these.
If all else fails, work with an expert or use one of a plethora of tools and services to do the work for you. Substack has a stripped-back CMS, Campaign Monitor and MailChimp have built-in template builders, and there are plenty of other services you could use. The compatibility issues with email are legendary. You could instead spend your time on things like a distinctive logo and branding or a landing page that communicates your newsletter’s value.
Ultimately people will enjoy a simple newsletter full of content they love presented in a way they can absorb. The design shouldn’t tie you in knots!
Let’s open this up to readers. Are you into the idea of paid newsletters?
The majority of people in Ukraine, the country where I grew up, are Christian. Therefore, Ukrainian culture has a big influence from Christianity, and one of the biggest celebrations in Ukraine is Easter.
In today’s tutorial I would like to show you how to use basic shapes to create a wonderful image in Adobe Illustrator. You will also learn how to create some decorated Easter eggs and a little chick. As always, we will apply different warp effects to some basic shapes to achieve the beautiful result we want. I think that this image is really festive looking and perfect for the Easter occasion.
Did you have a chance to check what GraphicRiver has for Easter? If not, make sure to check its wonderful collection. If yes, let’s get started!
1. How to Create the Paska (an Easter Bread)
Step 1
Create a new document (File > New) with 850 px Width and 850 px Height. Let’s start with the special baked Easter bread, which in Ukraine is called paska. Take the Ellipse Tool (L) and create a brown ellipse. Next, we will apply the warp effect to this ellipse. Go to Effect > Warp > Arc Lower and enter the presented options. Expand the shape once you like how it looks (Object > Expand Appearance).
Step 2
Using the Rounded Rectangle Tool, create a lighter rounded rectangle. Place it behind (Control-X, Control-B) the top part.
Now by using the warp effect, we will slightly deform this rounded rectangle to show that it’s round. Select the rounded rectangle and go to Effect > Warp > Arc Lower. In the new window, adjust the presented options. Expand this shape (Object > Expand Appearance). Starting from this step, remember to always expand all transformed objects on which we use the warp effect.
Step 3
To add frosting on top of the paska, create a light oval on the top part. Now we will add some dimensions to the frosting by making it look as if it is dripping. Double-click on the Warp Tool (Shift-R), and in the pop-up window, select Brush Dimensions: Width and Height around 30 px, Angle 0 degree, Intensity 100 %; Warp options: Detail 2, Simplify 50. These options are approximate, so they can be slightly different in your case.
Select the ellipse that we just placed as the frosting, and start to spread it over the paska as shown by the arrows. A very important point: select the object before you use the Warp Tool (Shift-R), otherwise you will spread other objects surrounding it.
Step 4
Let’s add some sprinkles on top. Add some tiny baby blue and pastel pink rounded rectangles over it (use the Rounded Rectangle Tool). Feel free to change the colors of the sprinkles for a more personal touch.
Step 5
To finish our paska, we will add a candle on top. First create a green, thin, horizontal rounded rectangle. Then add a tiny orange oval on top and apply the warp effect: Effect > Warp > Inflate (enter the options shown below).
2. How to Create the Easter Eggs
Step 1
Let’s start with a blue ellipse for an egg. Select the bottom and top anchor points by using the Direct Selection Tool (A), and move them up by pressing the Up Arrow key on the keyboard.
Step 2
Next, we will work on the decorative pattern of the egg. First, delete the fill color and set the stroke color. Draw a few dark blue and white lines of different thicknesses using the Line Segment Tool (\). To have a straight line, hold the Shift key while drawing the line. The line thickness can be changed on the Stroke panel (Window > Stroke) by changing the stroke Weight.
Also add a line of white and blue circles. To do so, create a small circle (use the Ellipse Tool (L) while holding down the Shift key). Make a copy of the circle: while holding the Shift and Alt keys, drag the circle to the right. This way, you’ll create a second copy of the circle, which will be horizontally aligned. While the newly created circle is selected, press Control-D a few more times to repeat the previous step and create a group of circles exactly the same distance from each other. Group them for your convenience (right-click > Group).
To add a zig-zag line, first create a straight line. Then modify it: go to Effect > Distort & Transform > Zig Zag… In the Zig Zag options window, adjust the Size and Ridges per segment to achieve a similar zig-zag effect as in the image below. Don’t forget to select Points: Corner. For your convenience, select Preview while adjusting these options. At the end, click OK.
Place the entire decorative pattern in front of the egg’s base shape, but don’t group all these lines and zig-zags. Next, while keeping it selected, go to Effect > Warp > Arc. In the new window, adjust the options you can see in the image below.
Be sure your transformed decoration is wider than the egg’s base shape. Then expand this decoration (Object > Expand Appearance). Now it is very important to expand it one more time, but this time go to Object > Expand, and then hit OK.
Step 3
Now we need to cut off the unnecessary parts of the decoration. Make a copy of the egg’s base shape in front (Control-C, Control-F), cut it off (Control-X), and place it in front of everything (Control-F). Here’s a little help: when you create a copy in front of the egg’s basic shape, this copy will appear just in front of the egg’s base shape, not in front of the decoration which we created.
Then we need to cut off the copy and place it in front of everything, but this time in front of the egg’s base shape and ornamental decoration.
While keeping this copy in front and the ornament selected, press the Crop button in the Pathfinder panel (Window > Pathfinder). You will end up with the egg’s base shape with a resized piece of decoration on it.
Step 4
Let’s create a dotted Easter egg. Make a copy of the blue egg shape from the previous step. Add a white circle in front of the egg’s base. Make more copies of the circle (move the original circle into different directions while holding the Alt key) and place them all over the egg as you wish.
Once all the dots are placed, we need to cut off the unnecessary parts of the circles which are outside of the egg’s boundaries. Similarly to the previous step, make a copy of the egg’s base in front (Control-C, Control-F), cut it off (Control-X), and place it in front of everything (Control-F).
While keeping this front copy of the egg’s base selected, select all circles. To select all of the circles at once, grab the Magic Wand Tool (Y) and hit on one of the circles which are visible outside of the egg. By pressing on one of the circles, this tool will select all similar objects, which in this case, are all of the circles.
Once you’ve selected all the circles along with the top copy of the egg, press the Crop button in the Pathfinder panel. Our dotted Easter egg is now ready!
Step 5
Make two more copies of the dotted Easter egg, and change the color of the dots and the egg’s base.
Step 6
We can also add a flower pattern to our Easter eggs. To create the flower, we will start with a white circle and a white vertical oval above it. Keep in mind that the black stroke is there only for better visibility, so you don’t actually need it.
Next, select the oval, hit the Rotate Tool (R) and, while keeping Alt button pressed, click in the middle of the circle. Enter 45 degrees in the new dialogue window and press Copy. To finish the flower, press Control-D six more times.
Step 7
Now create two more copies of the white flower and place them in front of the egg’s base (this time, make it orange).
Next, as in the previous steps, make a copy of the egg’s base in front (Control-C, Control-F), cut it off (Control-X), and place it in front of everything (Control-F). While keeping this front copy of the egg’s base selected, select all the flowers. (You can use the Magic Wand Tool (Y) as in the previous step).
Once you have selected all the flowers and the top copy of the egg, press the Crop button in the Pathfinder panel. The Easter egg decorated with flowers is ready!
Step 8
Make another copy of the flower-decorated egg and change its color to pink.
Now we have six nicely decorated Easter eggs.
3. How to Create the Easter Basket
Step 1
Create a light brown rectangle and deform it: go to Effect > Warp > Bulge. Enter the options presented below and press OK.
After that, apply another warp effect (Effect > Warp > Arch) and apply the options shown below.
Step 2
For the handle of the basket, create an oval with no fill color and light brown stroke color. On the Stroke panel, adjust the stroke Weight to get a result similar to the one shown below.
Now add a set of darker lines. Create a straight line using the Line Segment Tool (\) while holding the Shift key. The line thickness can be controlled on the Stroke panel (Window > Stroke) by changing the stroke Weight. To multiply the created line, make a copy of it (holding the Shift and Alt keys and drag the line up) and, while the newly created line is selected, press Control-D a couple of times. Group them for your convenience (right-click > Group) and expand (Object > Expand).
Now apply the Arch effect shown below. Make a copy of the basket base in front (Control-C, Control-F), cut it off (Control-X), and place it in front of everything (Control-F). While keeping this front copy of the basket base selected, select all the lines and press the Crop button in the Pathfinder panel. The basket is ready!
Step 3
Now place all of the objects to create a nice composition. Be sure that the base of the basket is placed in front of the Easter eggs and paska, which are inside the basket.
Finally, create a darker oval and place it behind everything.
4. How to Create the Chick
Step 1
To create the tiny chick, we will start with a yellow oval, which will be deformed by the Arc effect and the options shown below. This is the body of the chick.
Step 2
Next, create an ellipse which is almost a circle and apply another warp effect. This will be the head of the chick.
Step 3
Place the head of the chick on its body, as shown in the image below. Note how the body is slightly tilted. Add a small brown oval and a tiny white circle for the eye.
Step 4
For the beak, create an orange oval and apply the Arc effect with the options presented below.
Step 5
Let’s put the beak on the chick. Be sure that the beak is placed behind the head (Control-X, Control-B).
Next, we will add the wing. Create a copy of the body shape, change it to a darker color, make it smaller, and place it on the body. Finally, make another copy of the body shape in front, and shift it up.
Step 6
To add the tail, create a small yellow oval and modify it with the Arc effect shown.
Step 7
Make three more copies of the shape, and make two of them slightly thinner. Place two bigger ones as the tail, and two smaller ones as forelocks on the head.
Step 8
For the chick’s leg, create an oval and place it on the bottom part of the body. Then, create a thin rectangle, slightly rotate it to the left, and attach it behind the oval.
Step 9
Create a new copy of one of the forelocks, change its color to orange, and place it on the bottom of the leg, as a toe. Create two more copies to give it two more toes.
After that, create a vertical copy of one toe to have the fourth toe. You can also add a few feathers on the leg using the forelock.
Group the whole leg, and make a new copy of it. Make the new leg smaller and place it close to the first one. And our cute chick is ready!
Place all the objects together.
5. How to Create the Background
Step 1
For the background, create a square with no stroke color and with 850 px Width and Height. To make the square, select the Rectangle Tool (M), click on your artboard, and then enter the options needed.
Step 2
To finalize the image, add a darker ellipse below as a shadow.
Step 3
Place the background and shadow behind the Easter basket and chick: select the background, cut it off (Control-X), and put it behind (Control-B).
Conclusion
What a wonderful illustration we have created! I hope you like your final outcome and the process. If you want, you can also add some crocuses to your Easter basket—here is the tutorial where I show you how to create these flowers.
Feel free to customize the image to your liking. So now that you have followed this tutorial, I hope that you can create more amazing images in Adobe Illustrator.
Starting an online business might seem a little overwhelming at times. There are a lot of questions that will pop into your head: “where do I start?”, “how do I measure my results?”, “how do I create and manage my content?”
You’d be surprised how easy and simple it can actually be – with the right tools, of course.
We’ve found these 10 amazing tools that will be the only thing you need when combined with WordPress: marketing automation, Instagram followers, file storage, and much more will be taken care off in a glimpse.
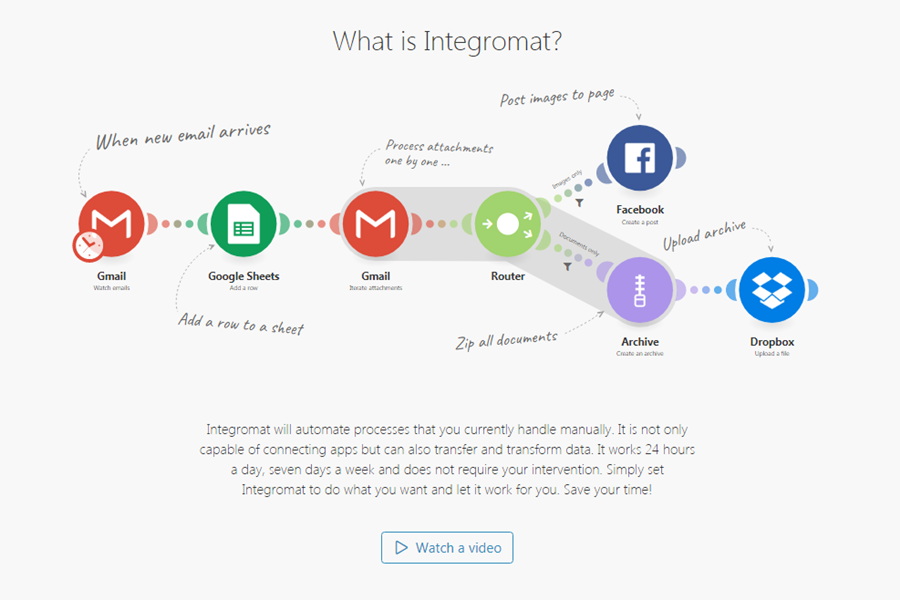
No WordPress page can go without a good cloud workflow automation – with all the plugins, apps and tools you already use, this one will make the process so much faster. All needed automation is created through a beautifully designed editor. You can choose from many pre-made templates that integrate perfectly with WordPress.
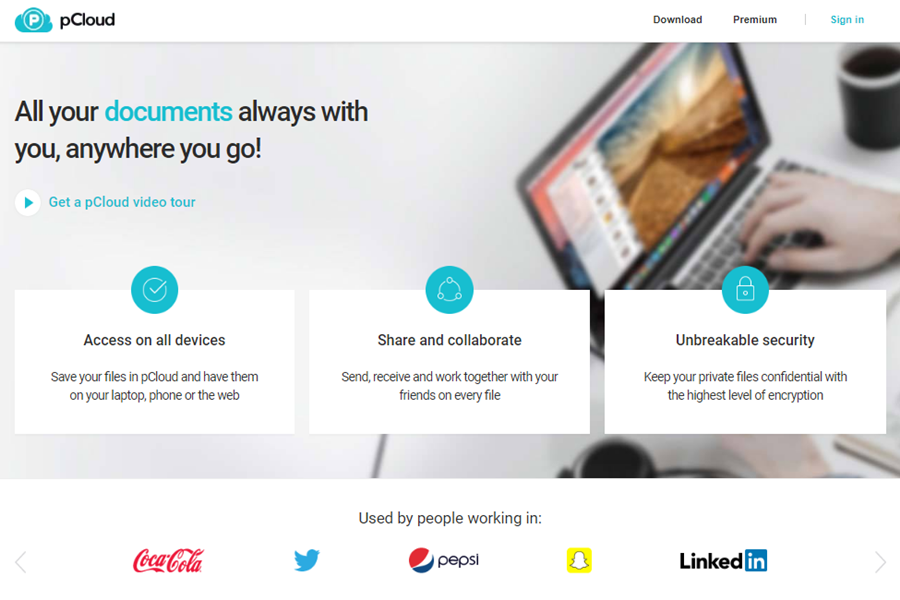
There are multiple dropbox alternatives on the internet – but if you’re a WordPress user and value security and speed, then this is the only option for you. Other than these two advantages of security and speed, the tool also lets you share your files with your colleagues which is highly convenient.
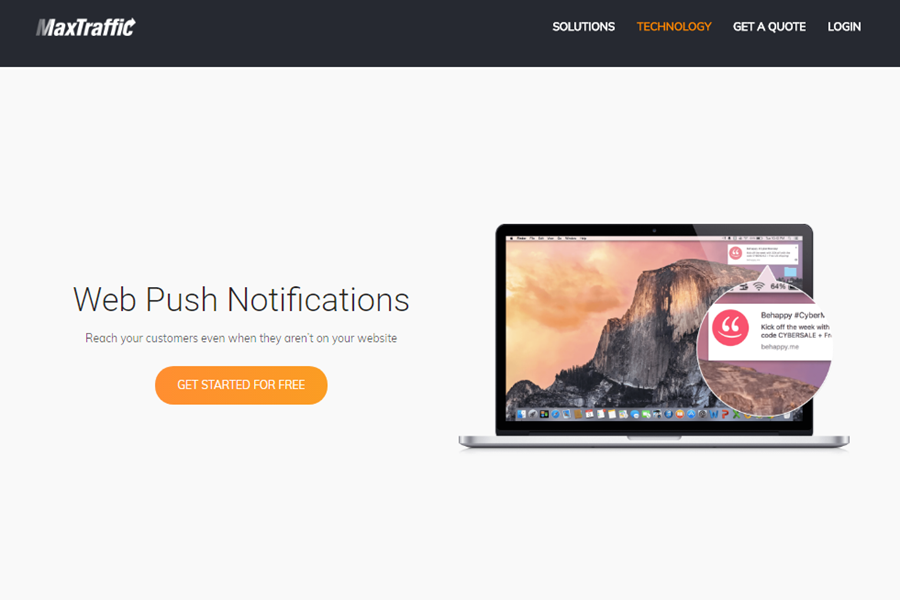
Sending web push notifications is one of the best strategies for bringing a customer back to a WordPress website. Keep your customers alert and waiting: send them notifications about new products and services, sales or upcoming events – make the visits to your website spike up.
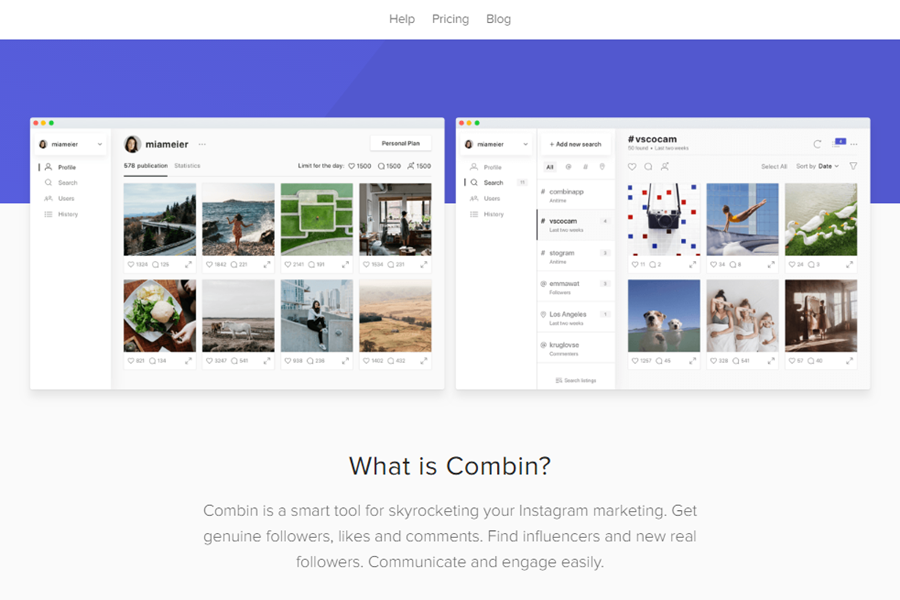
If you have a plan to start a business, you probably already know, that after creating a website, a WordPress platform is not enough – you will have to do something with marketing and especially social media. Get real Instagram followers by using Combin – like, comment, and follow other users to attract their attention.
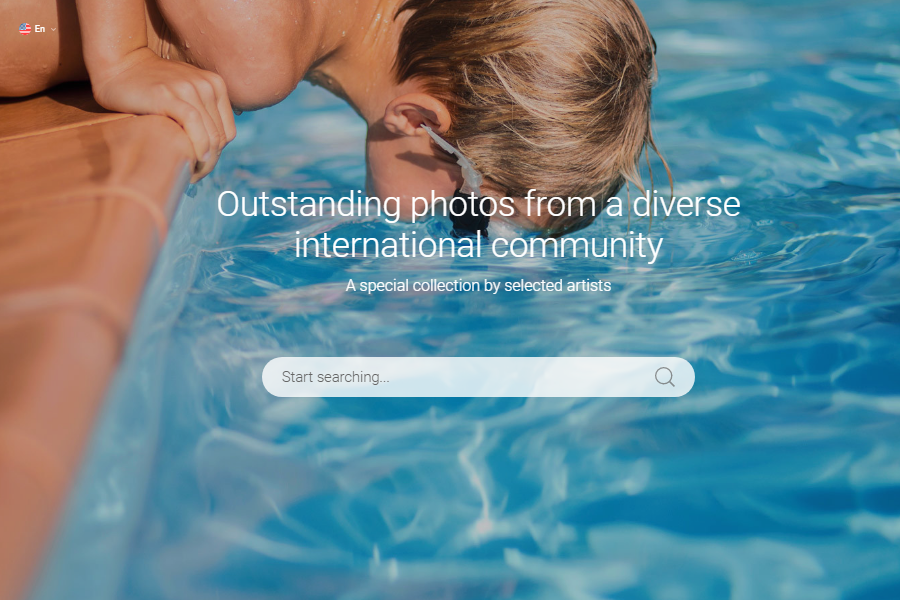
Visual information is crucial for any website nowadays. To represent our brand, we often use stock photos – there is a wide selection of free and paid stock images around the web. The focused collection is something new and different – it has complete sets of pictures for different themes like animals, cities, education and more. Perfect for creating a strong image of the brand.
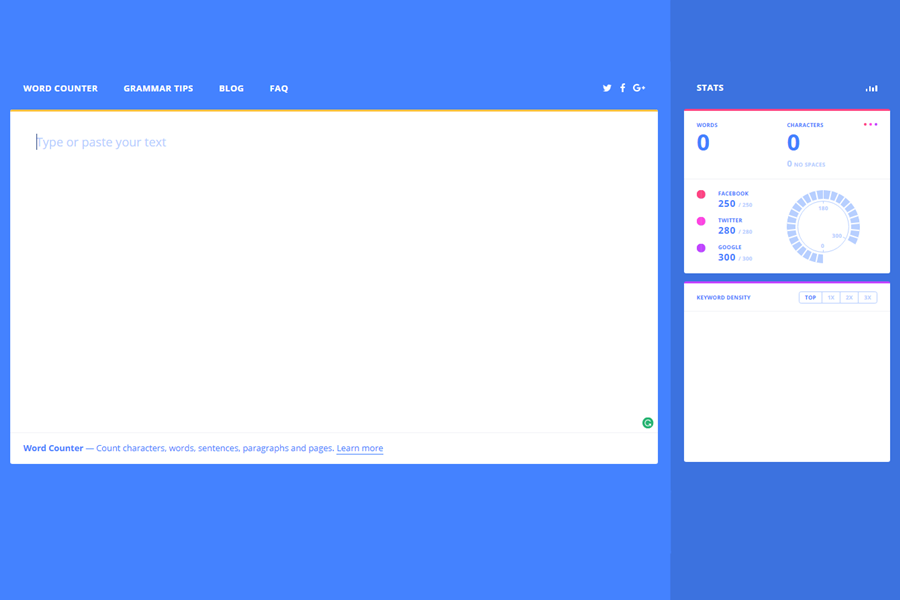
WordPress is an amazing platform for content creation – it has various content and SEO tools to help you out, but one important tool that you just cannot go without is a very precise word counter. This one has a minimalistic design, is easy to use and understand, and also has integrated social media standards for word count.
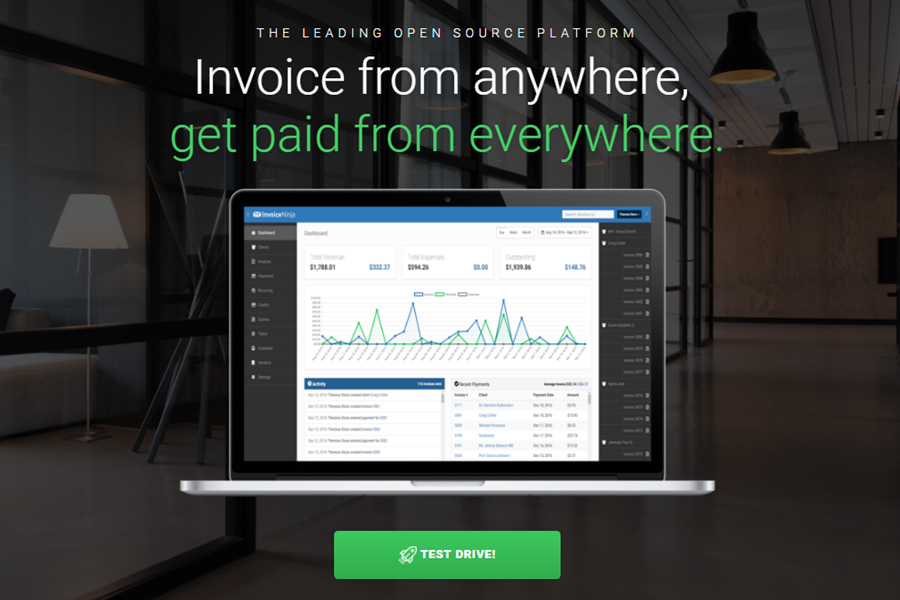
After starting an online business you will have to step up your game and start working with your potential clients – collecting their emails by offering them something of value in return and reaching them with your news and sales. Proposals creation tool can help you reach your customer – the drag & drop tool offers great templates to make it look great. And later it can help you send the invoice from anywhere, after all the name is InvoiceNinja.
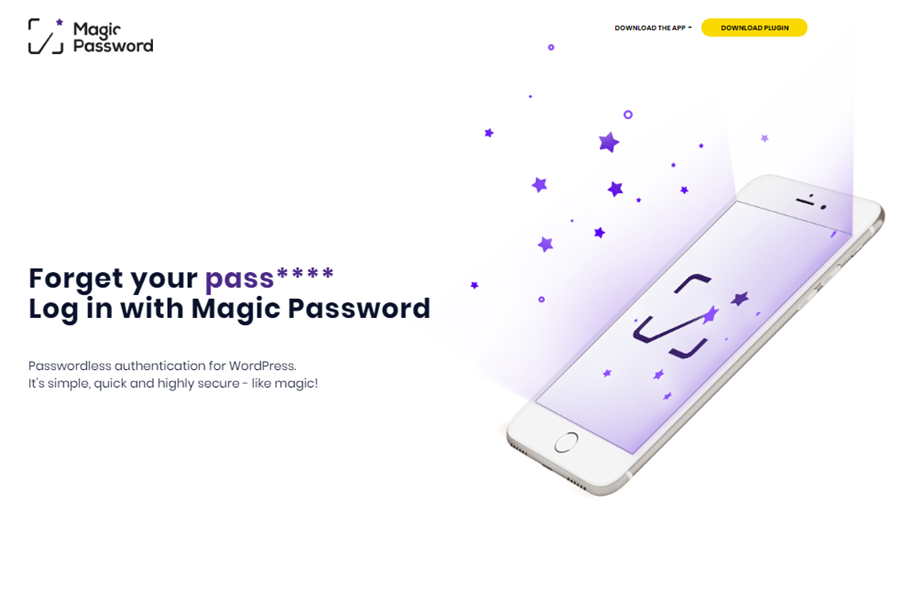
This WordPress Security Plugin can work wonders when it comes to remembering passwords and usernames. This plugin also protects you from brute-force attacks, phishing & keylogger attacks, and WordPress website takeover. The tool works by pairing your smartphone with your WordPress account and creating a specific code when you need to log in.
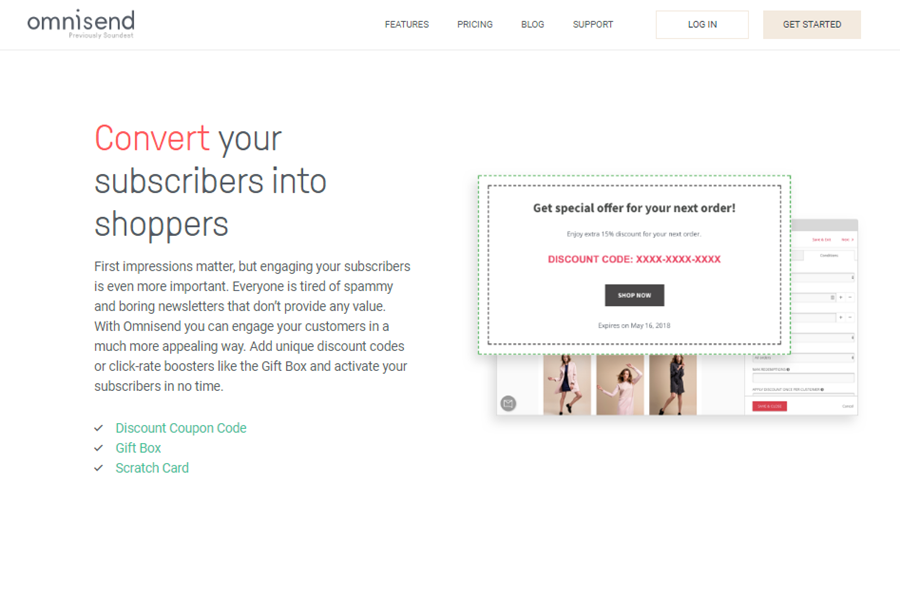
Omnisend is an ideal tool for WordPress ecommerce marketing automation if you want to run an e-shop. It can make the work with the website visitors so much easier: turn them into subscribers with signup boxes, popups, and landing pages. Afterward, start working your way up by converting your subscribers into shoppers and eventually – repeat buyers.
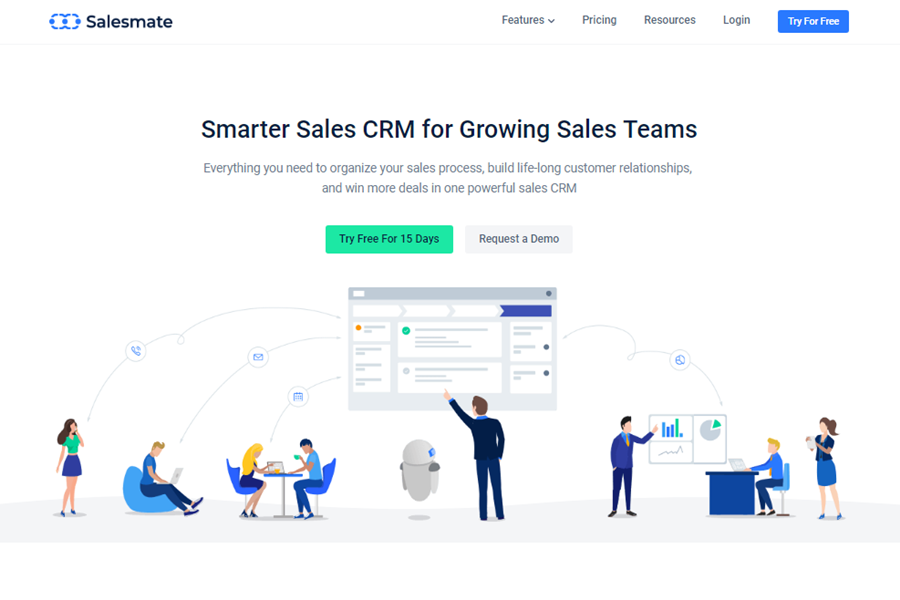
Salesmate is one of the best additional tools for WordPress – if you want to run an e-shop, it will work wonders by helping you plan and keep on track with your sales processes. It’s easily customizable and adjustable, therefore easy to use and integretable with more than 700 different apps.
There are ugly Christmas sweaters. And there’s the #reallyuglysweater. Take a closer look at it and you’ll see: the normally oh-so-peaceful crib is being bombed in the midst of a Syrian refugee camp. An ugly but very real scene for all those struggling in Syria on a daily basis. Gents created the fashion statement of the year to showcase the other side of the holidays and to ensure a truly merry Christmas for all children. One ugly sweater at a time. More than 10.000 eur was raised to support the work of SOS Children’s Villages in Syria.