PROBLEM: When someone breaks a piece of pottery they love, they will try to repair it rather than throw it away. Kintsugi is the traditional Japanese craft of restoring broken pottery with metal. Rather than repairing the damages with an adhesive, it embellishes the crack with metal, treasuring the history of that damaged pottery. But the wonderful philosophy of Kintsugi has not passed onto modern-day people who prefer to buy a replacement when something breaks.
IDEA: Used for a theme appealing to modern-day people, new life has been breathed into this traditional Japanese craft. Representing historically-feuding neighboring countries,two dishes have been combined with Kintsugi with the cracks resembling the national border. We cannot forget cultural differences or things that happened in the past, but we appealed for mutual understanding through Kintsugi by producing a new harmonious shape in a single dish.
EXECUTION: Their special dishes are promoted via exhibitions and posters as well as images, so they got the opportunity to come into contact with mote people than usual exhibitions. By seeing the real thing with their own eyes (beautifully harmonious dish divided by a crack embellished with metal),one can understand Kintsugi’s philosophy of treasuring history.
PROBLEM: When someone breaks a piece of pottery they love, they will try to repair it rather than throw it away. Kintsugi is the traditional Japanese craft of restoring broken pottery with metal. Rather than repairing the damages with an adhesive, it embellishes the crack with metal, treasuring the history of that damaged pottery. But the wonderful philosophy of Kintsugi has not passed onto modern-day people who prefer to buy a replacement when something breaks.
IDEA: Used for a theme appealing to modern-day people, new life has been breathed into this traditional Japanese craft. Representing historically-feuding neighboring countries,two dishes have been combined with Kintsugi with the cracks resembling the national border. We cannot forget cultural differences or things that happened in the past, but we appealed for mutual understanding through Kintsugi by producing a new harmonious shape in a single dish.
EXECUTION: Their special dishes are promoted via exhibitions and posters as well as images, so they got the opportunity to come into contact with mote people than usual exhibitions. By seeing the real thing with their own eyes (beautifully harmonious dish divided by a crack embellished with metal),one can understand Kintsugi’s philosophy of treasuring history.
This is by far the biggest deep dive I’ve seen on CSS Variables posted to the web and it’s merely Chapter One of complete e-book on the topic.
Truth is, I’m still on the thick of reading through this myself, but had to stop somewhere in the middle to write this up and share it because it’s just that gosh-darned useful. For example, the post goes into great detail on three specific use cases for CSS Variables and breaks the code down to give a better understanding of what it does, in true tutorial fashion.
Scoping, inheritance, resolving multiple declarations, little gotchas—there’s plenty in here for beginners and advanced developers alike.
Plenty of tutorials exist that do a great job in explaining how Vue’s official routing library, vue-router, can be integrated into an existing Vue application. vue-router does a fantastic job by providing us with the items needed to map an application’s components to different browser URL routes.
But, simple applications often don’t need a fully fledged routing library like vue-router. In this article, we’ll build a simple custom client-side router with Vue. By doing so, we’ll gather an understanding of what needs to be handled to construct client-side routing as well as where potential shortcomings can exist.
Though this article assumes basic knowledge in Vue.js; we’ll be explaining things thoroughly as we start to write code!
Routing
First and foremost: let’s define routing for those who may be new to the concept.
In web development, routing often refers to splitting an application’s UI based on rules derived from the browser URL. Imagine clicking a link and having the URL go from https://website.com to https://website.com/article/. That’s routing.
Routing is often categorized in two main buckets:
Server-side routing: the client (i.e. the browser) makes a request to the server on every URL change.
Client-side routing: the client only makes a request to the server upon initial-page load. Any changes to the application UI based on URL routes are then handled on the client.
Client-side routing is where the term single-page application (or SPA for short) comes in. SPAs are web apps that load only once and are dynamically updated with user interaction without the need to make subsequent requests to the server. With routing in SPAs, JavaScript is the driving force that dynamically renders different UI.
Now that we have a brief understanding of client-side routing and SPAs, let’s get an overview of what we’ll be working on!
Case Study: Pokémon
The app we aim to construct is a simple Pokémon app that displays details of a particular Pokémon based on the URL route.
The application will have three unique URL routes: /charizard, /blastoise, and /venusaur. Based on the URL route entered, a different Pokémon will be shown:
In addition, footer links exist at the bottom of the application to direct the user to each respective route upon click:
Do We Even Need Routing for This?
For simple applications like this, we don’t necessarily need a client-side router to make our app functional. This particular app could be composed of a simple parent-child component hierarchy that uses Vue props to dictate the information that should be displayed. Here’s a Pen that shows just this:
Though the app would functionally work, it misses a substantial feature that’s expected from most web applications—responding to browser navigation events. We’d want our Pokémon app to be accessible and to show different details for different pathnames: /charizard, /blastoise, and /venusaur. This would allow users to refresh different pages and keep their location in the app, bookmark the URLs to come back to later, and potentially share the URL with others. These are some of the main benefits of creating routes within an application.
Now that we have an idea of what we’ll be working on, let’s start building!
Preparing the App
The easiest way to follow along step-by-step (if you wish to do so) is to clone the GitHub repo I’ve set up.
In the <head> tag of the index.html file, we introduce Bulma as our application’s CSS framework and our own styles.css file that lives in the public/ folder.
Since our focus is on the usage of Vue.js, the application already has all the custom CSS laid out.
The src/ folder is where we’ll be working directly from:
$ ls src/
app/
main.js
src/main.js represents the starting point of our Vue application. It’s where our Vue instance is instantiated, where we declare the parent component that is to be rendered, and the DOM element #app with which our app is to be mounted to:
import Vue from 'vue';
import App from './app/app';

new Vue({
  el: '#app',
  render: h => h(App)
});
We’re specifying the App component, from the src/app/app.js file, to be the main parent component of our application.
In the src/app directory, there exists two other files – app-custom.js and app-vue-router.js:
$ ls src/app/
app-custom.js
app-vue-router.js
app.js
app-custom.js denotes the completed implementation of the application with a custom Vue router (i.e. what we’ll be building in this article). app-vue-router.js is a completed routing implementation using the vue-router library.
For the entire article, we’ll only be introducing code to the src/app/app.js file. With that said, let’s take a look at the starting code within src/app/app.js:
Currently, two components exist: CharizardCard and App. The CharizardCard component is a simple template that displays details of the Charizard Pokémon. The App component declares the CharizardCard component in its components property and renders it as <pokemon-card></pokemon-card> within its template.
We currently only have static content with which we’ll be able to see if we run our application:
npm run dev
And launch localhost:8080:
To get things started, let’s introduce two new components: BlastoiseCard and VenusaurCard that contains details of the Blastoise and Venusaur Pokémon respectively. We can lay out these components right after CharizardCard:
With our application components established, we can now begin to think how we’ll create routing between these components.
router-view
To establish routing, we’ll start by buiding a new component that holds the responsibility to render a specified component based on the app’s location. We’ll create this component in a constant variable named View.
Before we create this component, let’s see how we might use it. In the template of the App component, we’ll remove the declaration of <pokemon-card> and instead render the upcoming router-view component. In the components property; we’ll register the View component constant as <router-view> to be declared in the template.
The router-view component will match the correct Pokémon component based on the URL route. This matching will be dictated in a routes array that we’ll create. We’ll create this array right above the App component:
We’ve set each Pokémon path to their own respective component (e.g. /blastoise will render the BlastoiseCard component). We’ve also set the root path / to the CharizardCard component.
Let’s now begin to create our router-view component.
The router-view component will essentially be a mounting point to dynamically switch between components. One way we can do this in Vue is by using the reserved <component> element to establish Dynamic Components.
Let’s create a starting point for router-view to get an understanding of how this works. As mentioned earlier; we’ll create router-view within a constant variable named View. So with that said, let’s set up View right after our routes declaration:
The reserved <component> element will render whatever component the is attribute is bound to. Above, we’ve attached the is attribute to a currentView data property that simply maps to the CharizardCard component. As of now, our application resembles the starting point by displaying CharizardCard regardless of what the URL route is.
Though router-view is now appropriately rendered within App, it’s not currently dynamic. We need router-view to display the correct component based on the URL pathname upon page load. To do this, we’ll use the created() hook to filter the routes array and return the component that has a path that matches the URL path. This would make View look something like this:
In the data function, we’re now instantiating currentView with an empty object. In the created() hook, we’re using JavaScript’s native find() method to return the first object from routes that matches route.path === window.location.pathname. We can then get the component with object.component (where object is the returned object from find()).
Inside a browser environment, window.location is a special object containing the properties of the browser’s current location. We grab the pathname from this object which is the path of the URL.
At this stage; we’ll be able to see the different Pokémon Card components based on the state of our browser URL!
The BlastoiseCard component now renders at the /blastoise route.
There’s something else we should consider. If a random URL pathname is entered, our app will currently error and present nothing to the view.
To avoid this, let’s introduce a simple check to display a „Not Found” template if the URL pathnamedoesn’t match any path existing in the routes array. We’ll separate out the find() method to a component method named getRouteObject() to avoid repetition. This updates the View object to:
const View = {
  name: 'router-view',
  template: `<component :is="currentView"></component>`,
  data() {
    return {
      currentView: {}
    }
  },
  created() {
    if (this.getRouteObject() === undefined) {
      this.currentView = {
        template: `
          <h3 class="subtitle has-text-white">
            Not Found :(. Pick a Pokémon from the list below!
          </h3>
        `
      };
    } else {
      this.currentView = this.getRouteObject().component;
    }
  },
  methods: {
    getRouteObject() {
      return routes.find(
        route => route.path === window.location.pathname
      );
    }
  }
};
If the getRouteObject() method returns undefined, we display a „Not Found” template. If getRouteObject()returns an object from routes, we bind currentView to the component of that object. Now if a random URL is entered, the user will be notified:
The „Not Found” view is rendered if the URL pathname does not match any of the values in the routes array.
The „Not Found” template tells the user to pick a Pokémon from a list. This list will be the links we’ll create to allow the user to navigate to different URL routes.
Awesome! Our app is now responding to some external state, the location of the browser. router-view determines which component should be displayed based on the app’s location. Now, we need to construct links that will change the location of the browser without making a web request. With the location updated, we want to re-render our Vue app and rely on router-view to appropriately determine which component to render.
We’ll label these links as router-link components.
router-link
In web interfaces, we use HTML <a> tags to create links. What we want here is a special type of <a> tag. When the user clicks on this tag, we’ll want the browser to skip its default routine of making a web request to fetch the next page. Instead, we just want to manually update the browser’s location.
Let’s compose a router-link component that produces an <a> tag with a special click binding. When the user clicks on the router-link component, we’ll use the browser’s history API to update the browser’s location.
Just like we did with router-view, let’s see how we’ll use this component before we build it.
In the template of the App component, let’s create three <router-link> elements within a parent <div class="pokemon-links"></div> element. Rather than using the href attribute in <router-link>, we’ll specify the desired location of the link using a to attribute. We’ll also register the upcoming router-link component (from a Link constant variable) in the Appcomponents property:
We’ll create the Link object that represents router-link right above the App component. We’ve established the router-link component should always be given a to attribute (i.e. prop) that has a value of the target location. We can enforce this prop validation requirement like so:
We can create the template of router-link to consist of an <a> tag with an @click handler attribute. Upon trigger, the @click handler will call a component method, labeled navigate(), that navigates the browser to the desired location. This navigation will occur with the use of the history.pushState() method. With that said, the Link constant object will be updated to:
Within the <a> tag, we’ve bound the value of the to prop to the element text content with {{ to }}.
When navigate() is triggered, it first calls preventDefault() on the event object to prevent the browser from making a web request for the new location. The history.pushState() method is then called to direct the user to the desired route location. history.pushState() takes three arguments:
a state object to pass serialized state information
a title
the target URL
In our case, there is no state information that’s needed to be passed, so we’ve left the first argument as null. Some browsers (e.g. Firefox) currently ignore the second parameter, title, hence we’ve left that as null as well.
The target location, the to prop, is passed in to the third and last parameter. Since the to prop contains the target location in a relative state, it will be resolved relative to the current URL. In our case, /blastoise will resolve to http://localhost:8080/blastoise.
If we click any of the links now, we’ll notice our browser updates to the correct location without a full page reload. However, our app will not update and render the correct component.
This unexpected behaviour happens because when router-link is updating the location of the browser, our Vue app is not alerted of the change. We’ll need to trigger our app (or simply just the router-view component) to re-render whenever the location changes.
Though there’s a few ways to accomplish this behaviour, we’ll do this by using a custom EventBus. An EventBus is a Vue instance responsible in allowing isolated components to subscribe and publish custom events between each other.
At the beginning of the file, we’ll import the vue library and create an EventBus with a new Vue() instance:
import Vue from 'vue';

const EventBus = new Vue();
When a link has been clicked, we need to notify the necessary part of the application (i.e. router-view) that the user is navigating to a particular route. The first step is to create an event emitter using the EventBus’s events interface in the navigate() method of router-link. We’ll give this custom event a name of navigate:
We can now set the event listener/trigger in the created() hook of router-view. By setting the custom event listener outside of the if/else statement, the created() hook of View will be updated to:
const View = {
  // ...,
  created() {
    if (this.getRouteObject() === undefined) {
      this.currentView = {
        template: `
          <h3 class="subtitle has-text-white">
            Not Found :(. Pick a Pokémon from the list below!
          </h3>
        `
      };
    } else {
      this.currentView = this.getRouteObject().component;
    }

    // Event listener for link navigation
    EventBus.$on('navigate', () => {
      this.currentView = this.getRouteObject().component;
    });
  },
  // ...
};
When the browser’s location changes by clicking a <router-link> element, this listening function will be invoked, re-rendering router-view to match against the latest URL!
Great! Our app now navigates appropriately as we click each of the links.
There’s one last thing we need to consider. If we try to use the browser back/forward buttons to navigate through the browser history, our application will not currently re-render correctly. Although unexpected, this occurs because no event notifier is emitted when the user clicks browser back or browser forward.
To make this work, we’ll use the onpopstate event handler.
The onpopstate event is fired each time the active history entry changes. A history change is invoked by clicking the browser back or browser forward buttons, or calling history.back() or history.forward() programmatically.
Right after our EventBus creation, let’s set up the onpopstate event listener to emit the navigate event when a history change is invoked:
Our application will now respond appropriately even when the browser navigation buttons are used!
And there we have it! We’ve just built a custom Vue router using an EventBus and dynamic components. Even with the tiny size of our app we can enjoy a noticeable performance improvement. Avoiding a full page load also saves hundreds of milliseconds and prevents our app from „blinking” during the page change.
Conclusion
I love Vue. One reason as to why – it’s incredibly easy to use and manipulate Vue components just like we saw in this article.
In the introduction, we mentioned how Vue provides the vue-router library as the official routing library of the framework. We’ve just created simple versions of the same main items that are used in vue-router:
routes: the array responsible in mapping components to respective URL pathnames.
router-view: the component that renders a specified app component based on the app’s location
router-link: the component that allows the user to change the location of the browser without making a web request.
For very simple applications, the routing we’ve built (or a variation thereof like this one built by Chris Fritz) can do the minimal amount of work needed to route our applications.
The vue-router library, on the other hand, is built in a more complicated manner and introduces incredibly useful capabilities, often needed in larger applications like:
Though the vue-router library does come with additional boilerplate, it’s fairly easy to integrate once your application is composed of well isolated and distinct components. If you’re interested, you can see the components of vue-router being used to enable routing in this application here.
Hopefully this was as enjoyable to you as it was for me in compiling this post! Thanks for reading!
This article is an adapted (and summarized) segment from the upcoming book, Fullstack Vue, that I’m working on with the Fullstack.io team! Having the opportunity to work with the folks at Fullstack has been nothing short of being a blast. In true Fullstack fashion, the book covers numerous facets of Vue including but not restricted to routing, simple state management, form handling, Vuex, server persistence, and testing. If this is something that piques your interest or if you have any questions at all, follow (or message) me on twitter (@djirdehh)! If the above doesn’t pique your interest, you can still follow me anyway. 😛
At one point, a few years ago, some Internet marketers predicted that blogs and emails would die. Neither did die, blogs are a well-established communication tool for companies, there are more professional bloggers than ever, it even became a normal job, and email marketing has never been as important as it is now.
It has become so important to communicate by email that everybody is doing it now, which means that it’s getting harder to make your way into your subscriber’s inbox. Sending mass emails from your inbox is a thing of the past, and using an open-source tool to send the emails is also on its way out. In fact, if you are sending many emails from the same server, you are likely to be marked as suspicious.
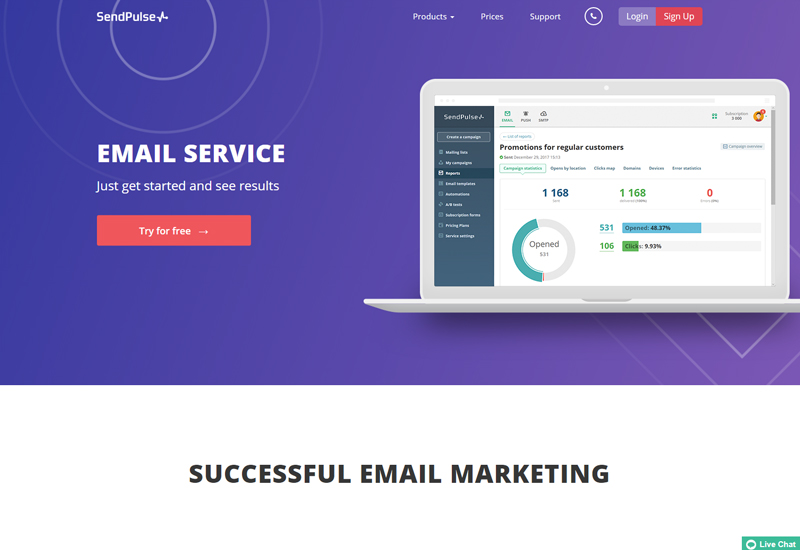
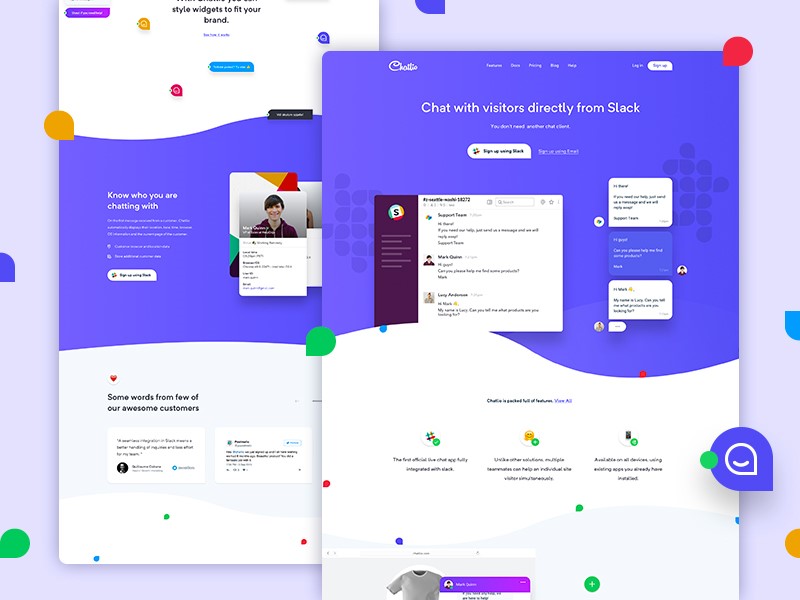
SendPulse is one of the most professional solutions available nowadays for marketers, bloggers, and online shop owners. The bulk email service gives you easy-to-use tools for efficient online marketing that lands in your subscribers’ inbox.
More than email marketing
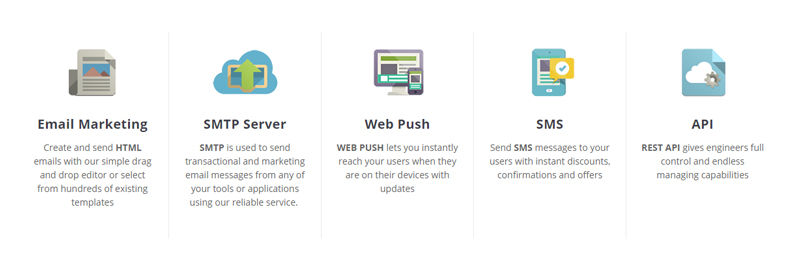
Although SendPulse better-known feature is email marketing, this powerful tool goes way beyond it. The technology uses SMTP to allow you to send emails from any application, you can even take more control over the tool by using the Rest API. Going with the Internet users’ habits, SendPulse is also targetting mobile users by giving you web push tools and the possibility to send SMS messages.
On top of all this, this online service also makes you more successful by using artificial intelligence technology that increase the opening rate of emails by up to 50%. These impressive results are achieved by a combination of optimal personalization of the message, an optimization of the delivery time of messages according to the user’s habits, and subject optimization that help you create more catchy messages.
Drag-and-drop template editor
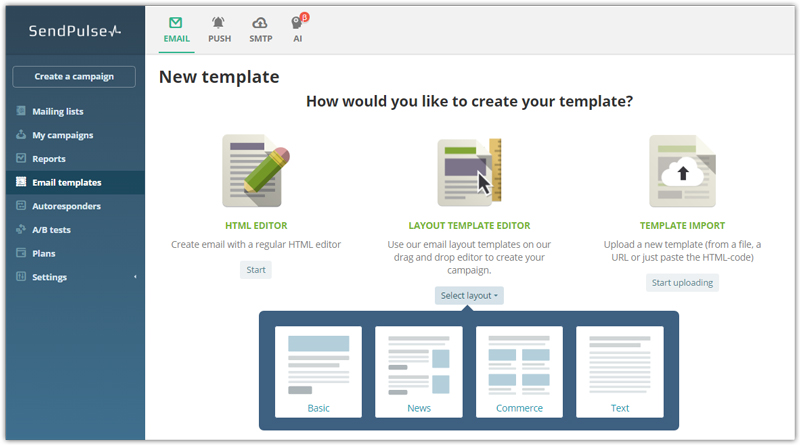
If you are not a web developer, designing HTML emails can be tough. It requires skills that would take too long to learn, and you are primarily interested in marketing anyway. SendPulse makes email design very easy, thanks to its drag-and-drop editor that gives you full control over what you are doing.
You start by choosing a template as basis for your email, then you customize it with the elements available. Probably the simplest tool for email design out there.
And much more features
Unless I missed something, SendPulse has all the necessary features for a professional marketer. They have made everything responsive and mobile-friendly, so you don’t have to worry about that part. It comes with useful marketing automation tools, schedulers, in-depth analytics, and is easy to integrate, so what are you waiting to try it out?
Every week, we’ll give you an overview of the best deals for designers, make sure you don’t miss any by subscribing to our deals feed. You can also follow the recently launched website Type Deals if you are looking for free fonts or font deals.
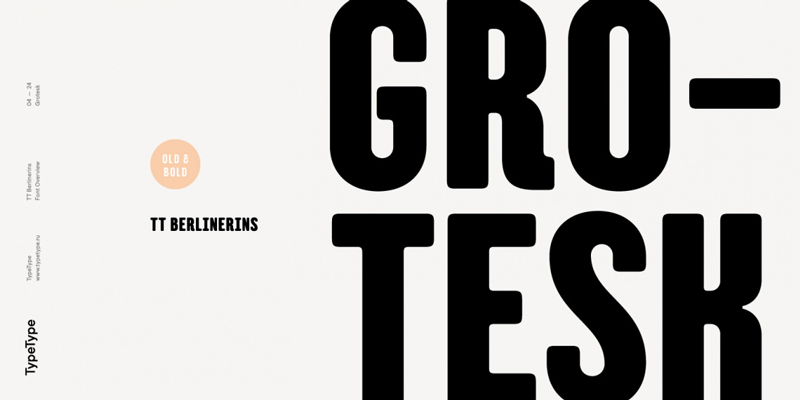
TT Berliners
Old meets new in this fabulous font deal that includes both Modern Script and Old Grotesk typefaces. TT Berlinerins combines the best of both worlds with an elegant script exemplifying the modern feel of Berlin, mixed with an old Grotesk font reminiscent of wood-type posters from the early 20th century. Loads of OpenType features, swashes and glyphs offer real flexibility with this pair.
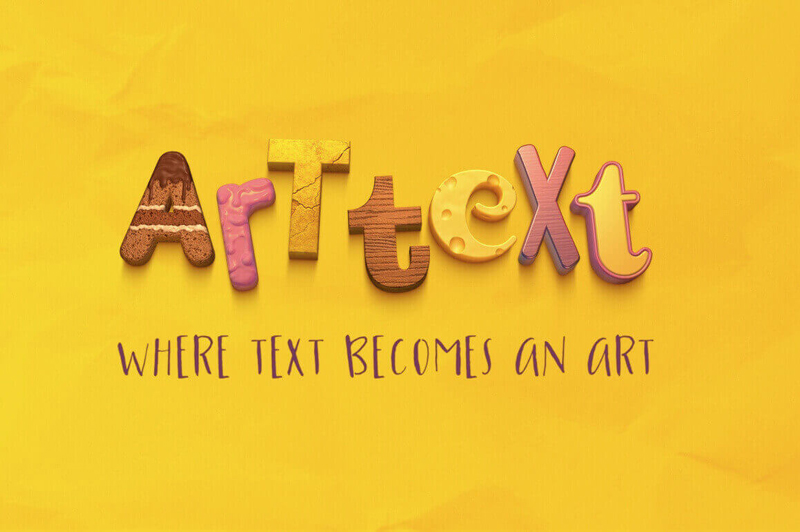
Art Text App for Mac Turns Text into a Masterpiece
Words can be a beautiful thing, especially when the very letters themselves are in fact artwork. With the Art Text app for mac, that’s exactly what you get. Put together magnificent sophisticated title art for everything from presentations to logos to buttons. With thousands of templates, fill tools, graphic content and more, your words will never look better.
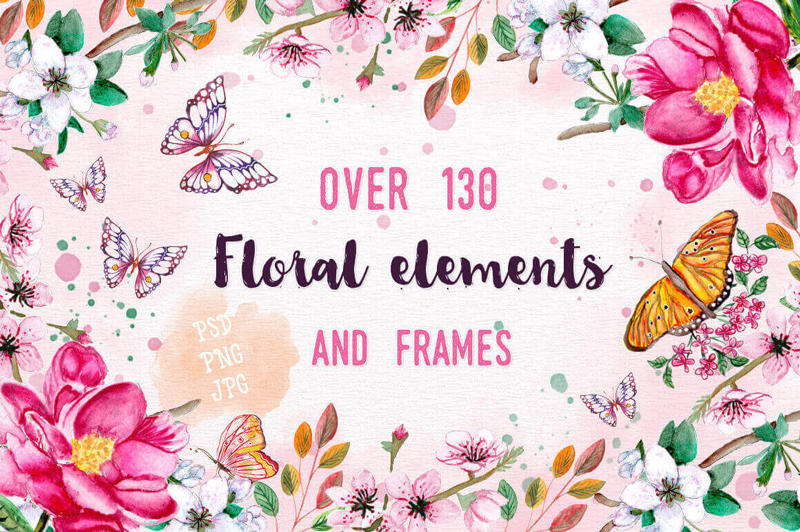
Now you can easily change up your website (or your clients’) with this beautiful collection from NexThemes. You’ll get 27 premium WordPress themes and 16 HTML website templates covering a huge array of categories from fashion to fitness to photography. Fully responsive, these beautiful themes are real flexible too, letting you change up colors, fonts and more.
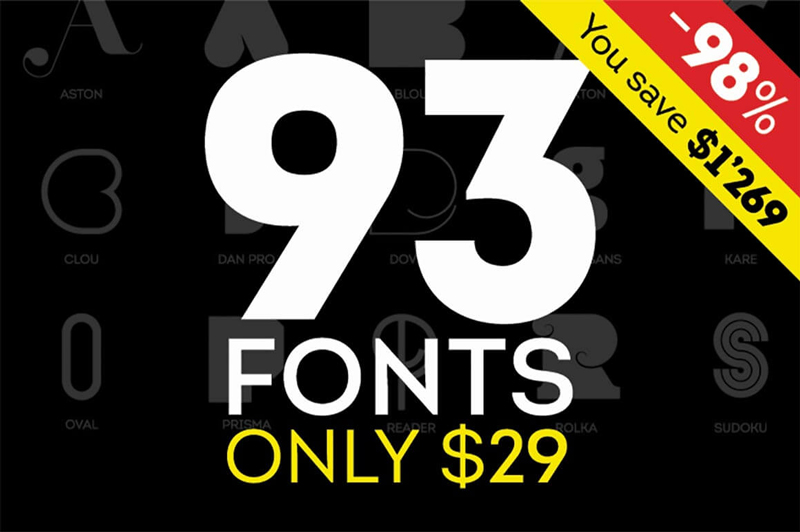
If you’re looking for a great set of fonts, this Fontfabric Font Bundle is sure to put a big fat smile on your face! That’s because with just 1 deal, you’ll get yourself more than 90 different fonts! You’ll get yourself some of the greatest Sans and Art fonts around. These 18 unique font families are delivered to you all in an .OTF file format. What’s even more amazing is that thanks to this Mighty Deal, you can save more than 95% off the regular price!
When we first look at a design or artwork, we often don’t think about what we see. Instead, we focus on aspects of the work that grab our attention.
This is called pre-attentive vision. It begins when a design grabs our attention, but we haven’t yet thought about it. We scan information, which is recognized by the unconscious.
A designer often aims to attract the eye to the most important aspect of a poster, website or image by organizing information and showing a viewer where to look. Using line, color, hierarchy, framing, depth, shape, and motion helps aspects of a design to POP out at a viewer.
Color and Semiotics
Capturing user attention with color means recognizing that color sends out messages.
When looking at color, people first respond to light, and levels of color saturation. They then respond to the emotional message a color brings.
Peirce’s Trichotomy of Signs explains that color has:
Iconicity: This is the emotional message of color. Dark colors are often seen to be heavy, while light, fresh colors can be cheerful. We might also look at what colors resemble, such as the green of grass, or the warmth and passion of fire.
Indexicality: The link between color and context. A grey sky is seen to represent rain, while a blue one represents a sunny day.
Symbolicity: This is the abstract meaning behind color and is often more emotional than logical. This is the language behind color, which connects red to passion or love, blue to spirituality or peace, and yellow to happiness. This language can be complex and isn’t always easy to understand.
How to design using color:
Use balance and contrast
Picking three colors, and using the dominant color 60% of the time, the secondary color 30% of the time, and the accent color 10% of the time provides balance within a design or color scheme.
As the eye often notices saturated color first, the most saturated color should be used for important content, that which seeks to bring a message.
Using the brightest color as an accent color means that this color will draw our attention not only because it is saturated, but also because it is sparse, and contrasts with the space behind it. This shows the viewer that the message is important.
Link color to shapes
We do not only form messages in connection with color but also associate color with a shape. Color, and shape, when combined together, often give off new meaning.
Green and blue may be associated with sky, spirituality, peace or even nature, but place these colors together along with the easily recognizable shape of the globe, and they take on an easily recognizable meaning. Likewise, a red rose gives a different message to a jagged red line.
When working with color, it is important to determine how this color interacts with shape, and the meanings the combinations evoke.
Use texture
When a texture is contrasted with a simple background, it can be used as a means of attracting attention, causing a message to pop out. Texture adds depth to a message, and brings it to life, sometimes becoming more prominent than shape or line.
However, when using texture to construct a message, the background cannot compete for attention, otherwise, the textured message will simply add to the noise on the page.
Make use of the Gestalt Principles
Gestalt shares that the whole is more than the sum of its parts. The human brain looks at the overall design and how this interconnects and takes a message from this, rather than breaking down the individual parts. The following Gestalt principles are therefore helpful in creating an effective design:
Proximity: the more closely objects are placed next to one another, the more likely the mind will see them as interconnected. These objects don’t have to share colors or characteristics to be seen as related.
Similarity: Objects which share characteristics will be seen to be more similar than those which do not share similarities. Objects may be seen to be related because of color, shape, size or texture.
Symmetry: Symmetry helps to create order, and people seek order. As a result, they often see objects to be symmetrical. Symmetry does not only rely on shape but may also use color or texture.
Boundary: Boundary is used to frame or enclose like elements, separating them from others.
Connectedness: Connectedness is used to show the how different objects relate.
How to grab the attention of site visitors
Site visitors are always potential customers. Holding their attention long enough to show what is on offer is therefore crucial. The following factors assist with grabbing a visitor’s attention:
Our brains can be quite selective when it comes to focus. This is because without filtering out a great deal of irrelevant information, we would often feel overwhelmed. Therefore, designing a website which grabs attention would need to take into account how the brain focuses.
We know that the brain will pay attention to physical needs when we are hungry, recognize the names of those close to us, pays attention to areas we have chosen to focus on and can be captured by emotion. Our brains also pay attention to novelty and contrast.
Use novelty
When designing it is helpful to be different, bringing in something which is weird or unusual in order to attract attention.
This is because our brain screens out everyday background noise, or that which is overly familiar. People will, however, pay attention to contrast or difference. Be quirky when designing a site. Use CSS text effects, illustrations, and clever animations for that.
Inspire emotion
Use color effectively, be visual, aim for warmth and friendliness in your copy, and your visitors will feel welcome.
They will also feel an emotional connection, meaning that they will pay more attention to your site.
The language of color
Color can be very effective in creating emotion in visitors. This is because colors have a language, and visitors relate to them on an emotional level. Used effectively, a color will create the effects you need. Here are common messages perceived behind 10 popular colors:
Red
Red is the color of passion, power, and warmth. It is attention-grabbing but should be used in small doses.
Blue
Blue is seen to be calm, cool and trustworthy. It is often very effective when mixed with orange.
Pink
This is the color loved by girls. Fun, romantic and feminine, this is the color aimed at a young female audience.
Yellow
Yellow is a strong, bright and sunny color which can be used to capture your audience’s attention. It lets them know you are confident.
Green
Green is warm and inviting, and links to goodwill, environmental awareness, and health. It is also the color of money and may represent wealth.
Gold
Gold is another elegant, prestigious color, symbolizing wealth and pedigree or achievement.
Orange
Orange represents warmth or energy. This is a powerful and attention-grabbing color which feels cutting edge.
Purple
Purple is the color of luxury and has been associated with royalty. It will add a sense of prestige and even decadence to your designs.
Brown
Brown is warm, earthy and homely, and brings a feeling of ease.
Black
Black is extremely versatile and can be used in many different contexts.
It can be modern or traditional, exciting or relaxing, and it is up to the designer to choose how best to use it. Black can add drama or depth to a design.
Agregator najlepszych postów o designie, webdesignie, cssie i Internecie