Looking for the right WordPress theme can be a chore. One looks better than the last one; and, after a while, they all begin to look alike. If this has been your experience, look no further. To get the New Year off to a great start, we’ve listed several features you should be looking for […]
Your designs are about to get a whole lot shinier. With this sparktacular Mighty Deal, you’ll get yourself 30 Sparkling Glitter Brushes that feature some amazing levels of detail. Created from real glitter designs, each of these brushes are easy to customize and cover a wide range of different brush strokes. Highlights: 30 Sparkling Glitter […]
Web design is the core of the digital web experience. Web design determines how sites look, how they function, how they relate to the overall brand narrative, and so much more. Companies like WSI are the best web designers Northern Ireland has to offer, but many people are tempted to forego professional web design services […]
To complete a large and complex design project, a diversity of skills is generally necessary. The team leader’s challenge, is to take a diverse set of individuals, each with their own skill set and degree of experience, and get them working toward the same goal. recognizing that a good team is greater than the sum of its […]
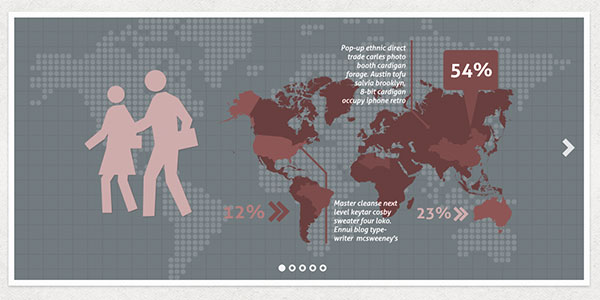
We’ve all heard about why we should be using responsive design (beyond the fact that it’s current design trend). But the decision to go responsive raises a number of development questions. One of the biggest issues is handling media. And one of the most common features on a media-heavy website is a featured content carousel (or image slider, image rotator, etc). This post will help you find a solution for your responsive slider needs. We’ve gathered a number of the best jQuery responsive image sliders to compare and share.
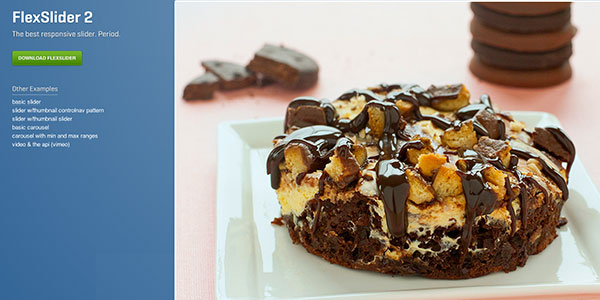
I use Flexslider more than any other image slider (responsive or not) so it’s a great place to start. Flexslider offers a fullly skin-able and customizable slider that works great across all screen sizes. I use it with both images and images with text/calls to action. It also offers both horizontal and vertical sliding as well as multiple slider support so you can have multiple image sliders on a single page. Definitely gets my vote!
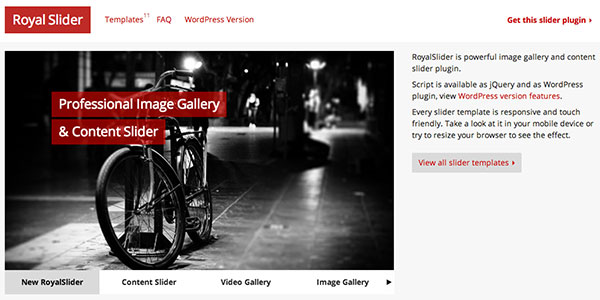
Another great slider that I have personal experience with. Royal Slider has a myriad of configuration options (my favorites being the “Gallery with Visible Nearby Images” or the “Video Slider”). The only thing keeping this plugin from the top spot is that it isn’t free (Flexslider is). However, a very affordable and super-powerful plugin awaits. There’s also a great wordpress version.
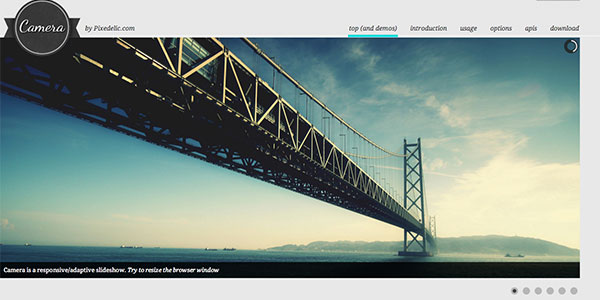
Camera slideshow is an open source project, based on Diapo slideshow and offers a variety of skin and customizable options. I’ve never personally used Camera but the documentation looks thorough and the sampel they provide in the demo looks really nice and clean.
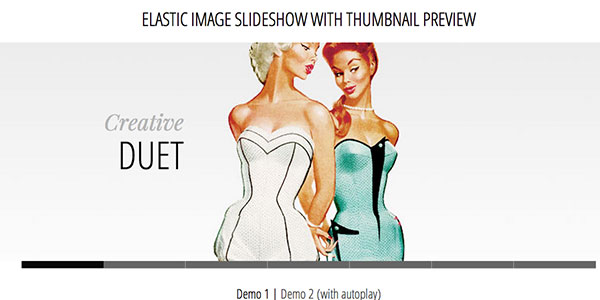
Elastic is presented in a tutorial fashion and includes the downloadable code to get you started using it on your site. This plugin has a much more specific look than some of the other plugins mentioned but there are some cool javascript animations being used.
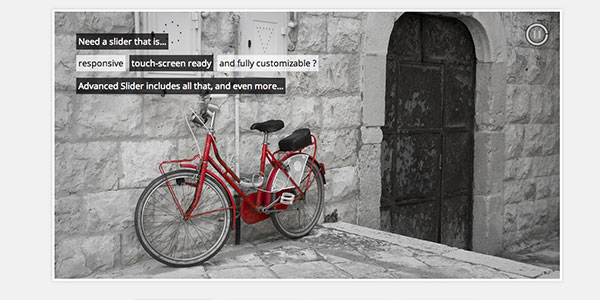
Another premium slider, Advanced Slider is fully responsive, mobile-ready, and can be used with either HTML markup or XML. The plugin also provides an easy to use API to customize it to your specific site. It comes with various pre-built styles that look nice out of the box.
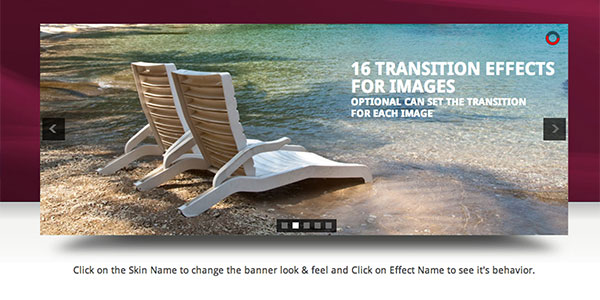
All In One is an Advanced Jquery Slider which comes in 5 flavors: Banner Rotator, Thumbnails Banner, Banner with Playlist, Content Slider, Carousel. It allows you to easily create powerful sliders with animated text using HTML standard tags, making the slider very easy to setup and maintain.
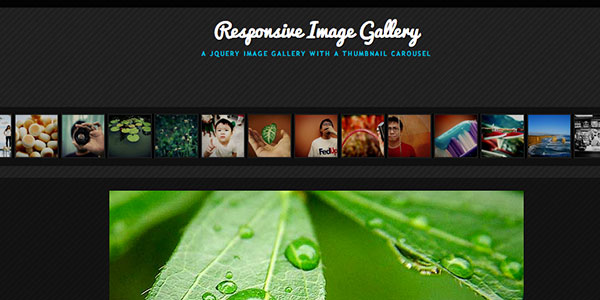
Another tutorial by Codrops on how to create a responsive image gallery with a thumbnail carousel using Elastislide. This slider is inspired by Twitter’s “user gallery” and is more useful for image galleries than a featured content carousel. But a free and great plugin nonetheless.
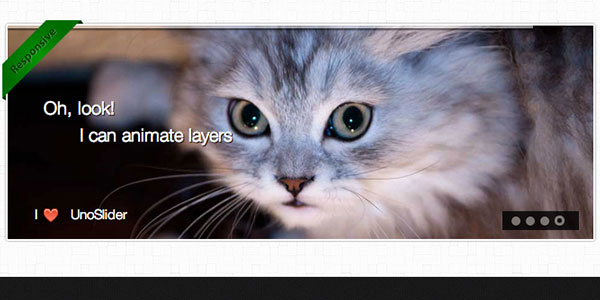
UnoSlider is a premium jQuery content slider plugin that’s core feature is the number of transition animations offered (the plugin developer claims “unlimited transition animations”). It’s also touch enabled, and offers a variety of other features similar to what’s been mentioned before.
Another great freebie by Codrops (sensing a trend here?). This responsive slider mixes in a little parallax effect (another popular trend). A parallax and responsive site? This plugin is for the ambitious designers out there.
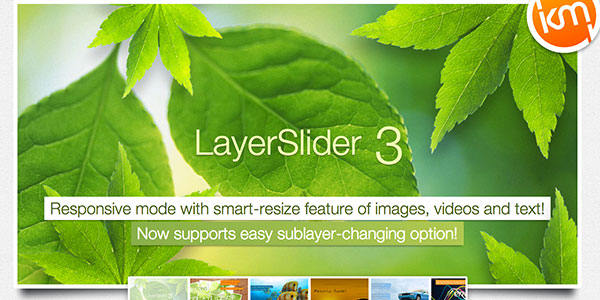
We’ll end with another parallax/responsive combo (this time a premium plugin). Layer Slider offers something really cool and unique: the ability to control an unlimited number of layers with individual animations. Combing this cool functionality with the responsive aspect and you have yourself a pretty powerful and extensible tool. I’ve had quite a bit of fun playing around with this on a few websites.
What other plugins do you use?
I’m sure I’ve left off some really great plugins and tutorials. But that’s where you come in. Let me know what I’ve missed and what plugins are your favorites. Feel free to post links to examples of these plugins in action. We’d love to see your great work!
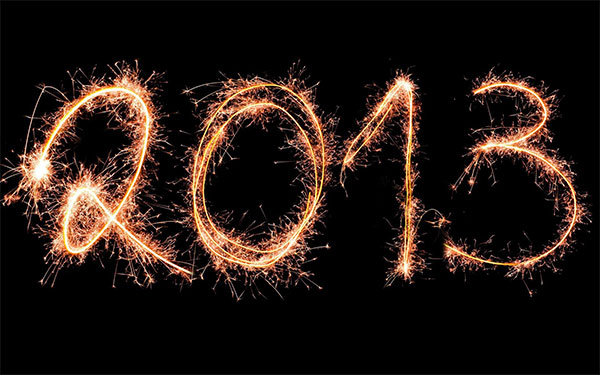
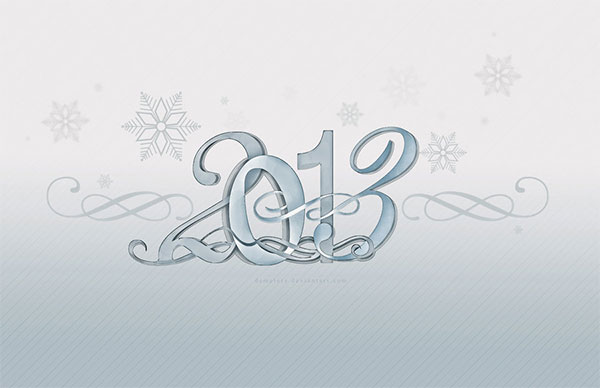
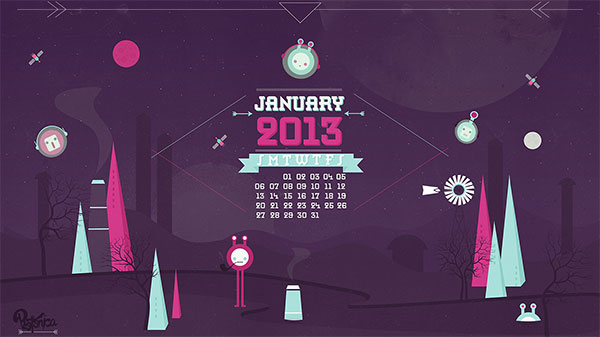
Welcome to 2013! To kick off another great year I’ve rounded up 13 of the best 2013 wallpapers. Start off the new year by making a plan to clean up your desktop. Once it’s clean, you’ll want to decorate with one of these great wallpaper designs. And if you’re looking for monthly calendars for January, head over to Smashing Magazine to see some really great January 2013 calendars. So find the wallpaper that fits your resolutions (pun intended) and here’s to a happy and productive New Years!
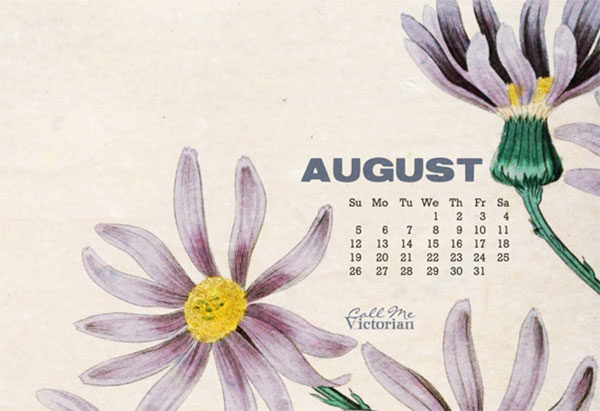
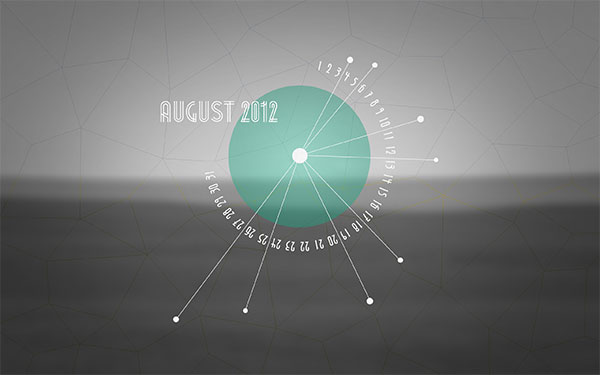
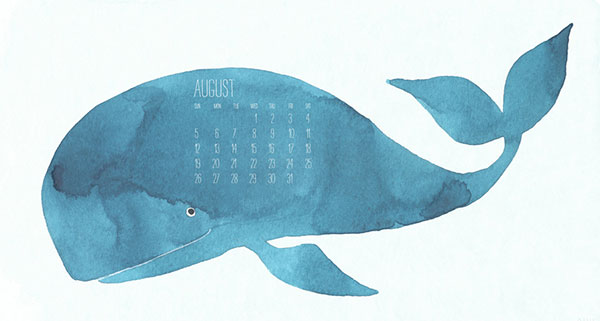
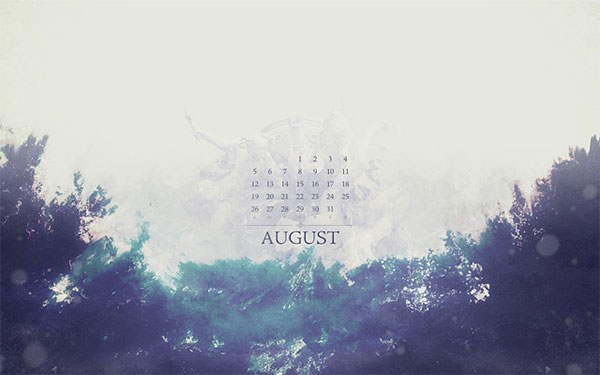
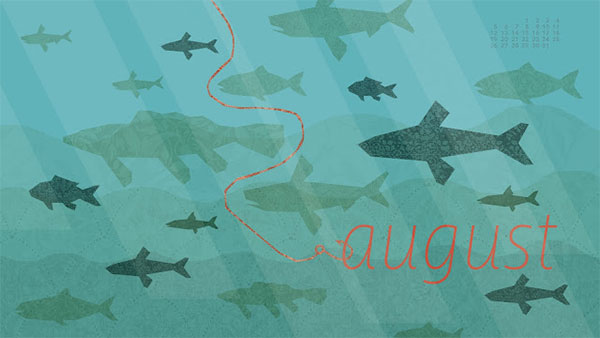
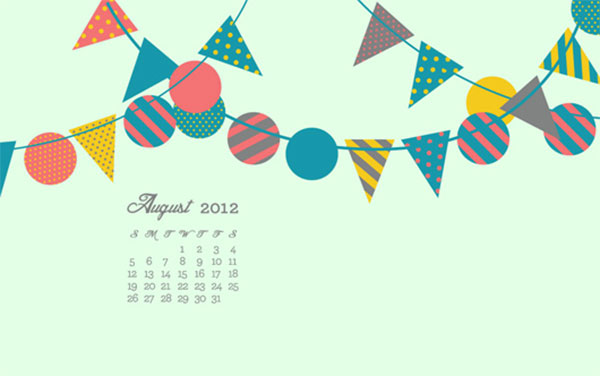
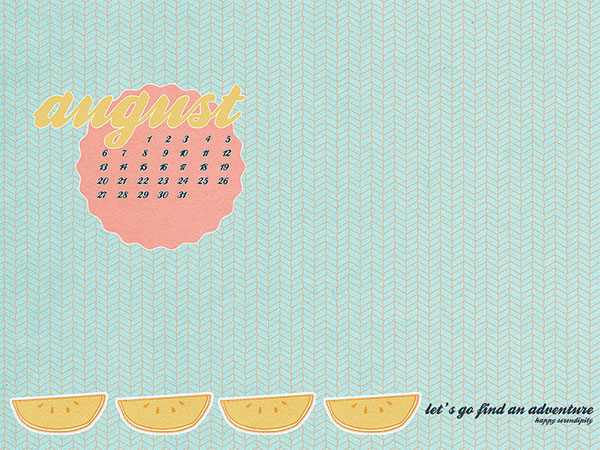
August desktop calendars just a couple days late. This collection of desktop calendar wallpapers will help keep your desktops fresh as we roll through the rest of the summer. As always, I’ve hand-picked wallpapers from talented artists and designers around the web. Feel free to share your favorites and check back next month for some great new desktop calendars. As always, if you’d like to include your own design in future roundups, let me know.
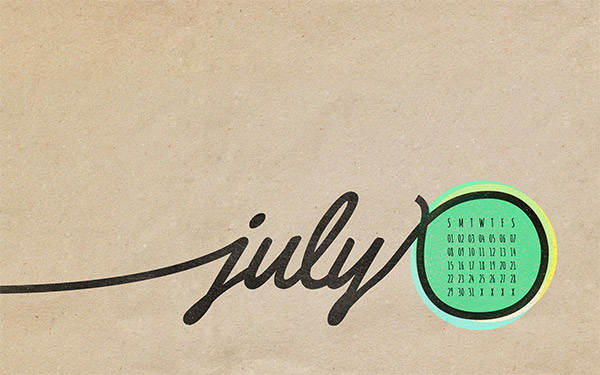
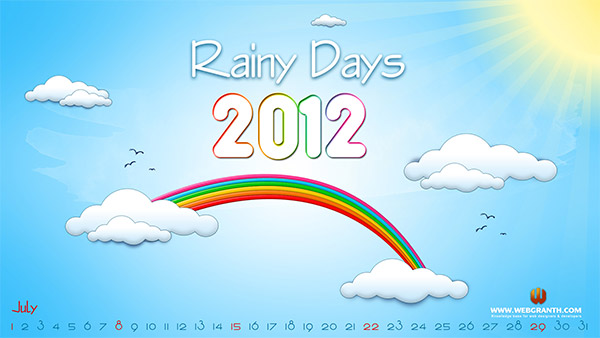
July desktop calendars are hot off the press. 2012 is halfway gone but these fun and inspiring calendar wallpapers will surely help you get through the dog-days of summer. These fine wallpapers have been hand-picked from talented artists and designers from around the web. Feel free to share your favorites and check back next month for some great new desktop calendars. As always, if you’d like to include your own design in future roundups, let me know.
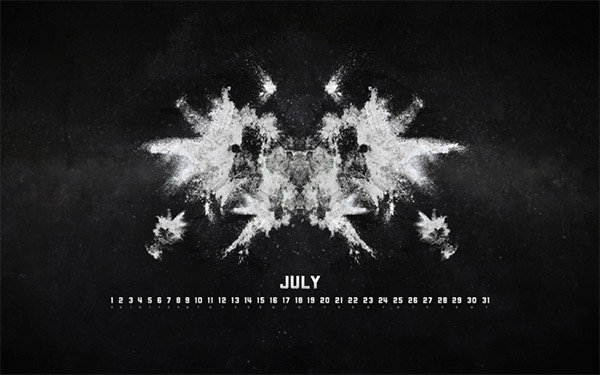
Rainy days may be a title better served for the spring (depending on your location) but regardless, this illustrated desktop calendar provides some optimism for what is typically a scorchingly hot time of year.
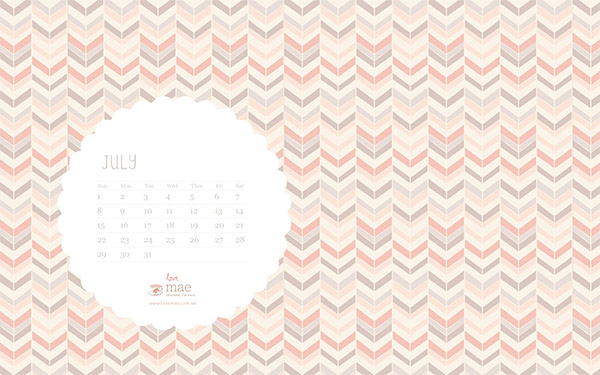
Studio of Mae has another nice patterned wallpaper ready for July. As always the fonts and minimal calendar go nicely with the lovely background. Enjoy!
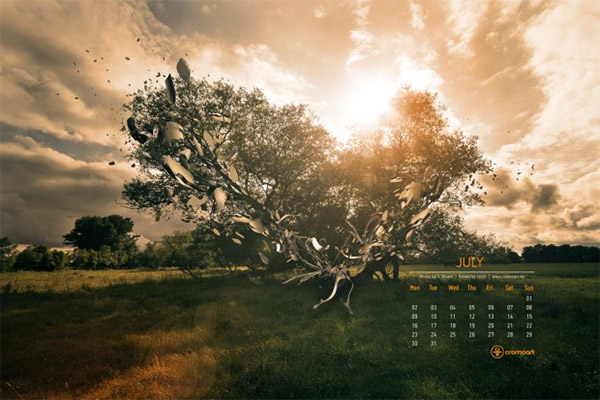
Abstract shapes bursting from an evening view of the shade tree on a farm. I absolutely love the color scheme. There’s also iPad and iPhone versions available.
That’s the roundup. Please let us know which calendar is your favorite by leaving a comment below.
Who else loves brushes in Adobe Illustrator? They’re fun to create and play with. As part of „Love Week”, I’m going to show you how to create a wedding confetti scatter brush. This is ideal for beginners as it doesn’t use the Pen Tool.
I’ll then show you how to use the brush to create a simple Graphic Style which can be used to create a stylish plaque or frame within wedding stationery.
There are many ways to create a heart shape in Illustrator. This is my preferred method as it gives an even shape, and it will introduce you to some handy features in the program.
Using the Ellipse Tool (L), create a circle. Use the Selection Tool (V) and Alt-Drag the circle to duplicate it so it’s slightly overlapping the original shape.
Step 2
Let’s combine the shapes by using the Pathfinder panel (Window > Pathfinder). Select both of the shapes and then click on the Unite button to make them one shape.
Step 3
The top of the heart is taking shape, so it’s time to form the bottom. You’ve got three anchor points at the bottom of the shape… let’s remove the ones either side of the central lower point using the Delete Anchor Point Tool (-). Mouse over the point you wish to remove with the tool and click it.
Step 4
The handles for the lowest point are creating an acute angle inwards to the shape. We can’t reverse that, but we can flatten it out.
With the Direct Selection Tool (A), click on the offending point. Along the top of the UI, you’ll see the options for Anchor Points. Select the first option, Convert selected anchor point to corner.
Step 5
With the point still selected, use the Down Arrow key on your keyboard to nudge the point down 30 points.
Then with the Direct Selection Tool (A), click on one of the side points. Plug the downward pointing handle bar halfway between the point and the bottom of the heart, making sure that the handle bars are still pointing in the same direction. Repeat this on the other side. This will complete your heart shape.
2. How to Create a Series of Colourful Hearts
Step 1
I’m going to be using a colour process by Beto Garza. He creates palettes by creating Blends between two shapes. I highly recommend his self-portrait tutorial.
So let’s first duplicate the original heart shape in the same manner as we duplicated the circles. Select the heart with the Selection Tool (V) and then hold-Alt-drag the shape alongside it, with enough space to fit say three further hearts in between.
Step 2
Select both hearts and create a Blend by going to Object > Blend > Mark or using Control-Alt-B. You’ll then get several hearts between each of your shapes.
To ensure you’ve got a total of five hearts, keep the blend selected and go to Object > Blend > Blend Options and select the spacing of Specified Steps and the value 3, as we want three original shapes on top of the two we have.
Step 3
When you look at the Blend group in the Layers panel, you’ll notice that when you drill into the group you’ll see three elements: the path (the line in which the blend follows) and the two original shapes. You can now select the two original shapes and alter their colours until you’ve got the gradient in colours you wish to use for your confetti. I’ve opted for a pastel pink (#f2a7cb) and indigo (#2e3192).
3. How to Arrange the Hearts
Step 1
Before we arrange the shapes in a circle-ish shape, let’s release them from the Blend. Select the Blend in the Layers panel and go to Object > Expand. This will turn the Blend into a group of five individual shapes.
Then let’s release the shapes from the group by keeping it selected and going to Object > Ungroup. You’ll see the shapes are now ungrouped in the Layers panel.
Step 2
Using the Selection Tool (V), arrange the shapes in a circle… it doesn’t have to be perfect as this will be skewed later on.
Step 3
Then using the Free Transform Tool (E), rotate each one of the hearts. The effect of the brush is to have the confetti randomised, so having the hearts at different angles plays to this effect.
Step 4
Let’s resize the hearts so they’re more randomised. With the Selection Tool (V), select a couple of the hearts. Then go to Object > Transform > Scale. I’ve reduced the size to 50%.
I then reduce the size of the other hearts to 40%, so there is a slight variation.
You’ll be left with something similar to the below before we create the brush.
4. How to Create a Scatter Brush
Step 1
Let’s get creating this brush. Select All (Control-A) and then open the Brushes panel (Window > Brushes). Click on the New Brush button along the bottom of the panel.
Step 2
You’ll be presented with a pop-up window asking which brush you wish to create; select Scatter Brush and click on OK. You’ll now have the Scatter Brush Options window.
Name your brush, and then let’s go through each one of these settings so you know why you’re selecting them.
Random: They’re all set to random, because we don’t want a uniform appearance to the scattered confetti. When selecting this option, you’ll get to set the parameters between specific values.
Size: As I created the hearts rather large, I’m giving the Size a small range and not varying it too much. The reason is that the confetti is not being viewed in perspective.
Spacing: This value is as low as it can be with a small variation. This is because the confetti will appear bunched together.
Scatter: Scatter refers to how much the shapes deviate from the path drawn… I want it relatively tidy.
Rotation: The shapes need to fall in random directions… therefore the rotation is set at both extremes.
Click on OK once you’re done.
Step 3
You can now apply your confetti brush to any path you wish… here it is on a straight line.
5. How to Create a Basic Frame
Step 1
So let’s use this brush to create a basic graphic. I’m going to add a fancy confetti frame around the names of our fictional couple, Gwen and Karen.
Using the Ellipse Tool (L), draw a circle behind the names so we know that the frame won’t overlap the names. Open up the Appearance panel (Window > Appearance).
Step 2
Click on the Stroke line where it has the brush and you’ll get a dropdown showing you the brushes in your Brushes panel. Select your confetti brush. By default, this will have a 1 pt Stroke Weight, which you can double check by clicking on the Stroke link (which takes you to the Stroke panel settings).
Step 3
Let’s add more confetti. With the Stroke line highlighted, click into the drilldown menu in the top-right corner and select Duplicate Item. This will duplicate all the values and settings in the Stroke line. We’re going to edit this slightly by clicking on the Stroke link and changing the Stroke Weight to 0.75 pt.
Step 4
Now drag the Fill line to the top of the Appearance panel and change the fill colour to white. This finishes our frame.
Step 5
If you want to save this pretty frame for future use, open the Graphic Styles panel while the design is selected and click on New Graphic Style. This will save it for future use to apply it to other shapes.
Awesome Work, You’re Done!
I hope you’ve enjoyed creating this multi-object confetti brush. If you’ve got any questions on creating this or you’ve completed the project, please shout off in the comments!
Making confetti brushes or scatter brushes in general can be a lot of fun. Knowing the settings to make these brushes is the key to making awesome creations. Why not check out more of the many scatter brush tutorials we have here on Envato Tuts+.
adidas Originals is running “Original is never finished”, a commercial tying the Frank Sinatra classic song “My Way” with arty performances by visionaries from the worlds of music, skate, sport, style and art. adidas Originals is introducing EQT footwear, a celebrated icon from the 1990s, redefined for a new generation. The “Original is never finished” film explores the idea of reinventing the past to create meaning for a new generation. ‘Original is never finished’ delivers a visual representation bringing to life the idea that recreating in your own way will always be entirely original. In the scene “The Birth of Venus”, artist/photographer Petra Collins reinvents a symbolic icon of beauty. Collins’ subversive, striking visual sequence creates a new relevancy for Botticelli’s infamous work of art. In another scene, rapper and songwriter Snoop Dogg recreates his very own “Doggystyle” album cover with a trippy chase scene, while also making a statement on gender equality in hip hop culture by swapping the roles of his iconic protagonists. Skate legend Gonz appears alongside French professional skater Lucas Puig in “Lucas & The Gonz”, who both take to the streets in their own way. Legendary basketball icon, Kareem Abdul-Jabbar passes the torch to one of the future, Brandon Ingram in “Raining Basketballs”. Dev Hynes provides a nod to reflections of the past in his choreographed sequence in “Mirrors”. The brand’s iconic product, NMDs, is repurposed into masks by Anonymous to create new meaning as seen in “Sneakerheads”. The underlying theme remains the same — Original is never finished.
“Everything we do for adidas Originals is a work in progress, as true creativity is never finished”, says Alegra O’Hare, VP of Global Communications adidas Originals & Core. “We are constantly challenging ourselves and breaking down the boundaries that limit imagination; we hope to inspire all creators to do the same. We first raised this idea in 2015 through our superstar work, questioning the very meaning of the word. We then continued with the notion of the current dystopian future, by motivating consumers to take future into their own hands and create it. Now with original, probably the most important and centric concept to our brand’s ethos, we elevate the trefoil’s storytelling, as we look into what it really means to be original, questioning its very essence.”
adidas Original is never finished Credits
The adidas Original is never finished campaign was developed at Johannes Leonardo by chief creative officers Jan Jacobs, Leo Premutico, creative directors Ferdinando Verderi, Wesley Phelan, Matthew Edwards, copywriter Jeph Burton, art director Hunter Hampton, head of integrated production Dana May, executive producer Maria Perez, producers Tina Diep, Stine Moisen, sr, Doug Moffitt, production coordinator Alexandra Olivo, head of strategy Mark Aronson, and strategist Mine Cakmak, group account director Sam McCallum, account director Dom Dalton, account supervisor Gulru Soylu.
Filming was shot by director Terence Neale via RSA Films with executive producers Jules Daly and Paul Kawasaki, producer Rozanne Rocha-Gray, director of photography Alexis Zabe. Local work in Cape Town was produced at Egg Films by executive producer Colin Howard and producer Roxanne Rocha-Gray.
Editing was done at Exile by lead editor Shane Reid, editors Jay McConville, Travis Moore, executive producers Sasha Hirschfeld, Carol Lynn Weaver, and head of production Melanie Gagliano, head of production.
Visual effects were produced at Blacksmith by VFX supervisor/2D lead Iwan Zwarts, 2D compositors Daniel Morris, Liz Lyons, 3D lead artist Tom Bussell, 3d artist Ylli Orana, executive producer Charlotte Arnold, and producer Megan Sweet. Rotoscoping was done at Trace VFX.
Colorist was Tom Poole at Company 3 with producer Clare Movshon.
Sound was designed at Q Department by executive producer Zack Rice and producer Guin Frehling. Audio post was done at Sonic Union by sound engineer Steve Rosen, executive producer Justine Cortale, and producer Patrick Sullivan.
The soundtrack, “My Way”, was written as a French song, “Comme d’habitude” by Claude Francois, Jacque Revaux, and Gilles Thibaut before being written for Frank Sinatra by Paul Anka, published by BMG, and released by Universal Music Enterprise. Music was supervised by adidas global music manager Daniel Cross, remixed at Human by creative lead/music director Morgan Visconti, creative lead/sound designer Michael Jurasits, executive producer James Dean Wells, composer/arranger James Leibow.
Photography was by Hayden Phipps, Cape Town, Dan Regan and Atiba Jefferson, Los Angeles.
Snoop Dogg in “Doggystyle”, Stormzy in “Trap Syrup”, Mabel in “Tunnel”, Kareem Abdul-Jabbar & Brandon Ingram in “Raining Basketballs”, Dej Loaf in “Inflated”, Dev Hynes in “Mirrors”, Gonz and Lucas Puig in “Lucas & The Gonz”, Petra Collins in “The Birth of Venus”, “Sneakerheads” and “Essential Squad”.
Agregator najlepszych postów o designie, webdesignie, cssie i Internecie