Every week, we’ll give you an overview of the best deals for designers, make sure you don’t miss any by subscribing to our deals feed. You can also follow the recently launched website Type Deals if you are looking for free fonts or font deals.
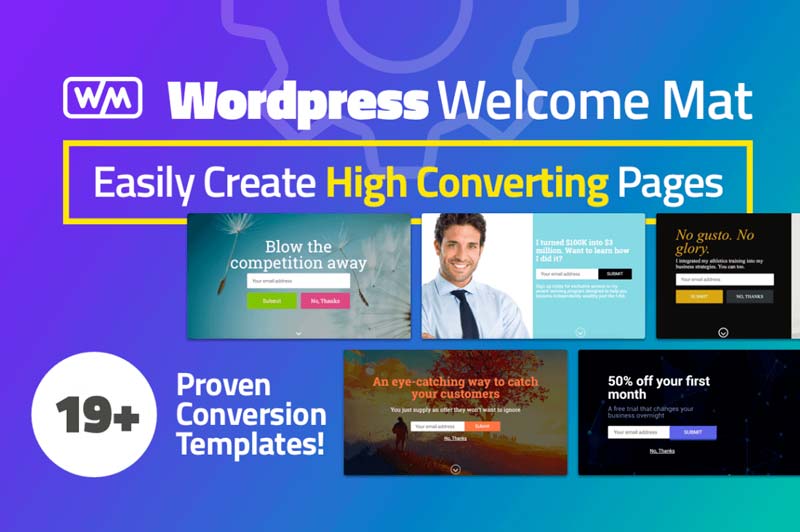
Increase Website Conversions with WordPress Welcome Mat
Want to easily capture member emails? Now you can with a simple call-to-action page. This Mighty Deal features more than 19 Welcome Mat templates with clear CTA buttons to greatly increase your site conversions. Fully customizable and easy to export your data, you won’t find a warmer welcome on the Web!
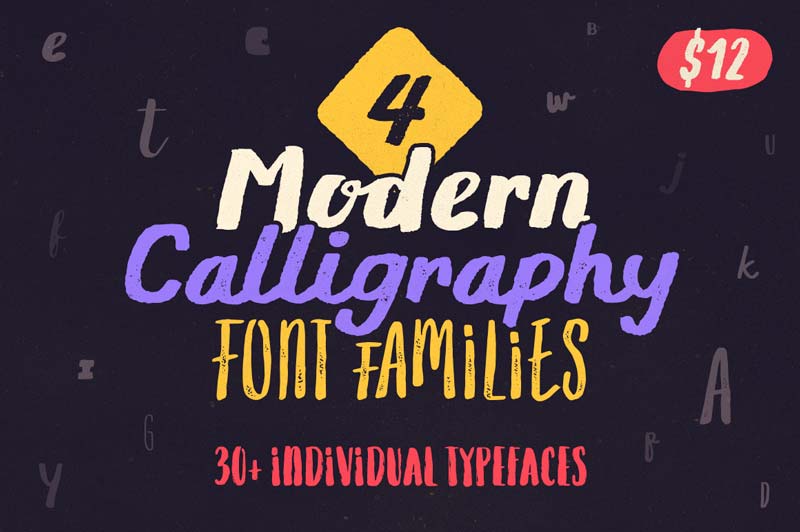
4 Modern Calligraphy Font Families, 30+ Individual Typefaces
Need a brush font for your latest project? Then you can stop your search because this Mighty Deal from Typsketchbook has you completely covered. Full of 4 Modern Calligraphy Font Families, your typeface toolbox will be overflowing with sketch styles from brush to ink pen to marker, all thanks to the 30+ individual typefaces included in this deal.
This bundle includes 12 mock up packs perfect for crafters, designers, design & marketing agencies, branding & merchandise companies + anyone who wants to achieve that professional image. You can save 90% off the RRP for a limited time only.
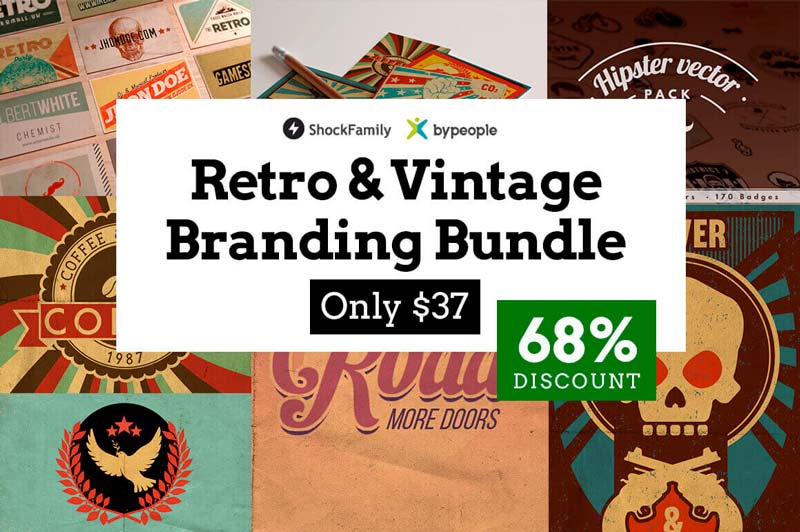
2000+ Professional Retro & Vintage Design Elements
It’s time to relive the past with this amazing Retro & Vintage Branding Bundle from DesignShock! A great bundle of bundles, this collection of 4 retro-style bundles includes a variety from hipster vectors to vintage business cards. You’ll snag more than 2,000 design elements including brushes, textures, actions, vectors, icons and more to give your latest project a totally retro vibe.
ASSEMBLY: A Robust Multipurpose Theme with Page Builder
Talk about a powerful, responsive and multipurpose website template! Built on the bootstrap framework, Assembly lets you easily build out any type of site you want using contemporary modular blocks. Toss in 1000s of usable photos, 18 pre made pages, and 700+ icons, and you’ve got the makings of a masterpiece.
In today’s tutorial we’re going to learn how to create a set of messenger stickers to share on our chat apps. We will use basic Adobe Illustratorgeometric
shapes and tools, grasping some quick, useful tips along the way.
I have roughly sketched out the concept that we will be creating: the numbers from 10 to 1 in various balloon forms and fireworks. If you’re looking to speed up your workflow or buy similar illustrations, you can always head over to GraphicRiver to buy graphics to decorate the pack.
Let’s start popping with our balloon countdown!
Tutorial Assets
In order to complete this tutorial, you’ll need the following:
Let’s set up
a New Document (File > New or Command-N)
using the following settings:
Name: Celebration_Countdown
Width: 512
px
Height: 512
px
Units: Pixels
Number
of Artboards: 11
Color Mode: RGB
Click Create
2. How to Illustrate the Balloon Shapes & Numbers
Step 1
Begin by typing in the countdown numbers, 10 to 1.
Open the Character panel: Window > Type > Character (Command-T). Select the Type Tool from the Tools panel. Choose a bubble-like font; for example, I usedSniglet. Set
the stroke color to null, with black fill color.
From the Character panel, set the font size to 215 pt, and type onto each Artboard the corresponding countdown number, 10, 9, 8, 7, 6, 5, 4, 3, 2, 1, and leave the last artboard empty.
Step 2
Let’s begin drawing our balloon shapes.
First you need to transform all the type into objects. To do so, Select > All (Command-A), to select all the numbers. Next, Type > Create Outline, to turn the numbers into objects.
Step 3
From the Tools panel, select the Pen Tool (P), and set
the stroke color to black, with no fill color. Draw in all the balloon shapes freehand except the circular ones, for which you can use the Ellipse Tool (L).
Then from each artboard select the elements, expand them gradually to fit within the artboard space, and rotate them slightly to create a floating illusion.
Step 4
Next, take the Selection Tool (V), select all the black filled numbers, and Shift-X as a shortcut to swap fill with stroke color.
Then select the balloon shapes and Object > Path > Offset Path. Set Offset at -13px and Joins: Round, then OK.
Object > Ungroup (Command-Shift-G),to ungroup them from one another.
Step 5
Select the Pen Tool (P), from the Tools panel, keeping
the black stroke color, with no fill. Draw the inner balloon highlight and shadow areas.
Step 6
We need to put in the balloon strings.
Start by opening the Brushes panel: Window > Brushes. Then from the panel menu: Open Brush Library > Show Calligraphic Brushes > Artistic > Artistic_Calligraphic library.
Choose the 10pt Calligraphic Brush, from the Artistic_Calligraphic library. Then select the Paintbrush Tool (B), with a black stroke, no fill, and draw the balloon strings for each balloon.
File > Save (Command-S).
3. How to Color & Add Effects
Step 1
Let’s color!
First, give the following colors to the inner, outer and balloon knots:
Make sure to change the stacking arrangement of your objects as you move along.
To Arrange top or bottom in position: Object >
Arrange > Bring to Front(Shift-Command-]) or Object > Arrange >
Send to Back(Shift-Command-[).
To Arrange one step front or back: Object > Arrange > Send Backward(Command-[) or Forward
(Command‑]). Object > Arrange > Bring Forward.
Give the fireworks red and yellow colors.
Step 2
Next, let’s add gradient color to the numbers.
Open the Gradient panel: Window > Gradient. Apply the following gradients:
Yellow: #FFDC0D to #FFBC00 set at -90° angle
Red: #F63536 to #E01C1D set at -90° angle
Green: #71BA0B to #5F9B00 set at -90° angle
Step 3
Next, let’s add some highlights.
Open the Transparency panel: Window > Transparency. Take the Selection Tool (V) and select all the balloon highlights. Remove the black stroke color, and select Fill (X).
Then from the Transparency panel, set Blending Mode to Screen. On the Gradient panel, choose a white fill for the left gradient slider, and set an Opacity of 80%, fixed at a -45° angle.
Afterwards, choose a white fill on the right gradient slider, and set its Opacity to 0%.
Step 4
Then move on to placing the shadow gradients.
Start with the shadow area of the pink: Take the Selection Tool (V) and select all the balloon shadow areas. Remove the black stroke color, and select Fill (X). Choose Blending Mode: Multiply,from the Transparency panel.
Then on the Gradient panel, choose a dark pink color fill on the left gradient slider, and set Opacity: 80%, at a 120° angle. On the right gradient slider, keep it white and set Opacity at 8%.
Repeat the same steps for the other shadows, except match the dark color gradient slider with the respective colors, so dark red slider with red, dark green on green balloons, etc.
Step 5
After, with the Selection Tool (V), select each balloon string and give it a stroke color of your choice. Make sure all are sent back: Object > Arrange >
Send to Back(Shift-Command-[).
Step 6
Let’s add some shine.
From the Tools panel, under the PaintbrushTool (B) dropdown, select the Blob BrushTool (Shift-B). Select a white fill.
Then choose a Blob Brush Tool size by holding the left square bracket key ([) to decrease and the right square bracket (]) to enlarge the brush size, to draw some shine blobs on the balloons.
Step 7
Afterwards, add highlights to the numbers.
Use the Blob BrushTool (Shift-B), but instead of a white fill use light color tones, and apply Screen: Blending Mode from the Transparency panel.
Step 8
Let’s draw some confetti!
Draw the confetti using the Paintbrush Tool (B). Use the 5pt Oval brushfrom the Artistic_Calligraphic library and use a 2-3pt Stroke Weight.
Try drawing confetti swirls with different colors and stroke weights.
Step 9
Add more confetti using the EllipseTool (L), StarTool and RectangleTool (M), and use different colors and shape sizes. Note: Don’t draw tiny elements.
Then Arrange to the front or back: Object >
Arrange > Bring to Front(Shift-Command-]) or Object > Arrange >
Send to Back(Shift-Command-[).
Looking colorful!
Step 10
Next, we need the numbers to pop out a bit.
Use the SelectionTool (V) to select the numbers inside the balloons: 10, 9, 7, 5, 4, 3, and 1. Duplicate the selection by Shift-Option-Dragging slightly lower.
Give the selection a yellowish gold color #CCB842. Then set the Blending mode to Multiply, from the Transparency panel.
You will need to Arrange one step back: Object > Arrange > Send Backward(Command-[.
Step 11
Finally, use the SelectionTool (V) to Group (Command-G) each balloon with its respective parts, center it on the artboard, scale it, and modify anything you find misfitting.
File > Save (Command-S).
4. How to Export & Share
Step 1
Once you’ve finalized the artwork, you need to Export your files.
File > Export > Export As, and select a location for the file. Make sure to choose a PNG format, and select Use Artboardsto Export.
Set the PNG Options settings:
Resolution: Screen (72 ppi)
Background Color: Transparent
OK
Step 2
Now that you have created your sticker set, it’s time to upload it.
Head over to Sticker Market, and Register yourself a Creators Account, and wait to get verified. This is a relatively quick process, compared to other sites. Once you are verified, fill in your details.
Follow the sticker upload Guidelines. Upload the set, fill in the description, price and tags, and Save.
Step 3
On the next page, select the type of Action and Emotion for each sticker. Fill in the details and Save for submission.
Wait for approval, and your stickers will be ready for the public to purchase.
If you thought CSS Grid solves issues where overflowed content escaping the confines of a horizontal layout, then think again. Dave Rupert writes up two ways he unintentionally broke outside the grid and how he wrangled things back into place.
As a Front-End developer nothing bothers me more than seeing an unexpected horizontal scrollbar on a website. While building out a checkout layout with CSS Grid I was surprised to find something mysterious was breaking the container. I thought Grid sort of auto-solved sizing.
Eventually I found two ways to break CSS Grid. As it would happen, I was doing both in the same layout.
Turns out these special cases boil down to:
Using overflow-x on an grid element
Using grid on form controls (or, more specifically, replaced elements)
Dave’s solution is a set of CSS rules affectionately named Fit Grid, which is a helper class that effectively removes and replaces the automated min-width: auto property assigned to grid items. This is a super helpful resource, though he admits it toes the line of „Clearfix 2.0” territory.
Sawyer Hollenshead has written up his thoughts about how he collaborated with the designers and developers on the HealthCare.gov project.
In this post, I’d like to share some of the bigger technical decisions we made while building that design system. Fortunately, a lot of smart folks have already put a lot of thought into the best approaches for building scalable, developer-friendly, and flexible design systems. This post will also shine a light on those resources we used to help steer the technical direction.
There’s a lot going on in here, from guidelines on code architecture and documentation to build systems and versioning. In other words, there’s a lot of great detail on the inner workings of a massive public project that many of us are at least outwardly familiar with.
Interesting to note that this project is an offshoot of the United States Design Systems project, but tailored specifically for the Centers of Medicare & Medicaid Services, which oversees HealthCare.gov.
At IFA 2017 in Berlin, Logitech unveiled its latest high-end keyboard that includes a multifunctional scroll wheel on the left hand side. This scroll wheel is the secret weapon that makes this keyboard so good for power users.
With keys that make it somewhat similar to a laptop keyboard, Logitech added a little hollow to each key to make it more ergonomic and user-friendly. Material-wise, the Craft keyboard is based on a metallic plate with added aluminium, it uses a battery that can be charged using a USB port.
The scroll wheel is definitively the strong point of the keyboard, and probably the best reason to buy it. It can be used for many functions in Photoshop, Word, Adobe Premiere, or Google Chrome. It can for example be used to change tabs very fast in Chrome, or to go from a screen to another in Premiere. Of course, there will be a learning curve, but the features are quite stunning.
Venture behind-the-scenes for the making of McCafé’s unique speciality coffees. McCafé is a proud sponsor of the Toronto International Film Festival.
Design assets are the lifeblood of any creative process. Images inspire, typefaces communicate, icons clarify. Whatever the scope of your project, assets are the building blocks of your design. Any fresh source of stock assets is a boon to the design community, and the latest treasure trove of resources is stockio.com. Stockio is a collection of […]