But what if we don’t really need React, or any other fairly-large-ish JavaScript framework?
What if the only thing we want is the ability to render HTML templates and also really efficiently re-render them when we need to, like React is known for?
As far as I understand it, that’s what projects like lit-html are for. As I write, it’s a pretty new library from Google and the Polymer folks.
It allows you to define an HTML template with regular template literals, like this:
And this is where lit-html shines. It’s smart enough to only update the parts of the DOM it needs to.
Here’s a little comparison where some data is changed, then the templates re-rendered. If we innerHTML the whole thing, well, the entire DOM is changed. With lit-html it just changes smaller inner parts.
Here’s a little video where you can see the DOM-updating difference:
lit-html on the left, „regular” on the right. Demo project.
There is another project along these lines too. I don’t know quite enough to judge, but it’s a bit older and I believe it’s a bit more robust. It’s called HyperHTML.
HyperHTML also allows you to create templates and render them. And most importantly rerender them efficiently.
Here’s a demo where the data comes from the Quotes on Design API and inserted into a template:
Kinda cool that these mini-libraries exist that do useful things for us, so when situations arise that we want a feature that a big library has, but don’t want to use the whole big library, we got smaller options.
This little website pulls in all the main stories from CNN and strips almost everything from the design; styles, images, fonts, ads, colors. Nada, zilch, gone. At first it looks like nothing but hypertext and it feels like an extraordinary improvement but Sam Saccone made a thread about potential improvements that the team could use to make that experience even faster such as server side rendering and replacing the React framework with something smaller, like Preact.
Either way this approach to news design is refreshing. However, I can’t find anything more about the the motivations for building this version of CNN.com besides the announcement on Twitter. It would certainly be fascinating to learn if CNN built this specifically for people caught in disastrous situations where battery life and load time might be a serious matter of life and death.
Because performance matters so much and there is so much opportunity to get clever with performance, we’ll see innovation in getting our code bases to production. Tools like webpack (tree shaking, code splitting) are already doing a lot here, but there is plenty of room to let automated tools work magic on how our code ultimately gets shipped to browsers.
Tom also says:
This is a loss in some ways (who else got their web development start with View Source?) but is a huge win for users, particularly in emerging markets.
It seems to me today’s world of GitHub, StackOverflow, and the proliferation of learning resources more than make up for learning via our own website spelunking, not to mention how insightful today’s DevTools are, even if what they are looking at isn’t hand-authored.
We all know that April showers bring May flowers, but what about rainy September days? Usually in September we start to grow the seeds of our new skills.
So let’s start with a tutorial devoted to creating a bunch of ten folk flower elements from Adobe Illustrator’s basic shapes and tools. Our bunch inspired by folkish patterns will consist of many repeating elements so you’ll learn how to construct many interesting elements from a limited quantity of repeating parts. Also, you can use this trick to make elements of any of your designs more connected to each other.
Create a New Document (File > New) following these settings:
Number of Artboards: 1
Width: 800 px
Height: 600 px
Units: Pixels
Color Mode: RGB
Next, make 11 layers by using the Layers panel—one for each flower element and one for a background.
Then, go to the View panel and turn Smart Guides on.
Step 2
Make a 100 x 100 px pink (#f4908a) circle by using the Ellipse Tool (L). Choose the Scissors Tool (C) and click on both right and left anchor points of the circle. Then, delete the upper half and click Unite on the Pathfinder panel.
Add a 100 x 25 px pale pink (#f9c4be) rectangle with the help of the Rectangle Tool (M) and place it on the upper side of the pink base.
Make a small 9 x 18 px pink (#f4908a) oval (also by using the Ellipse Tool (L)) and click on the upper and bottom anchor points with the Anchor Point Tool (Shift-C). Place this shape on the pale pink rectangle to the left.
Then Copy it and move the copied piece to the right. Choose the Blend Tool (W) and click on both left and right shapes, and then click twice on the Blend Tool thumbnail. Set up Specified steps and 3, and click OK. Expand the effect by going to Object > Expand.
Step 3
Make a 9 x 9 px bright pink (#ed5a62) circle and place it above the left converted oval. Holding the Alt button on your keyboard, drag the bright pink circle to the right edge, and do the same trick with the Blend Tool (W) as we did in our previous step.
Make a 45 px high bright pink (#ed5a62) line with the help of the Line Segment Tool (\). Go to Window > Stroke and set up Cap: Round cap. Set up Width: 6 pt.
Copy (Control-C) and Paste (Control-V) the converted oval, recolor it to bright pink (#ed5a62), and change its size to 20 x 40 px. Then rotate it while holding Shift, and place it near the line, on its left side. Copy the leaf and reflect it Vertically by going to Object > Transform > Rotate. Add two additional branches to the left and right sides of the main stem. And place one 15 x 15 px bright pink (#ed5a62) circle on each of these additional branches.
Our first flower is done!
2. How to Make the Second Flower
Step 1
Make a 40 x 40 px cyan (#1a9cb4) circle and a 70 x 70 px blue (#18477b) circle. Place the blue one beneath the cyan and Align them by using the upper Align panel.
Create a 50 x 50 px dark gold (#b55a2d) circle and place it behind the previous two shapes on the upper left side. Copy it and move the copied shape to the upper right side. Then copy both these shapes and move them to the bottom.
Step 2
Copy the stem from the previous flower, and recolor it to blue (#18477b). Also copy the big leaves, make them blue too, and place two copies near the stem and two leaves to the left and right of the flower. Then, make four copies of the small leaves, recolor them to dark gold (#b55a2d), and place them around the flower.
3. How to Make the Third Flower With Hearts
Step 1
Copy the pink semicircle base from the first flower, make a 25 x 25 px circle, and place it on the base. Then, make three copies of this circle and place them in sequence after the first one.
Create a 70 x 70 px dark blue (#1c2949) circle, and place it beneath the pink base. Add three white circles on the dark blue shape: one 15 x 15 px and two 9 x 9 px.
Make two dark blue (#1c2949) lines with these options: 6 pt Stroke and 35 px Height. Rotate these lines while holding Shift and place them on the bottom of the pink base. Add a 40 x 40 px dark blue circle under the pink basic shape.
Step 2
And now we’ll quickly make a perfect heart.
Create two 20 x 20 px pale pink (#f4908a) circles and place them near each other. Then, with help of the Pen Tool (P), make two triangles which unite the both circles. Merge all these shapes with the help of the Pathfinder panel.
Place one heart on the flower and two hearts above it.
4. How to Make a Minimalistic Fourth Flower
Step 1
Create a 60 x 60 px blue (#18477b) circle, cut its upper half with the help of the Scissors Tool (C), and add a 40 x 40 px dark blue (#1c2949) circle on it.
Step 2
Add three bright pink (#ed5a62) 15 x 15 px circles above the flower’s base.
Make a 45 px Height blue stem. And Copy two big leaves and four small ones from the second flower, recoloring the big ones to blue and the small ones to bright pink. Place them around the stem.
5. How to Make the Fifth Flower, Inspired by a Folk Dymkovo Toy
Step 1
Start with a 100 x 100 px pink (#f4908a) circle and a 75 x 75 px bright pink circle (#ed5a62) with 6 pt stroke and no fill. Did you notice that all our elements have the same 6 pt stroke? It makes our design more complex. So add a 50 x 50 px blue (#18477b) circle and three dark blue (#1c2949) lines (with 6 pt weight each) inside the blue circle.
Step 2
Copy any leaf from the previous flowers, scale it to 60 x 30 px, and color it in blue (#18477b). Place two leaves on the left and right sides of the flower. Then, copy a 40 x 20 px leaf from the second flower, recolor it to dark blue (#1c2949), and paste four copies of it around the flower. Also add four 15 x 15 px gold (#d38932) circles and place them between the leaves.
6. How to Make a Sixth Composition of Flowers
Step 1
Create an 80 x 80 px pale pink (#f9c4be) circle and a 55 x 55 px pink (#f4908a) circle shape inside of it. Make a 40 x 40 px dark blue (#1c2949) circle and place it on top of the pale pink circle beneath it. Keeping the dark blue shape selected, choose the Rotate Tool (R) and click in the center of the pink circle while holding the Alt key. Set up Angle: 360/6 (6 is the number of our petals) and click Copy. Then, click Control-D as many times as it needs.
Step 2
Create a dark blue (#1c2949) stem with 100 px Height. Copy the dark blue leaf from the fifth flower and place four copies of it on the left side of the stem and four on the right.
Step 3
Create an 80 x 80 px dark blue (#1c2949) circle. Add a 55 x 55 px blue (#18477b) and a 30 x 30 px cyan (#1a9cb4) circle on it.
Make a 90 px high cyan stem. Also, make two small branches and add a 15 x 15 px cyan circle on each. Move this flower to the left of the dark blue flower.
Step 4
Copy the pale pink heart from the third flower, recolor it to bright pink (#ed5a62), and change its Width to 75 px. Don’t forget to click the Constrain Width and Height Proportions button.
Paste the pale pink heart again and move it to the center of the bright pink shape. Add a 50 pxHeight bright pink stem and two leaves from each side of the stem. Move the flower to the right side of the big dark blue flower.
Then select all these elements and Group(Control-G) them.
7. How to Make the Seventh Flower Composition by Using the Rotate Tool
Step 1
First, make two 45 x 45 px circles. One is pink (#f4908a), and the other is dark blue (#1c2949). Move the pink shape to the top of the dark blue circle behind it.
As we did before, keeping the pink shape selected, choose the Rotate Tool (R) and click in the center of the dark blue circle while holding the Alt key. Set Angle: 360/5 (because we need 5 petals now) and click Copy. Then, click Control-D as many times as it needs. So, you made a perfect flower!
Step 2
Add three 15 x 15 px golden (#d38932) circles between the petals. Make (or copy from our other flowers) a 30 x 15 px blue (#18477b) leaf and move it to the center of the dark blue shape. You can do it with the help of the Smart Guides or by using the Align panel. Also, add eight small white circles around the leaf.
Copy five petals, recolor them to blue (#18477b) and, while keeping the Constrain Width and Height Proportions button selected, change the Width to 50 px. Add a 15 x 15 px dark blue (#1c2949) circle in the center. Then, move this small flower to the left side of the pink flower and place its copy on the right side.
8. How to Create an Eighth Flower Composition
Step 1
As we’ve already made it, start with a pale pink (#f9c4be) 30 x 30 px circle. Copy five petals from the previous flower and change the Width value to 90 px. Move the pale pink shape on the petals to the center. Don’t forget to add a 70 pxHeight dark blue stem.
Step 2
Add a 60 x 30 px dark blue leaf (grab the color from the petals by using the Eyedropper Tool (I)), rotate it by holding Shift, and place it near the stem on the left side.
Then, copy another leaf from the dark blue flower which we made in section 6 and place it above the big leaf. Copy both these leaves, reflect them horizontally, and move them to the right side.
Step 3
Copy the pale pink circle again, and add a 40 px high pale pink stem (Stroke: 6 px) and four equal-sized leaves. Then, add a golden circle, copied from section 7, above the heart-shaped flower. Place one heart-shaped flower on the left side of the dark blue flower and one on the right.
9. How to Quickly Make a Stylish Ninth Composition From Leaves
Let’s copy the big dark blue leaf from the eighth chapter and play around with rotation. Form a cross consisting of four leaves.
Then copy and paste a vertical half of this composition to the left and to the right (see the picture below). Add nine golden circles copied from the eighth part.
10. How to Make a Tenth Flower Composition With Berries
Step 1
First, make a 65 x 65 px pink (#f4908a) circle. Add a white 30 x 30 px circle with a 6 px pale pink (#f9c4be) stroke on the pink shape. Also make a 50 x 50 px dark blue (#1c2949) circle and place it on the top of the pink shape behind it.
Step 2
Keeping the pink shape selected, choose the Rotate Tool (R) and click in the center of the dark blue circle while holding the Alt key. Set up Angle: 360/6 and click Copy. Then, click Control-D as many times as it needs.
Paste two big leaves from the ninth section, recolor them to blue (#18477b), and place them above the flower. Reflect them horizontally and move them to the bottom side of the flower.
Step 3
And the last element—a berry! Make its base from a 35 x 35 px pink circle. Add a small 9 x 9 px dark blue circle in the middle of the left side of the berry and a white circle of the same size as a reflection.
Create a 30 x 30 px circle with dark blue 3 pt stroke and choose the Width Profile 1 brush type. Cut the left side of this shape with the help of the Scissors Tool (C). We’ve made the berry! Now, you just need to rotate the berry and place one on the left side of the flower and another on the right.
Now group the whole composition (Control-G).
Step 4
Finally, add an 800 x 600 px white rectangle (by using the Rectangle Tool (R)) on the Background layer, and Align it to the artboard.
Place on the screen all of our ten flower compositions, and look what beautiful work you’ve done!
So, September Flowers Are Here!
Now you know how many interesting variations you can make even with a limited number of elements. I hope that you also have learned some new tricks from this tutorial.
Don’t forget to share your results in the comments. You can create your own patterns using the elements from our today’s tutorial—all your experiences are welcomed in the comments too!
Every week, we’ll give you an overview of the best deals for designers, make sure you don’t miss any by subscribing to our deals feed. You can also follow the recently launched website Type Deals if you are looking for free fonts or font deals.
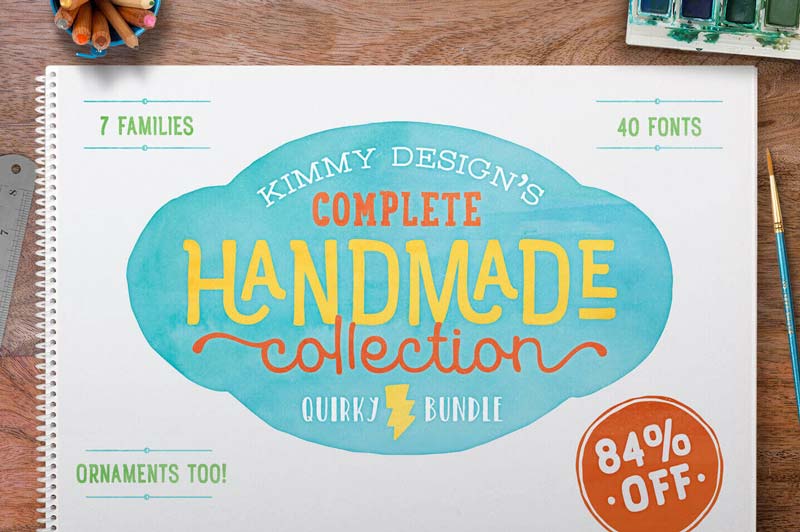
Collection of 40 Unique Handmade Fonts
This superb California-based designer is at it again! This time, you can nab Kimmy Design’s Complete Handmade Collection and add some quirkiness to your typeface toolbox. Bursting with 40 unique fonts, this bundle of joy is chock full of thousands of extra features, ornaments and OpenType variations. They all combine for one uniquely amazing hand drawn collection.
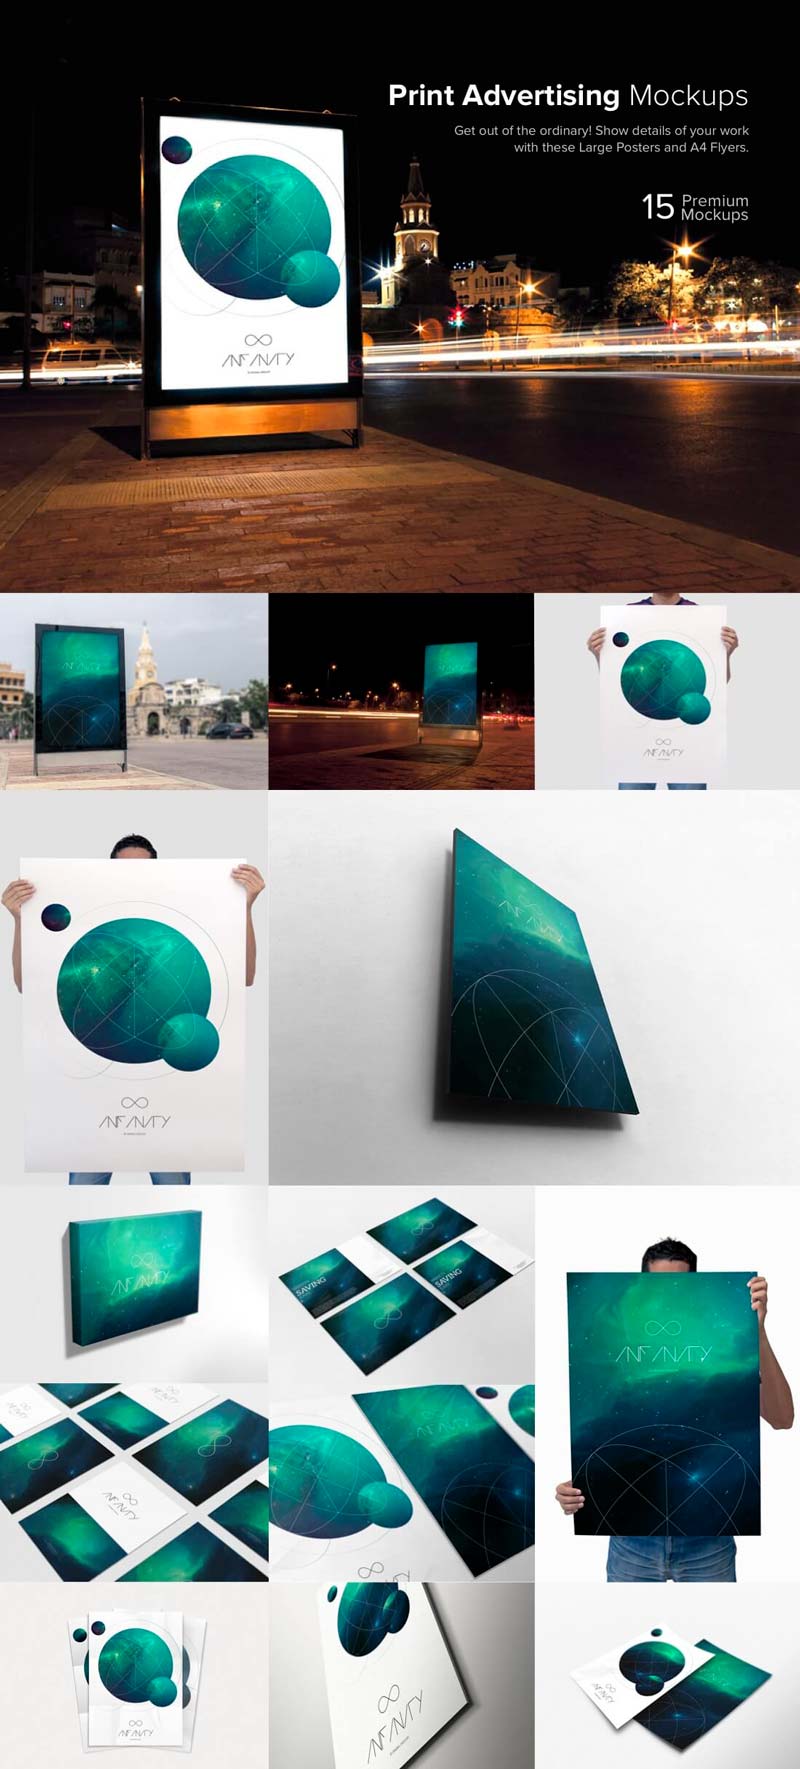
Forget wasting all that time and money on setting up photoshoots only to learn that your logo or brand just isn’t working. With the Universe Bundle, you can find out instantly! Packed with more than 300 premium PSD mockups, you can easily slot in your images to see how they’ll realistically look on everything from cellphones to shopping bags to aluminum cans.
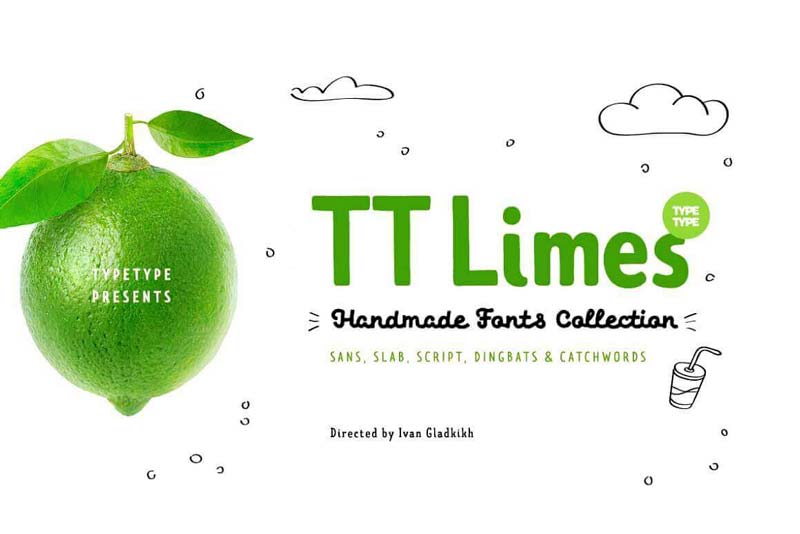
TT Limes, a Fresh Font Family of 23 Unique Typefaces
Talk about a freshly squeezed deal! TT Limes is bursting with fontastic flavor. Made up of 5 Fonts with multiple styles for each, you’ll be getting the equivalent of 23 typefaces! Created with watercolor brushes and felt-tip pens, these different fonts work perfectly together to add that splash of spontaneity into the whole handwritten concept.
Have a great idea for an infographic but need it quick and professional? Don’t miss out on a fabulous opportunity simply because you’re crunched for time. Instead, take advantage of this Mighty Deal from Easel.ly and you can get 75% off the regular price of a professionally designed infographic! Just share the topic you’re looking for and within 48 hours, you’ll have a fully customizable, professional infographic file to play with!
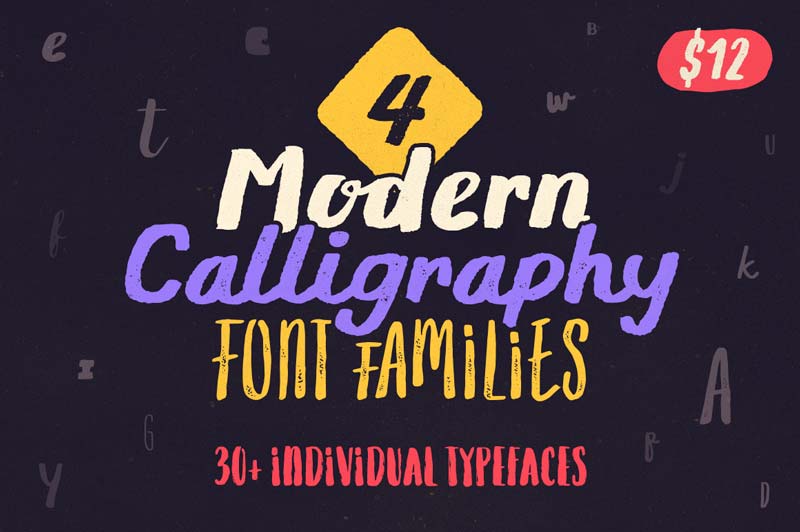
Need a brush font for your latest project? Then you can stop your search because this Mighty Deal from Typsketchbook has you completely covered. Full of 4 Modern Calligraphy Font Families, your typeface toolbox will be overflowing with sketch styles from brush to ink pen to marker, all thanks to the 30+ individual typefaces included in this deal.