Yap

Post pobrano z: Yap

Interesting idea for a „chat room” from Postlight:

  1. Create a Yap chat room.
  2. Invite others to join and talk.
  3. Share a URL of just about anything.
  4. Everyone gathering can comment on what you’ve shared.
  5. If you think your conversation deserves an audience, share the URL of your chat publicly.
  6. Only six people can join. Lots of people can observe if you invite them. But just six chatters.

Yap.

Direct Link to ArticlePermalink

The post Yap appeared first on CSS-Tricks.

Detecting Inactive Users

Post pobrano z: Detecting Inactive Users

Most of the time you don’t really care about whether a user is actively engaged or temporarily inactive on your application. Inactive, meaning, perhaps they got up to get a drink of water, or more likely, changed tabs to do something else for a bit. There are situations, though, when tracking the user activity and detecting inactive-ness might be handy.

Let’s think about few examples when you just might need that functionality:

  • tracking article reading time
  • auto saving form or document
  • auto pausing game
  • hiding video player controls
  • auto logging out users for security reasons

I recently encountered a feature that involved that last example, auto logging out inactive users for security reasons.

Why should we care about auto logout?

Many applications give users access to some amount of their personal data. Depending on the purpose of the application, the amount and the value of that data may be different. It may only be user’s name, but it may also be more sensitive data, like medical records, financial records, etc.

There are chances that some users may forget to log out and leave the session open. How many times has it happened to you? Maybe your phone suddenly rang, or you needed to leave immediately, leaving the browser on. Leaving a user session open is dangerous as someone else may use that session to extract sensitive data.

One way to fight this issue involves tracking if the user has interacted with the app within a certain period of time, then trigger logout if that time is exceeded. You may want to show a popover, or perhaps a timer that warns the user that logout is about to happen. Or you may just logout immediately when inactive user is detected.

Going one level down, what we want to do is count the time that’s passed from the user’s last interaction. If that time period is longer than our threshold, we want to fire our inactivity handler. If the user performs an action before the threshold is breached, we reset the counter and start counting again.

This article will show how we can implement such an activity tracking logic based on this example.

Step 1: Implement tracking logic

Let’s implement two functions. The first will be responsible for resetting our timer each time the user interacts with the app, and the second will handle situation when the user becomes inactive:

  • resetUserActivityTimeout – This will be our method that’s responsible for clearing the existing timeout and starting a new one each time the user interacts with the application.
  • inactiveUserAction – This will be our method that is fired when the user activity timeout runs out.
let userActivityTimeout = null;

function resetUserActivityTimeout() {
  clearTimeout(userActivityTimeout);
  userActivityTimeout = setTimeout(() => {
    inactiveUserAction();
  }, INACTIVE_USER_TIME_THRESHOLD);
}

function inactiveUserAction() {
  // logout logic
}

OK, so we have methods responsible for tracking the activity but we do not use them anywhere yet.

Step 2: Tracking activation

Now we need to implement methods that are responsible for activating the tracking. In those methods, we add event listeners that will call our resetUserActivityTimeout method when the event is detected. You can listen on as many events as you want, but for simplicity, we will restrict that list to a few of the most common ones.

function activateActivityTracker() {
  window.addEventListener("mousemove", resetUserActivityTimeout);
  window.addEventListener("scroll", resetUserActivityTimeout);
  window.addEventListener("keydown", resetUserActivityTimeout);
  window.addEventListener("resize", resetUserActivityTimeout);
}

That’s it. Our user tracking is ready. The only thing we need to do is to call the activateActivityTracker on our page load.

We can leave it like this, but if you look closer, there is a serious performance issue with the code we just committed. Each time the user interacts with the app, the whole logic runs. That’s good, but look closer. There are some types of events that are fired an enormous amount of times when the user interacts with the page, even if it isn’t necessary for our tracking. Let’s look at mousemove event. Even if you move your mouse just a touch, mousemove event will be fired dozens of times. This is a real performance killer. We can deal with that issue by introducing a throttler that will allow the user activity logic to be fired only once per specified time period.

Let’s do that now.

Step 3: Improve performance

First, we need to add one more variable that will keep reference to our throttler timeout.

let userActivityThrottlerTimeout = null

Then, we create a method that will create our throttler. In that method, we check if the throttler timeout already exists, and if it doesn’t, we create one that will fire the resetUserActivityTimeout after specific period of time. That is the period for which all user activity will not trigger the tracking logic again. After that time the throttler timeout is cleared allowing the next interaction to reset the activity tracker.

userActivityThrottler() {
  if (!userActivityThrottlerTimeout) {
    userActivityThrottlerTimeout = setTimeout(() => {
      resetUserActivityTimeout();

      clearTimeout(userActivityThrottlerTimeout);
      userActivityThrottlerTimeout = null;
    }, USER_ACTIVITY_THROTTLER_TIME);
  }
}

We just created a new method that should be fired on user interaction, so we need to remember to change the event handlers from resetUserActivityTimeout to userActivityThrottler in our activate logic.

activateActivityTracker() {
  window.addEventListener("mousemove", userActivityThrottler);
  // ...
}

Bonus: Let’s reVue it!

Now that we have our activity tracking logic implemented let’s see how can move that logic to an application build with Vue. We will base the explanation on this example.

First we need to move all variables into our component’s data, that is the place where all reactive props live.

export default {
  data() {
    return {
      isInactive: false,
      userActivityThrottlerTimeout: null,
      userActivityTimeout: null
    };
  },
// ...

Then we move all our functions to methods:

// ...
  methods: {
    activateActivityTracker() {...},
    resetUserActivityTimeout() {...},
    userActivityThrottler() {...},
    inactiveUserAction() {...}
  },
// ...

Since we are using Vue and it’s reactive system, we can drop all direct DOM manipulations i.(i.e. document.getElementById("app").innerHTML) and depend on our isInactive data property. We can access the data property directly in our component’s template like below.

<template>
  <div id="app">
    <p>User is inactive = {{ isInactive }}</p>
  </div>
</template>

Last thing we need to do is to find a proper place to activate the tracking logic. Vue comes with component lifecycle hooks which are exactly what we need — specifically the beforeMount hook. So let’s put it there.

// ...
  beforeMount() {
    this.activateActivityTracker();
  },
// ...

There is one more thing we can do. Since we are using timeouts and register event listeners on window, it is always a good practice to clean up a little bit after ourselves. We can do that in another lifecycle hook, beforeDestroy. Let’s remove all listeners that we registered and clear all timeouts when the component’s lifecycle comes to an end.

// ...
  beforeDestroy() {
    window.removeEventListener("mousemove", this.userActivityThrottler);
    window.removeEventListener("scroll", this.userActivityThrottler);
    window.removeEventListener("keydown", this.userActivityThrottler);
    window.removeEventListener("resize", this.userActivityThrottler);
  
    clearTimeout(this.userActivityTimeout);
    clearTimeout(this.userActivityThrottlerTimeout);
  }
// ...

That’s a wrap!

This example concentrates purely on detecting user interaction with the application, reacting to it and firing a method when no interaction is detected within specific period of time. I wanted this example to be as universal as possible, so that’s why I leave the implementation of what should happened when an inactive user it detected to you.

I hope you will find this solution useful in your project!

The post Detecting Inactive Users appeared first on CSS-Tricks.

How to Create a Cyberpunk Photoshop Effect Action

Post pobrano z: How to Create a Cyberpunk Photoshop Effect Action

Final product image
What You’ll Be Creating

In this tutorial, you will learn how to create a cyberpunk Photoshop effect action to add amazing photo effects to your photos. I will explain everything in so much detail that everyone can create the effect, even those who have just opened Photoshop for the first time.

The effect shown above is the one I will show you how to create in this tutorial. If you would like to create the even more advanced cyberpunk Photoshop effect shown below, using just a single click and in only a few minutes, then check out my Cyberpunk Photoshop Action.

action final result

What You’ll Need

To recreate the design above, you will need the following resources:

1. How to Start Creating an Action

Step 1

First, open the photo that you want to work with. To open your photo, go to File > Open, choose your photo, and click Open. Now, before we get started, just check a couple of things:

  1. Your photo should be in RGB Color mode, 8 Bits/Channel. To check this, go to Image > Mode.
  2. For best results, your photo size should be 2000–4500 px wide/high. To check this, go to Image > Image Size.
  3. Your photo should be the Background layer. If it is not, go to Layer > New > Background from Layer.
checking image size and mode

Step 2

Now go to Window > Actions, and in the Actions panel, click on the menu icon in the top right-hand corner, choose New Set to create a new set, and name it Cyberpunk. Then, click on the same menu icon again, choose New Action to create a new action, and name it Cyberpunk.

creating new action

2. How to Create the Color Look

Step 1

In this section, we are going to create the color look. Go to Layer > New Adjustment Layer > Gradient Map to create a new gradient map adjustment layer and name it Color_Look_1.

creating new gradient map adjustment layer

Step 2

Now Double-click on this layer thumbnail, and then in the Properties panel, click on the gradient to open up the Gradient Editor panel and enter the settings below:

adjusting gradient map
The left color stop has color 0000ff, and the right color stop has color ff00ff.

Step 3

Change the Blending Mode of this layer to Soft Light and set the Opacity to 70%.

changing blending mode and opacity

Step 4

Now select the Background layer, go to Layer > New Adjustment Layer > Hue/Saturation to create a new hue/saturation adjustment layer, and name it Color_Look_2.

creating new hue and saturation adjustment layer

Step 5

Double-click on this layer thumbnail and enter the settings below in the Properties panel:

adjusting hue and saturation

Step 6

Now select the Background layer, go to Layer > New Adjustment Layer > Photo Filter to create a new photo filter adjustment layer, and name
it Color_Look_3.

creating new photo filter adjustment layer

Step 7

Double-click on this layer thumbnail and, in the Properties panel, set Filter to Cooling Filter (80), Density to 25%, and check the Preserve Luminosity option.

adjusting photo filter

3. How to Make the Final Adjustments

Step 1

In this section, we are going to make some final adjustments to the design. Select the Color_Look_1 layer and press D on your keyboard to reset the swatches. Then, go to Layer > New Adjustment Layer > Gradient Map to create a new gradient map adjustment layer and name it Overall Contrast.

creating new gradient map adjustment layer

Step 2

Now change the Blending Mode of this layer to Luminosity and set the Opacity to 80%.

changing blending mode and opacity

Step 3

Go to Layer > New Adjustment Layer > Vibrance to create a new vibrance adjustment layer and name it Overall Vibrance/Saturation.

creating new vibrance adjustment layer

Step 4

Now Double-click on this layer thumbnail and, in the Properties panel, set the Vibrance to +25 and Saturation to +10.

adjusting vibrance and saturation

Step 5

Go to Layer > New Adjustment Layer > Levels to create a new levels adjustment layer, and name it Overall Brightness.

creating new levels adjustment layer

Step 6

Now Double-click on this layer thumbnail and, in the Properties panel, enter the settings below:

adjusting levels

Step 7

Press Control-Alt-Shift-E on your keyboard to make a screenshot, and then press Control-Shift-U to desaturate this layer. Then, go to Filter > Other > High Pass and set the Radius to 2 px.

adding high pass filter

Step 8

Change the Blending Mode of this layer to Hard Light and set the Opacity to 80%. Name this layer Overall Sharpening.

changing blending mode and opacity

You Made It!

Congratulations, you have succeeded! You have now learned how to create cool photo effects in Photoshop. Here is our final result:

final result

If you would like to create the even more advanced cyberpunk Photoshop effect
shown below, using just a single click and in only a few minutes, then
check out my Cyberpunk Photoshop Action.

Using this action, you can create amazing cyberpunk photo effects
from your photos with no work at all! Simply open your photo and just play the action. It’s really that simple! The action
will do all the work for you, giving you fully layered and customizable results that you can further modify. Finally you can create cyberpunk color effects for pictures using a single click and in seconds with the first ever cyberpunk photo effects action.

The action comes with a detailed video tutorial that demonstrates how to use the action and customize the results to get the most out of the effect.

If you want to add some cyberpunk style text effect, check out Cyberpunk – 80s Retro Text Effects.

action final result

Do you like Photoshop actions? Then you may also like:

How to Create a Cyberpunk Photoshop Effect Action

Post pobrano z: How to Create a Cyberpunk Photoshop Effect Action

Final product image
What You’ll Be Creating

In this tutorial, you will learn how to create a cyberpunk Photoshop effect action to add amazing photo effects to your photos. I will explain everything in so much detail that everyone can create the effect, even those who have just opened Photoshop for the first time.

The effect shown above is the one I will show you how to create in this tutorial. If you would like to create the even more advanced cyberpunk Photoshop effect shown below, using just a single click and in only a few minutes, then check out my Cyberpunk Photoshop Action.

action final result

What You’ll Need

To recreate the design above, you will need the following resources:

1. How to Start Creating an Action

Step 1

First, open the photo that you want to work with. To open your photo, go to File > Open, choose your photo, and click Open. Now, before we get started, just check a couple of things:

  1. Your photo should be in RGB Color mode, 8 Bits/Channel. To check this, go to Image > Mode.
  2. For best results, your photo size should be 2000–4500 px wide/high. To check this, go to Image > Image Size.
  3. Your photo should be the Background layer. If it is not, go to Layer > New > Background from Layer.
checking image size and mode

Step 2

Now go to Window > Actions, and in the Actions panel, click on the menu icon in the top right-hand corner, choose New Set to create a new set, and name it Cyberpunk. Then, click on the same menu icon again, choose New Action to create a new action, and name it Cyberpunk.

creating new action

2. How to Create the Color Look

Step 1

In this section, we are going to create the color look. Go to Layer > New Adjustment Layer > Gradient Map to create a new gradient map adjustment layer and name it Color_Look_1.

creating new gradient map adjustment layer

Step 2

Now Double-click on this layer thumbnail, and then in the Properties panel, click on the gradient to open up the Gradient Editor panel and enter the settings below:

adjusting gradient map
The left color stop has color 0000ff, and the right color stop has color ff00ff.

Step 3

Change the Blending Mode of this layer to Soft Light and set the Opacity to 70%.

changing blending mode and opacity

Step 4

Now select the Background layer, go to Layer > New Adjustment Layer > Hue/Saturation to create a new hue/saturation adjustment layer, and name it Color_Look_2.

creating new hue and saturation adjustment layer

Step 5

Double-click on this layer thumbnail and enter the settings below in the Properties panel:

adjusting hue and saturation

Step 6

Now select the Background layer, go to Layer > New Adjustment Layer > Photo Filter to create a new photo filter adjustment layer, and name
it Color_Look_3.

creating new photo filter adjustment layer

Step 7

Double-click on this layer thumbnail and, in the Properties panel, set Filter to Cooling Filter (80), Density to 25%, and check the Preserve Luminosity option.

adjusting photo filter

3. How to Make the Final Adjustments

Step 1

In this section, we are going to make some final adjustments to the design. Select the Color_Look_1 layer and press D on your keyboard to reset the swatches. Then, go to Layer > New Adjustment Layer > Gradient Map to create a new gradient map adjustment layer and name it Overall Contrast.

creating new gradient map adjustment layer

Step 2

Now change the Blending Mode of this layer to Luminosity and set the Opacity to 80%.

changing blending mode and opacity

Step 3

Go to Layer > New Adjustment Layer > Vibrance to create a new vibrance adjustment layer and name it Overall Vibrance/Saturation.

creating new vibrance adjustment layer

Step 4

Now Double-click on this layer thumbnail and, in the Properties panel, set the Vibrance to +25 and Saturation to +10.

adjusting vibrance and saturation

Step 5

Go to Layer > New Adjustment Layer > Levels to create a new levels adjustment layer, and name it Overall Brightness.

creating new levels adjustment layer

Step 6

Now Double-click on this layer thumbnail and, in the Properties panel, enter the settings below:

adjusting levels

Step 7

Press Control-Alt-Shift-E on your keyboard to make a screenshot, and then press Control-Shift-U to desaturate this layer. Then, go to Filter > Other > High Pass and set the Radius to 2 px.

adding high pass filter

Step 8

Change the Blending Mode of this layer to Hard Light and set the Opacity to 80%. Name this layer Overall Sharpening.

changing blending mode and opacity

You Made It!

Congratulations, you have succeeded! You have now learned how to create cool photo effects in Photoshop. Here is our final result:

final result

If you would like to create the even more advanced cyberpunk Photoshop effect
shown below, using just a single click and in only a few minutes, then
check out my Cyberpunk Photoshop Action.

Using this action, you can create amazing cyberpunk photo effects
from your photos with no work at all! Simply open your photo and just play the action. It’s really that simple! The action
will do all the work for you, giving you fully layered and customizable results that you can further modify. Finally you can create cyberpunk color effects for pictures using a single click and in seconds with the first ever cyberpunk photo effects action.

The action comes with a detailed video tutorial that demonstrates how to use the action and customize the results to get the most out of the effect.

If you want to add some cyberpunk style text effect, check out Cyberpunk – 80s Retro Text Effects.

action final result

Do you like Photoshop actions? Then you may also like:

McDonald’s: 50 Years of Big Mac

Post pobrano z: McDonald’s: 50 Years of Big Mac

Outdoor
McDonald’s

Advertising Agency:TBWA Switzerland
Executive Creative Director:Manuel Wenzel
Creative Director:Bruce Roberts
Senior Art Director:Frédéric Nogier
Senior Copywriter:Felix Freese, Tizian Walti
Marketing Director:Aglaë Strachwitz
Illustrator:Chris Rowson, Alex Trochut, Hendrik Everaerts
Global Chief Creative Officer:Chris Garbutt
Art Director:Angelo Sciullo, João Pereira
Junior Art Director:Gaston Filippo
Copywriter:David Voges
Production Company:EG+
Illustrators:John Smith, Oleg Grishin, Eric Groza, Gigi Lee, Helga Fresh
Director Of Design:Mark Sloan

McDonald’s: 50 Years of Big Mac

Post pobrano z: McDonald’s: 50 Years of Big Mac

Outdoor
McDonald’s

Advertising Agency:TBWA Switzerland
Executive Creative Director:Manuel Wenzel
Creative Director:Bruce Roberts
Senior Art Director:Frédéric Nogier
Senior Copywriter:Felix Freese, Tizian Walti
Marketing Director:Aglaë Strachwitz
Illustrator:Chris Rowson, Alex Trochut, Hendrik Everaerts
Global Chief Creative Officer:Chris Garbutt
Art Director:Angelo Sciullo, João Pereira
Junior Art Director:Gaston Filippo
Copywriter:David Voges
Production Company:EG+
Illustrators:John Smith, Oleg Grishin, Eric Groza, Gigi Lee, Helga Fresh
Director Of Design:Mark Sloan

Walt Disney World: After Disney

Post pobrano z: Walt Disney World: After Disney
Print
Disney

How do you show preschool parents how much fun their child will have at Walt Disney World? Focus on the aftermath.

Advertising Agency:Yellow Shoes, Orlando, USA
Vp:Jean Batthany
Creative:Jean Batthany, Jim Real
Director:Jim Real
Group Creative Director:Dennis Chalifour
Associate Creative Director:John McCall
Senior Art Director:Jesús Diaz
Art Director:Jose Ramirez
Copywriter:Jeff Schermer
Photographer:Caitie McCabe
Retoucher:Erick Aulet

Tips on Creative Event Photography

Post pobrano z: Tips on Creative Event Photography

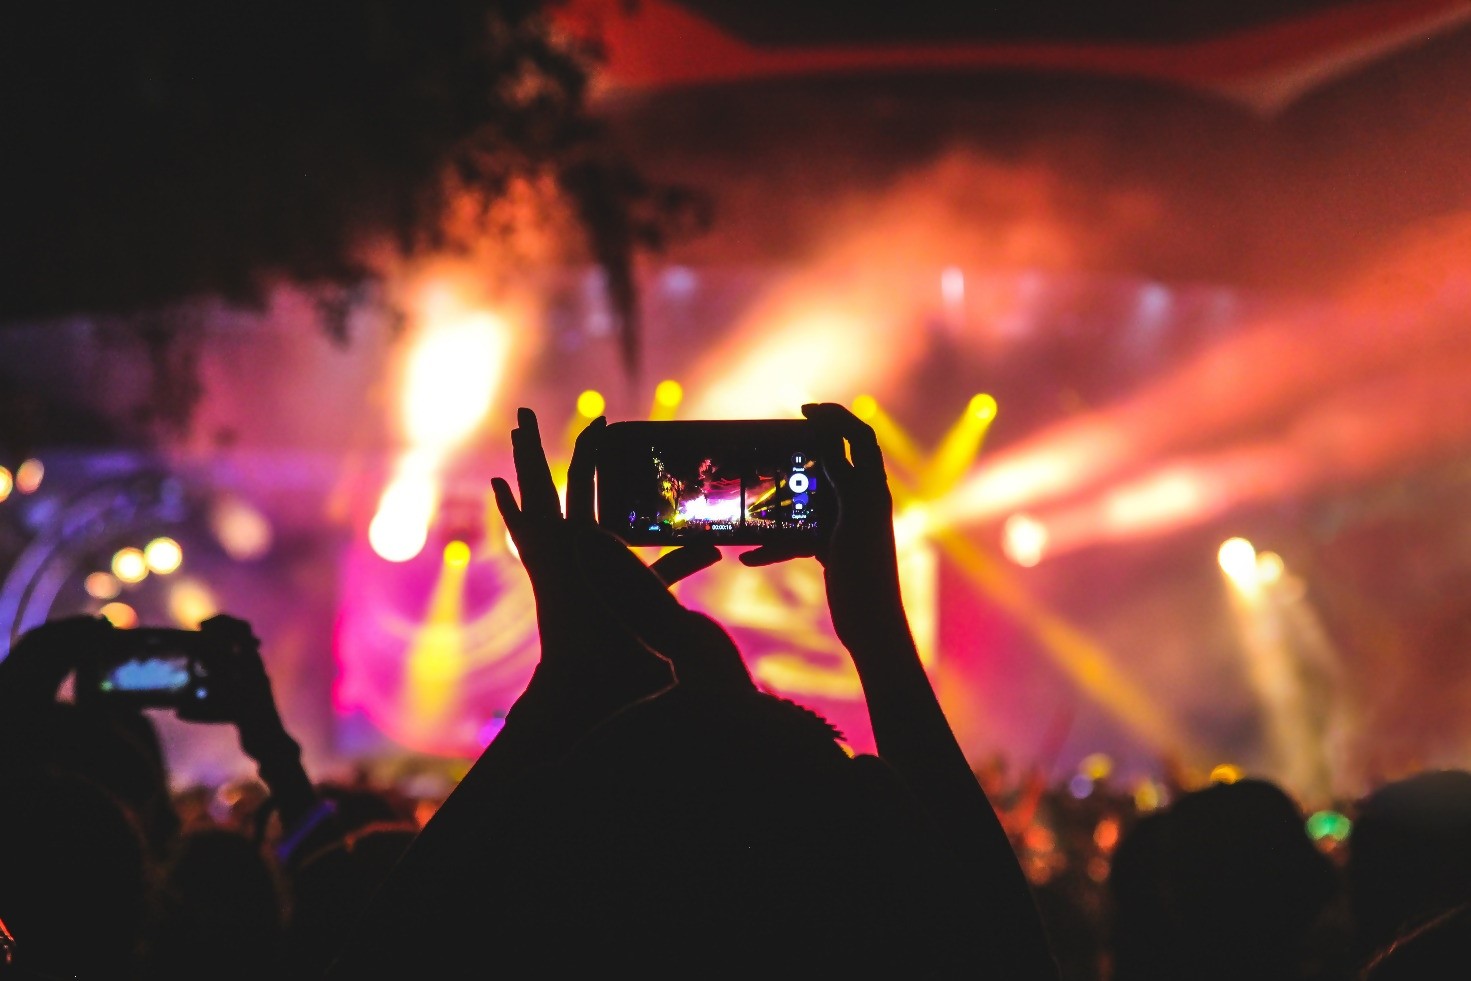
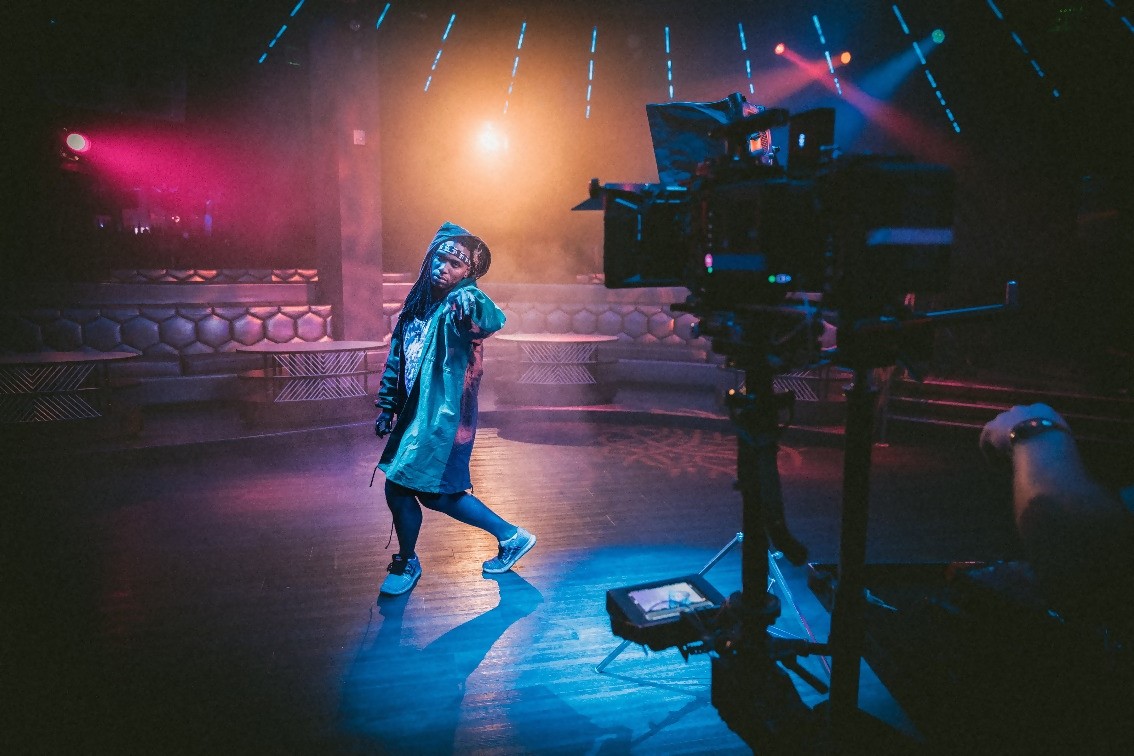
Event photography is all about capturing that ‘once in a lifetime’ moment, isn’t it? As much as this sounds incredible and nearly effortless, capturing the right moment at the right time, more often than not, is a real struggle. Oftentimes, the best moments do not occur twice, and due to things moving fast, photographing events can easily become one of the most stressful types of commercial photography.

Luckily, we have five event photography tips for you that not only will help you in taking creative photos but will also aid in not missing your shot ever again. From sports events to concerts, weddings, and small gatherings, these useful tips got you covered!

Let’s begin.

1. Think of the Story You Want to Share

Every event has a story, and it is your duty,
as a photographer, to deliver it in the best way possible. Therefore, it is a
good idea to think of the story before you even step into the venue of the
event. Plan everything down to details and do not leave anything to
coincidence.

For instance, start by contemplating the
overall story in your head. What would highlight moments of that event be? When
do you expect them to occur? How many people are you photographing? Who are the
main characters in this story? What type of pictures do they prefer? If you are
unsure about something, ask as many questions as you feel necessary to help you
determine the tone as well as the exact story you are expected to share.

Additionally, take a moment to think about the
place where you will be shooting. Is that a building you are already familiar
with? If not, arrive at the venue before anyone to look for the right angles as
well as size up where is the best light. This will prevent missing the right
shots and will help you immensely in the process.

2. Capture Some Behind the Scenes Action

Alongside the proper planing, capturing behind the scenes shots will also greatly contribute to the story. In case you are allowed to access the backstage, we advise you to go for it!

When it comes to events, especially shows, and sports matches, people simply love seeing what goes on behind closed doors. These types of photos make the whole story of the event more personal, relatable and beautiful, so make sure you do not miss the opportunity to get behind the curtains and photograph some real, raw action.

3. Be Prepared for the Memorable Moments

As
mentioned, event photography revolves around capturing the right moments.
Depending on the event itself, the right moments may be the bride dancing with
her bridesmaids, a guitarist at a concert performing a solo, or group of
friends laughing at a joke. Whatever these memorable moments are, catching
people’s genuine emotions and reactions, is what makes photos great and
creative.

Hence, be on the lookout and prepare yourself for them to occur at all times. You need to pay attention to your surroundings and catch the action as it is arising. Moreover, it goes without saying – The secret of not missing the moment when it happens is setting up everything beforehand.

4. Look for Interesting Details

Everything
is in the details. Especially when we are talking about event photography,
details matter the most, so do not make the mistake of neglecting them.

Capturing interesting details proves the excellence and the creativity of your work thus focus on them. They do not need to be hugely complex to look good, as some of the most powerful details are the ones you can spot without even trying. Among these, you can find the wedding napkins, the seat decorations during a theater play, the cake of the birthday party, or the public speaker’s outfit.

5. Never Settle for Boring Photos

Needless to say, boring photos never look good and almost always it is recognizable whether or not the photographed people felt comfortable during the shoot. The only way to candid portraits is to make people feel at ease while you are taking pictures of them. Find something you have in common with them, crack a joke, ask a question or compliment them so they can relax and ultimately look natural on your camera screen.

Summary

Interesting
and storytelling event photographs are not that hard to make if you know
exactly what you should do and what to focus on. The next time you have an
event to photograph, try at least one of these five tips and we assure you will
immediately notice a difference.

Pay
attention to the details, be prepared for emotional memorable moments and
action shots, talk to people and use all of your creativity and expertise to
share the story in the most beautiful way.

Safe Space: The Great Expectations

Post pobrano z: Safe Space: The Great Expectations
Online
Safe Space

Declared as the Most Depressed Country by the WHO, India has the highest suicide rate in the South Asian Region. The stigma surrounding suicide is widespread and often treated as a taboo. Striving to break this stigma, Safe Space India sheds light on suicide and mental health issues through social media, educating the audience through a combination of facts, figures, and science, highlighting signs to look out for, and encouraging them to seek help. #TheGreatExpectations showcases how expectations set by families, teachers, bosses, and others affect an individual&rsquo;s mental health. When the bar is set unreasonably high, the pressure can often drive people to kill themselves by suicide.

Advertising Agency:Yellow | Branding and Digital Marketing Agency, Mumbai, India
Concept and Creative Direction:Neeraj Menon, Milind Gawas
Writer:Priyanshee Parekh