Post pobrano z: Red Rooster Coffee
Mess Hall
Post pobrano z: Mess Hall
Le Farfalle Charleston
Post pobrano z: Le Farfalle Charleston
Sebastian Graz
Post pobrano z: Sebastian Graz
How to Create a Rubber Stamp Effect in Adobe Photoshop
Post pobrano z: How to Create a Rubber Stamp Effect in Adobe Photoshop
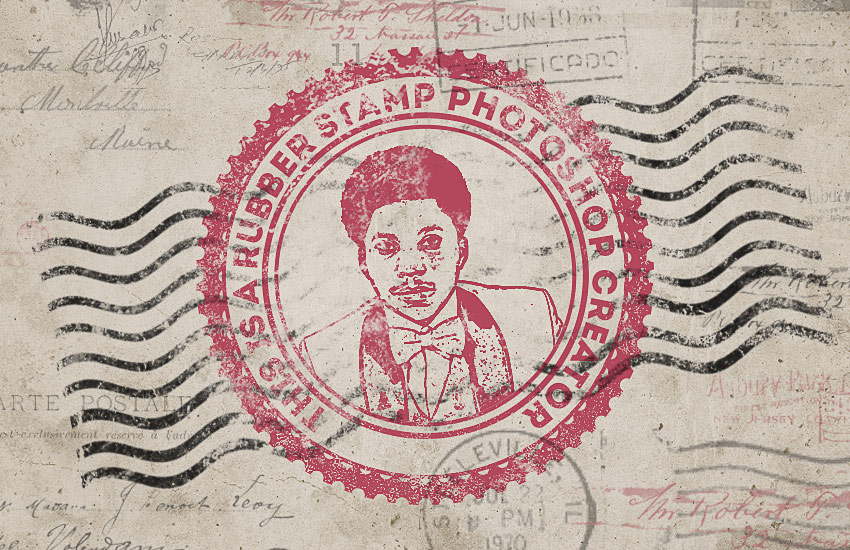
In this tutorial, I will show you how to create a realistic rubber stamp effect in Photoshop. Turn any photo into a rubber stamp in just a few quick steps.
The rubber stamp effect is a part of Rubber Stamp Photoshop Generator from my portfolio on Envato Market.

Tutorial Assets
The following assets were used during the production of this tutorial:
- Grunge Stained Paper Texture
- Rubber Stamp Photoshop Brushes
- Old Envelope Stamp Brushes
- Grunge Photoshop Brushes
- Circle Photoshop Shapes
- Man Portrait Stock Image
- Intro Font Type
1. How to Create the Grunge Paper Background
Step 1
Create a new 850 x 550px document. You can, of course, use another size for your PSD file, but you have to proportionally adjust all the sizes used in this tutorial.
Add the Grunge Stained Paper Texture in a new layer.

Step 2
Go to Layer > New Adjustment Layer and add a Gradient Map adjustment. The colors used for the gradient map are #7a6849 and #fffbf7.

2. How to Create the Rubber Stamp Shape
Step 1
Pick the Ellipse Tool. Keep the Shift key pressed while you draw, to create a perfect round circle. Call this layer Circle 1.

Step 2
Hit Command/Control-J to duplicate the Circle 1 layer three times, and call the layers Circle 2, Circle 3, and Circle 4.
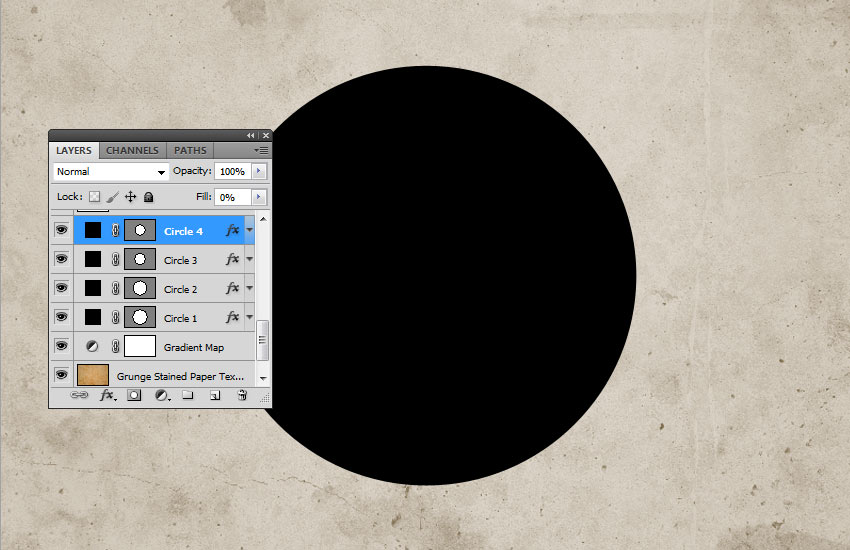
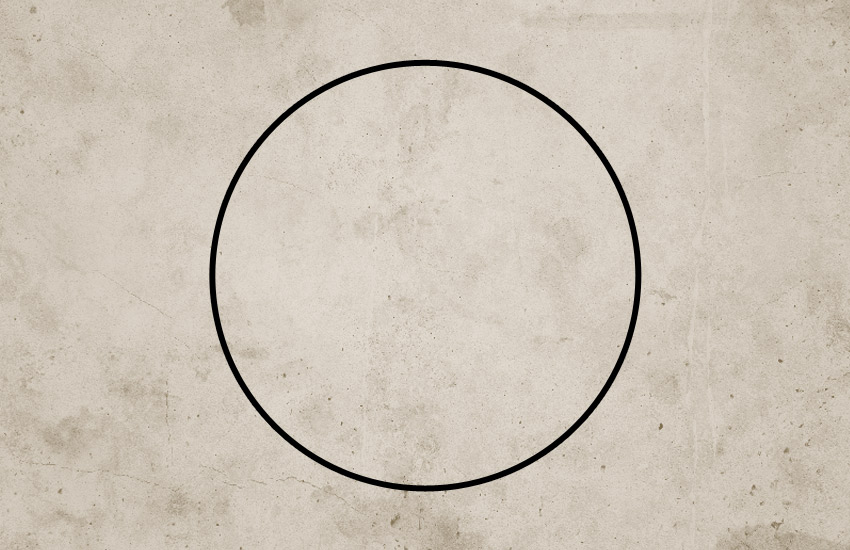
Set the Fill of the Circle 1 layer to 0% and also add a Stroke of 6 px, color #000000.

Step 3
For the Circle 2 layer hit Command/Control-T to scale the shape. Make sure to click on the Maintain Aspect Ratio button and set the scale to 95%.

Set the Fill of the Circle 2 layer to 0% and also add a Stroke of 4px, color #000000.


Step 4
For the Circle 3 layer, hit Command/Control-T to scale the shape. Make sure to click on the Maintain Aspect Ratio button and set the scale to 75%.

Set the Fill of the Circle 3 layer to 0% and also add a Stroke of 6px, color #000000.


Step 5
For the Circle 4 layer, hit Command/Control-T to scale the shape. Make sure to click on the Maintain Aspect Ratio button and set the scale to 75%.

Set the Fill of the Circle 4 layer to 0% and also add a Stroke of 4px, color #000000.


Step 6
Download the Circle Photoshop Shapes and load the CSH file in Photoshop. Go to Edit > Preset Manager and choose Preset Type > Custom Shapes. Click the Load button to load the CSH file.
Set the Foreground color to #000000. Pick the Custom Shape Tool and make sure you have the Defined Proportions option checked. For this tutorial, I used shape no.17, but you can use any shape you like.

3. How to Add Text on the Rubber Stamp
Click on the Vector Mask Thumbnail of the Circle 3 layer. Pick the Horizontal Type Tool and move directly over the circle path. The cursor will change to an I-beam with a dotted wavy line through it.
I used the Intro font and color #000000 for the text. You can use another font type and another color.

4. How to Create the Photo Stamp Effect
Step 1
Add the Man Portrait stock image on a new layer.

Step 2
Keep the Control key pressed and click on the Vector Mask Thumbnail of the Circle 4 layer to make a selection.

Click on the Add Layer Mask button from the Layers tab to add a mask for the Man Portrait layer.


Step 3
Make sure the Foreground color is set to #000000 and the Background color is set to #ffffff, otherwise the next photo effect will not look right.
Go to Filter > Sketch > Stamp and set the Light/Dark Balance to 4 and the Smoothness to 1.

Step 4
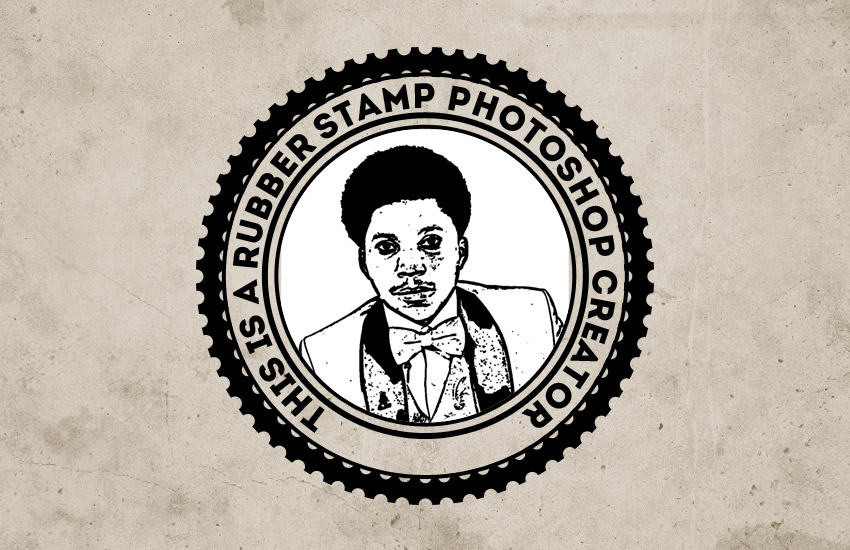
Open the Layer Style window of the Man Portrait layer. The Blend If sliders are at the foot of this dialog. Use the sliders called This Layer to remove the white color. Simply drag the right slider to 180 to hide the white color.

Right-click on the Man Portrait layer and choose Convert to Smart Object.
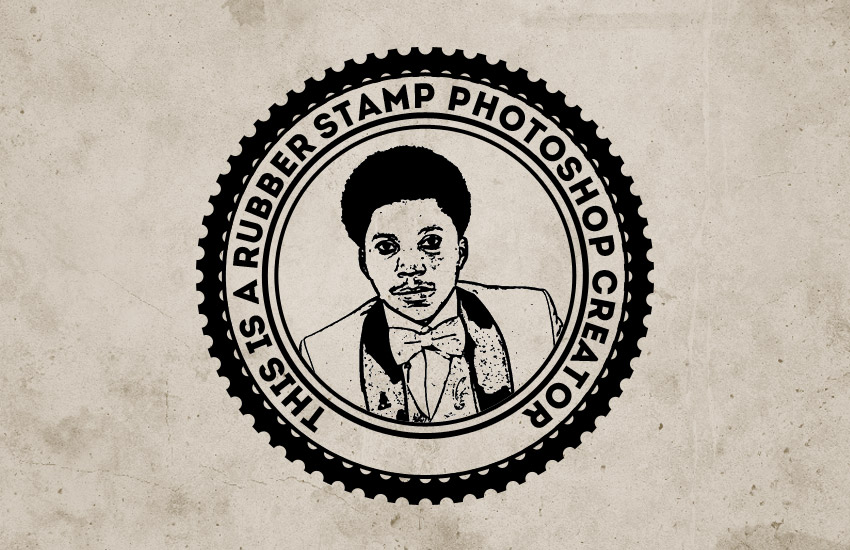
5. How to Add a Grungy Effect
Step 1
Select all the stamp layers (the Circle layers, the Text layer and the Man Portrait layer), right-click on the layers, and choose Convert to Smart Object.
Add a Layer Mask to the Man Portrait Smart Object. Pick the Brush Tool and set the Brush Size to around 800 px. Also set the Foreground Color to #000000. Use the Grunge Photoshop Brushes to create grungy stamp effects; use different brushes.

Step 2
Create a new layer and call it Stamp Lines. Pick the Brush Tool and from the Rubber Stamp Photoshop Brushes, use the stamp-lines brush.

Add a Layer Mask to the Stamp Lines layer. Again, use the Grunge Photoshop Brushes to create grungy stamp effects and also to hide some parts of the stamp lines that cover the stamp.
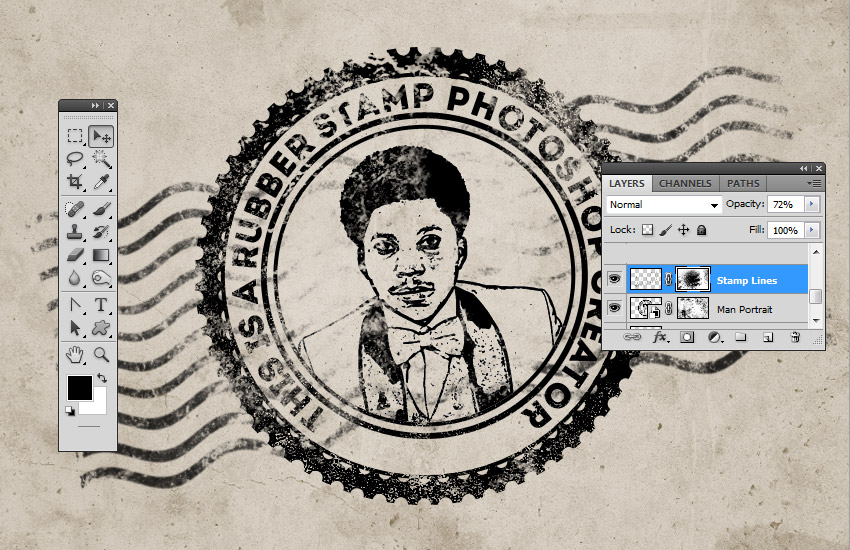
6. How to Create a Multi-Colored Rubber Stamp
If you want to create a multi-colored rubber stamp, you can add a Color Overlay layer style to the Man Portrait Smart Object using color #d9a4ae, or you can add different colors for the layers inside the Smart Object.
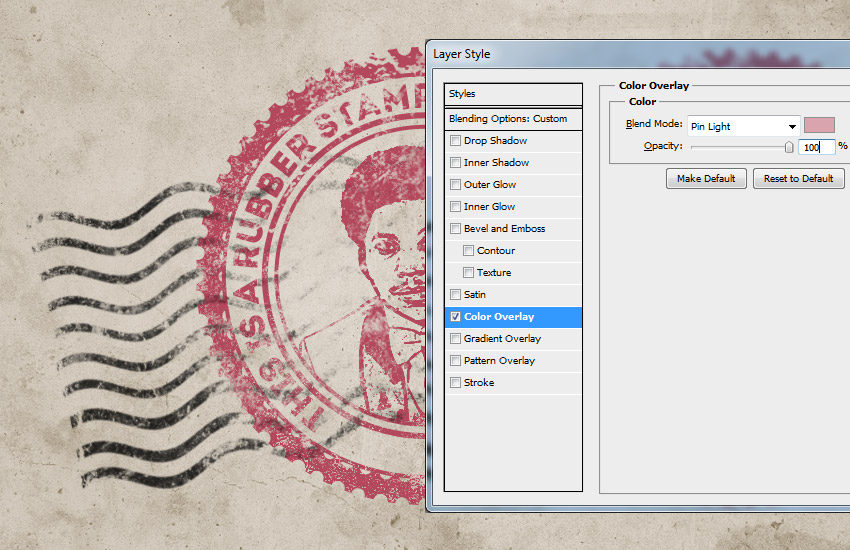
For the final touches, create a new layer and call it Old Envelope Stamp Brushes. You can use the Old Envelope Stamp Brushes to add a realistic old envelope effect. Use color #b24659 and color #b24659 to add different stamps.

Congratulations! You’re Done!
In this tutorial, you’ve learned how to create a rubber stamp effect in Photoshop from scratch using brushes and textures. I hope you’ve enjoyed this tutorial.

The rubber stamp effect is a part of Rubber Stamp Photoshop Generator from my portfolio on Envato Market.

Design deals for the week
Post pobrano z: Design deals for the week
Every week, we’ll give you an overview of the best deals for designers, make sure you don’t miss any by subscribing to our deals feed. You can also follow the recently launched website Type Deals if you are looking for free fonts or font deals.
The Font Collection Volume II
The Font Collection Volume II has arrived packed with 40 fantastic and diverse fonts from some seriously talented designers.
$32 instead of $571 – Get it now!
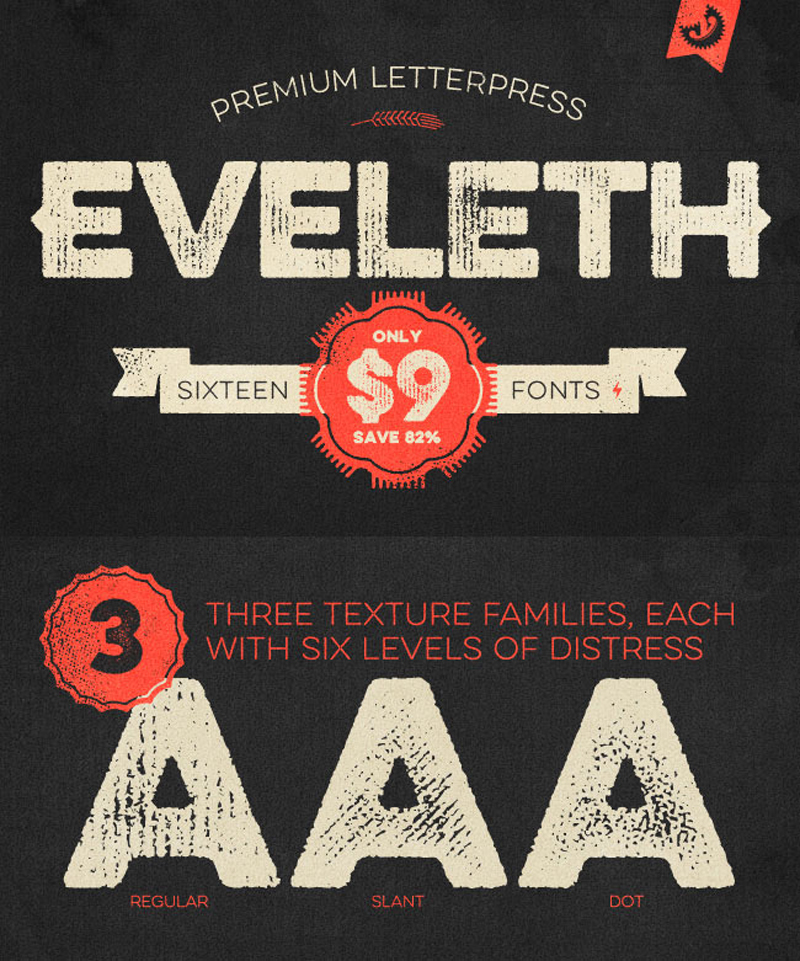
Eveleth Letterpress Font Family
When it comes to fonts, Yellow Design Studio consistently hits them out of the park and the Eveleth Premium Letterpress Font Family is no exception! We’ve made a special arrangement to bring this immensely popular deal of theirs back. You’ll get yourself 16 charming vintage fonts to work with. Additional weights, shadow layers and entertaining icons, shapes and emblems are just a few of the extras that come along for the ride. And if you act now, you can save yourself 82% off the regular price!
$9 instead of $49 – Get it now!
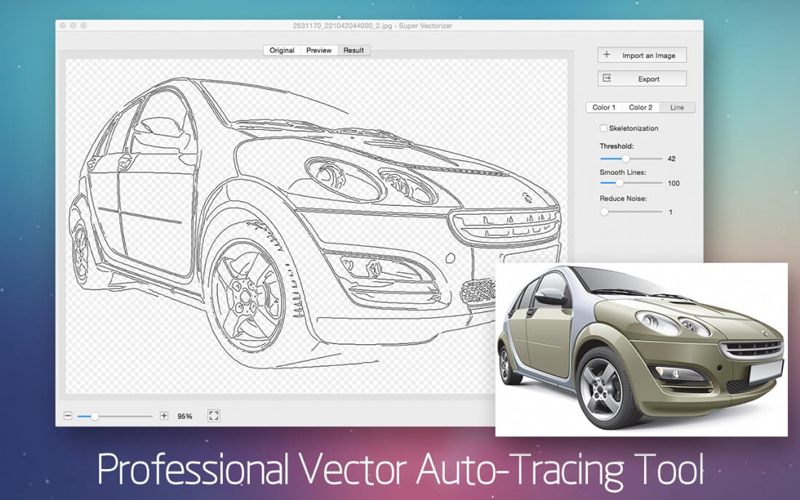
Super Vectorizer 2 for Mac: auto-trace any image automatically
Now you can easily convert just about any image into a scalable vector! With the Super Vectorizer 2 for Mac, you can turn even a handmade pencil drawing into a scalable vector image. With support of up to 64 colors and able to trace images in more than 70 different file formats, this is one tool you can’t afford to live without!
$9 instead of $29.99 – Get it now!
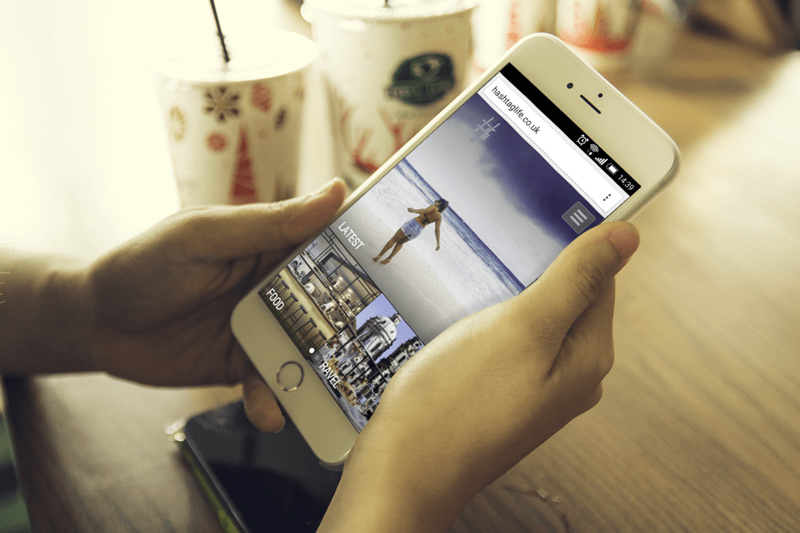
WP Mobile Pack PRO: Convert Your WordPress Website to a Mobile App
One of the nicest things about WordPress is that it’s incredibly easy to use. And now with the WP Mobile Pack PRO, it’s even easy to turn your website into a mobile app. Without using a single line of code, you can easily customize up to 5 app themes to fit your site’s look and feel. There are even additional themes to grab in a bundle if you want more variety.
$37 instead of $99 – Get it now!
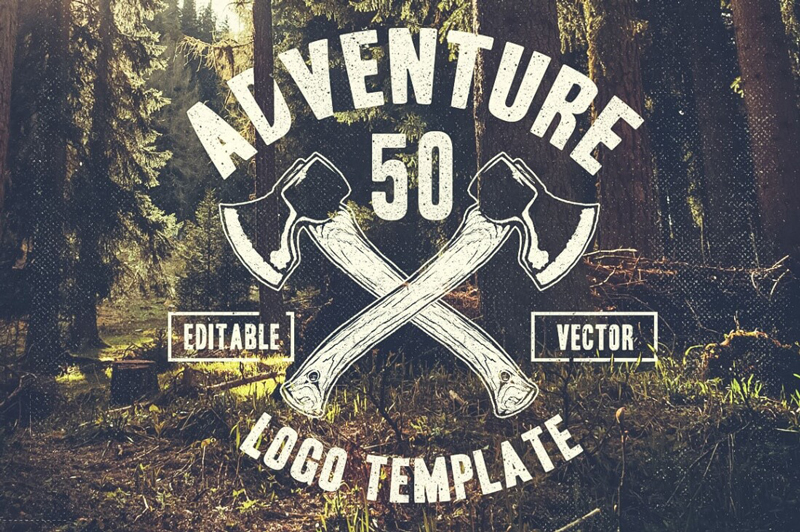
225+ Authentic Hand Drawn Logos from TSV Creative
Give your brand a boost with this fantastic collection of authentic logos. Easy to edit, this set of 229 authentic hand drawn logos cover a wide variety of categories from retro food to the Django Wild West! Go ahead and scale them to any size you need thanks to the Vector formats.
$14 instead of $88 – Get it now!
AissaTour


Elephant faucet

Alexandra Melano

"Fasad" real estate company